Colored pencils offer a unique versatility for capturing light and shadow, and few subjects showcase this better than glowing lanterns. Their soft, warm light provides a captivating challenge for any artist, demanding careful consideration of color blending, value shifts, and the delicate interplay of light and dark. The mesmerizing glow of a lantern, often imbued with a rich, warm hue, is a testament to the power of colored pencil artistry, capable of evoking emotion and ambiance with striking realism.
This guide delves into the intricacies of mastering this captivating subject, offering a practical, step-by-step approach to achieving brilliantly luminous results. Whether you're a seasoned artist or a curious beginner, prepare to unlock the secrets to rendering the breathtaking beauty of glowing lanterns in colored pencil, as we'll guide you through each stage of the process, from initial sketching to final refinements.
Preparation and Safety Guidelines
- Colored Pencils (Polychromos mentioned)
- White Gel Pen (Uniball Signo mentioned)
- Always work in a well-ventilated area. Colored pencil dust, especially when layering heavily, can be irritating to the lungs.
- Use a colorless blender sparingly. Over-blending can muddy your colors and diminish the vibrancy of your lanterns.
- Protect your finished artwork. Use fixative spray (designed for colored pencils) to prevent smudging and preserve your work's vibrancy over time.
Step-by-Step Instructions
Laying the Foundation
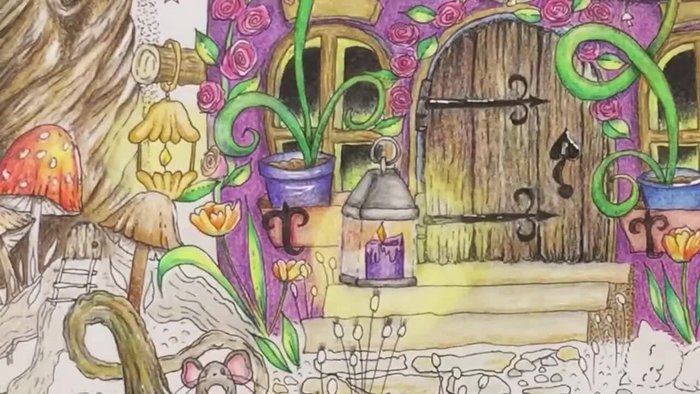
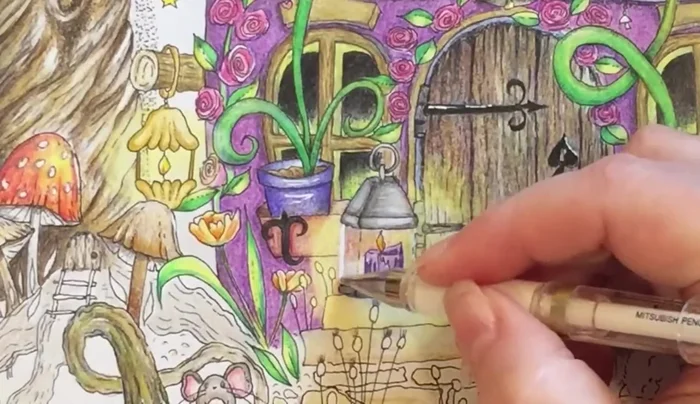
- Start with a warm grey base color, following the lantern's outline to create dimension. Leave areas lighter where the light source hits.

Laying the Foundation Adding Highlights and Texture
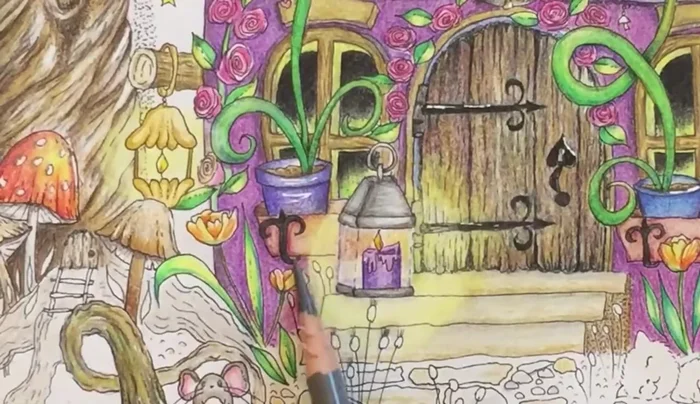
- Gently blend with white polychromos for a tin-like look. Leave some areas less blended for texture.
Adding Highlights and Texture Creating the Background and Glass Effect
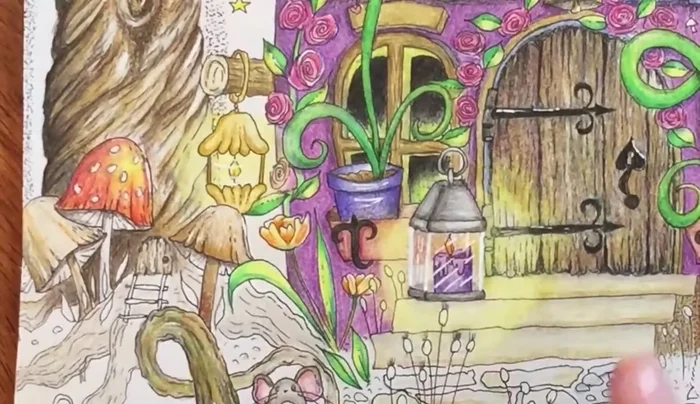
- Color the background with a terracotta or similar warm tone. Lighten the area behind the lantern to show the glow, remembering that the background color will show through the glass.
Creating the Background and Glass Effect Detailing the Base
- Lightly color the area under the lantern to represent the base or candle holder, ensuring it appears within the glass.
Detailing the Base Defining the Glass Panels
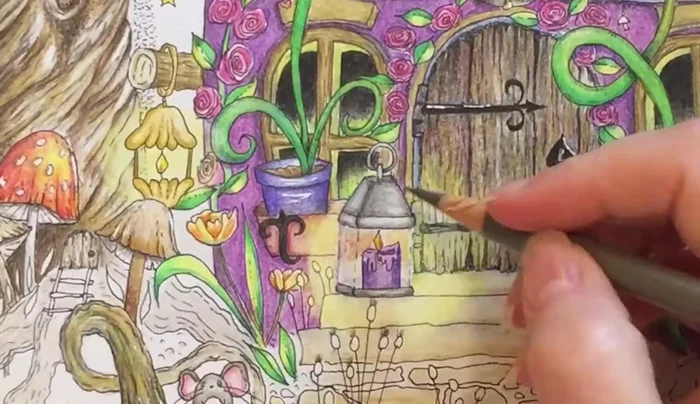
- Use a white gel pen to outline the edges of the glass panels, creating a window-like effect. For curved glass, use curved lines.
Defining the Glass Panels Adding the Glow
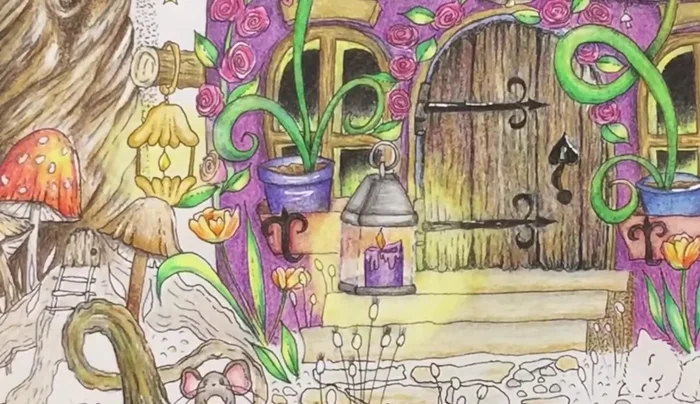
- Lighten the areas around the light source to show a glow. You can either leave the area lighter during initial coloring or color it and then erase/lighten with yellow.
Adding the Glow
Read more: 7 Top Paint Color Trends for 2024: A Complete Guide with Free Downloadable Resource
Tips
- Consider light refraction: Account for how light bends when passing through glass, creating subtle shifts in color and brightness.
- Experiment with different glass connections: Show the glass panes as connected with metal or wood, offering visual variation.
- Polychromos Chrome Yellow: This specific yellow is recommended for creating glowing effects.