Character portraits are the heart of many artistic endeavors, from captivating book covers to expressive game designs. Creating truly compelling portraits requires more than just technical skill; it demands an understanding of light, shadow, and emotion, all skillfully woven together to bring your character to life. Clip Studio Paint, with its intuitive interface and powerful tools, provides an ideal environment to hone this crucial artistic ability. Whether you're a seasoned digital artist or just starting your creative journey, mastering the nuances of character portraiture is a rewarding pursuit.
This guide will take you through a comprehensive, step-by-step process for crafting stunning character portraits within Clip Studio Paint, from initial sketching to final polish. We'll explore essential techniques such as understanding anatomy, utilizing light and shadow effectively, applying color theory, and adding those crucial finishing touches that elevate a good portrait into a masterpiece. Prepare to unlock your potential and create breathtaking character portraits that truly capture the essence of your vision.
Preparation and Safety Guidelines
- Clip Studio Paint
- Regularly save your work! Clip Studio Paint offers autosave, but manual saves at key stages (like finishing a sketch or color base) prevent potential data loss.
- Experiment with different brushes and layers. Don't be afraid to try new techniques. Understanding layer blending modes is crucial for achieving depth and realism.
- References are your friend! Using reference images for anatomy, posing, and lighting will drastically improve your portraits. Always give credit to the original artists if you use their work.
Step-by-Step Instructions
Sketching and Framing
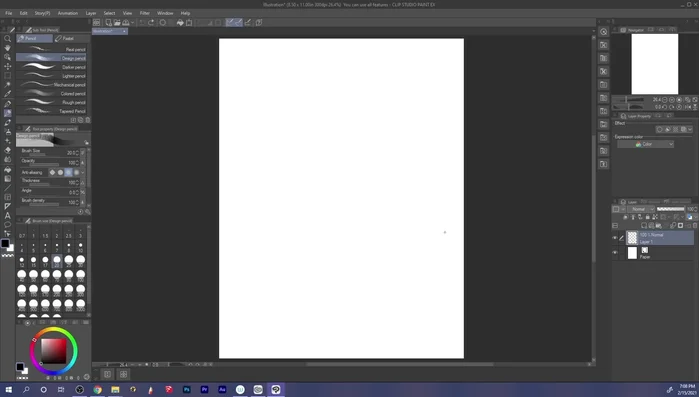
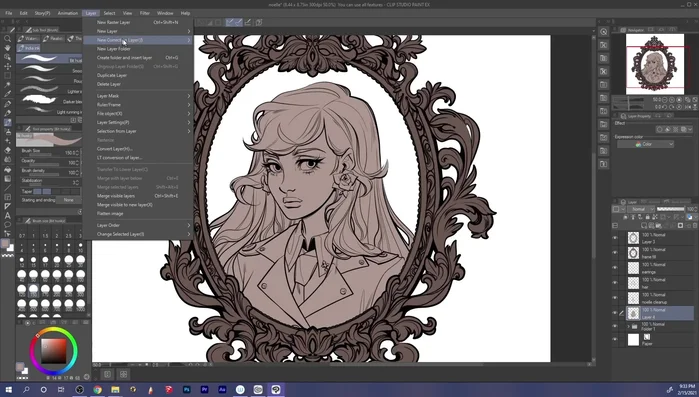
- Testing and selecting brushes for sketching (Design Pencil)
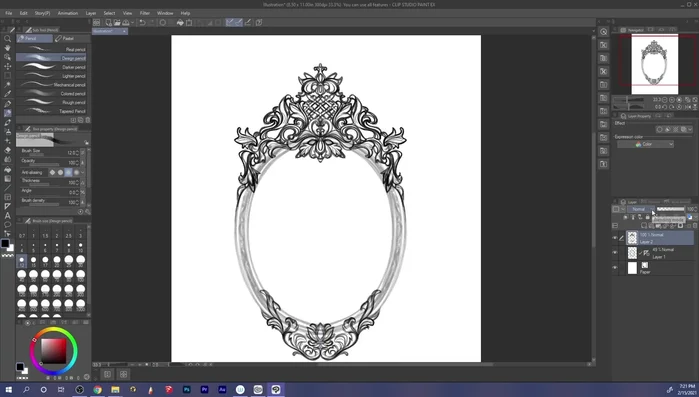
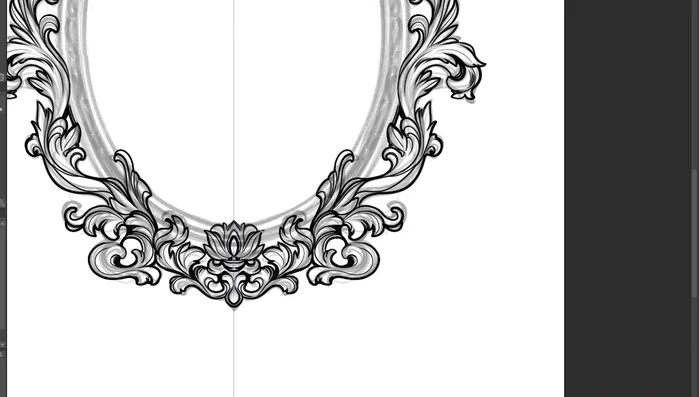
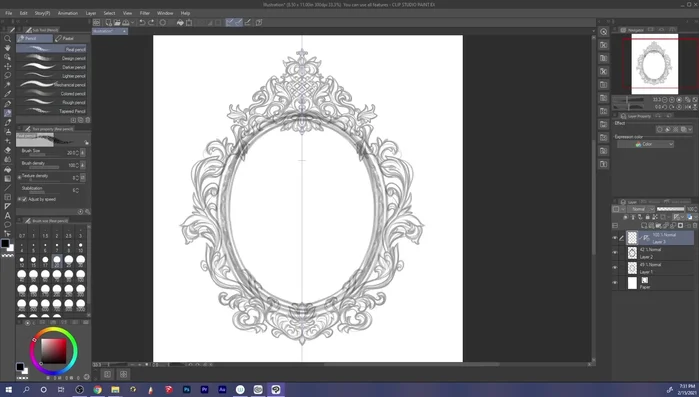
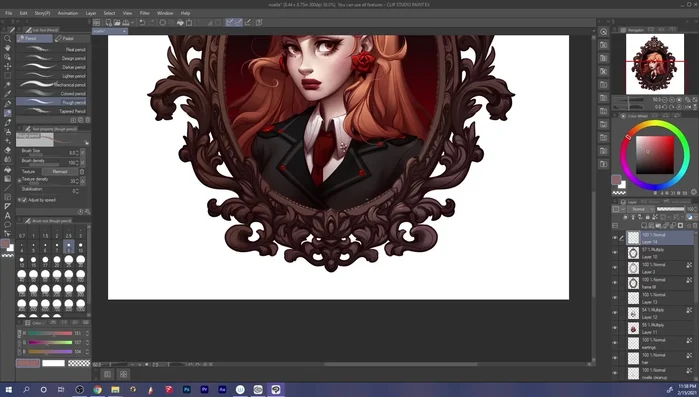
- Sketching the ornate Victorian frame using the symmetry ruler.
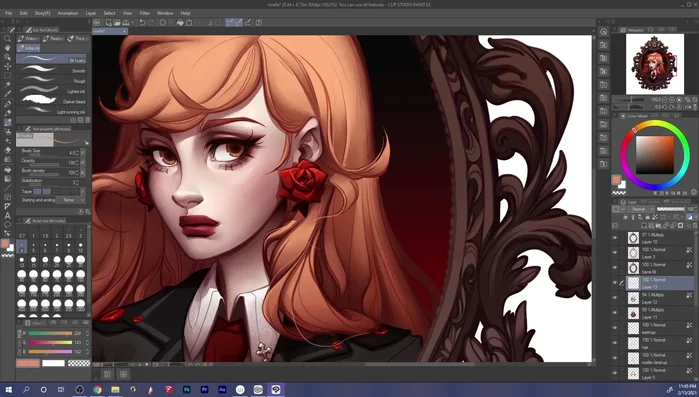
- Sketching the character portrait (Noelle).

Sketching and Framing Inking the Illustration
- Inking the frame with a 'Darker Pencil' brush.
- Inking the character portrait, focusing on the face first, then clothing, and finally hair. Using the same 'Darker Pencil' brush.
Inking the Illustration Base Coloring
- Adding flat colors and line coloring.
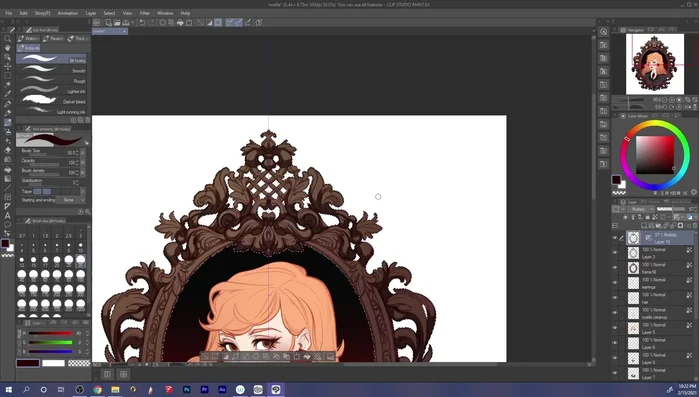
Base Coloring Shading and Rendering the Frame
- Adding volume to the frame with a simple shading pass.
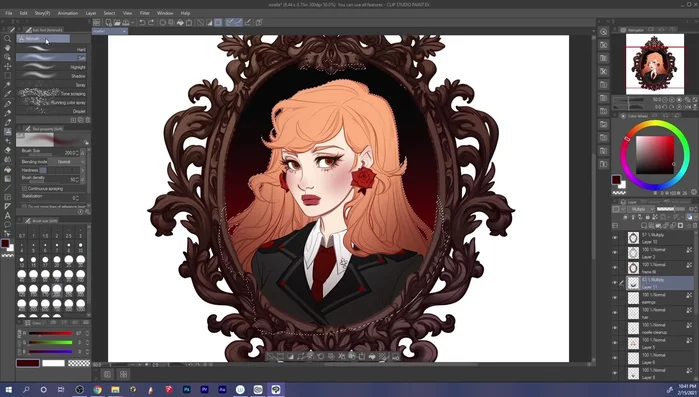
Shading and Rendering the Frame Shading and Rendering the Character
- Adding shadows to the character portrait using a multiply layer with a dark burgundy color in multiple passes.
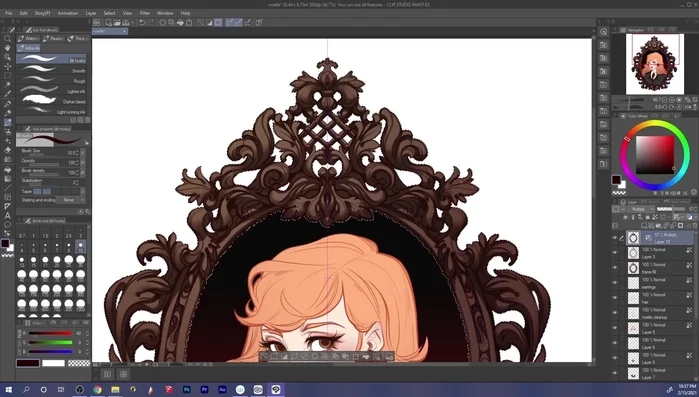
- Softening edges and adding detail with a water blending brush.
Shading and Rendering the Character Refining and Detailing
- Adding paint overs on a layer above to refine details, add highlights, and blend line work.
- Adding highlights to the frame and adjusting background color.
Refining and Detailing
Read more: 7 Top Paint Color Trends for 2024: A Complete Guide with Free Downloadable Resource
Tips
- Utilize the symmetry ruler for efficient and symmetrical designs.
- Don't strive for 100% perfection in sketching; refine details during the inking process.
- Ink clothing before hair to simplify layering and manage hair placement.
- Use multiple passes with a blending tool to achieve subtle and controlled shadows.
- Employ the Gouache Blender for a smooth, textured blending effect.