Welcome, aspiring sculptors! Have you ever dreamt of creating your own fantastical creatures? This tutorial will guide you through the process of sculpting a charming and uniquely stylized steampunk owl figurine using air-dry clay. We'll be blending the adorable features of an owl with the intricate, brass-infused aesthetic of steampunk, resulting in a truly captivating piece you can proudly display. Think gears, goggles, maybe even a tiny top hat – the possibilities are as limitless as your imagination! This project is perfect for beginners, requiring minimal tools and experience.
Forget complicated techniques and overwhelming instructions; this guide breaks down the sculpting process into manageable, easy-to-follow steps. From shaping the basic owl form to adding those delightful steampunk details, we'll walk you through each stage with clear visuals and helpful tips. Let's get started with the first step, preparing your clay and sketching out your design!
Preparation and Safety Guidelines
- Aluminum foil
- Super Sculpey Original clay
- Sculpey Primo clay
- Sculpey Glow-in-the-Dark clay
- Pasta maker (or rolling pin)
- Pin tool
- Ball stylus (large and medium)
- Toothpicks
- Bacon Bond
- 16mm clear cabochons
- Sculpting tools
- Clay softener
- Folk Art brand matte acrylics and metallics paints
- Always work in a well-ventilated area. Clay dust can be harmful if inhaled.
- Use appropriate safety glasses to protect your eyes from flying clay or tools.
- Ensure the workspace is clean and free from obstructions to prevent accidents.
Step-by-Step Instructions
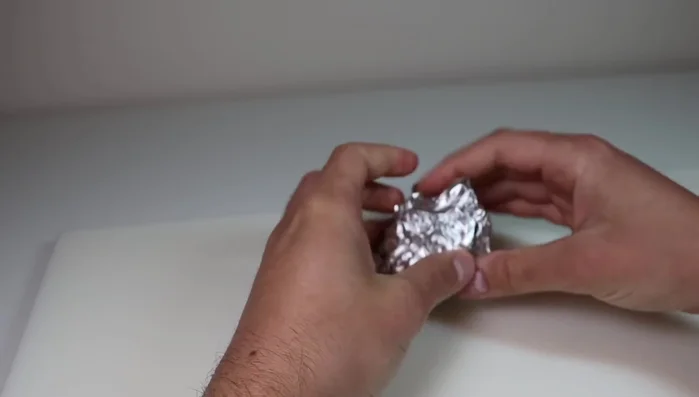
Create the Armature
- Create the armature using aluminum foil. Shape the body as a domed marshmallow and the head as a large oval.

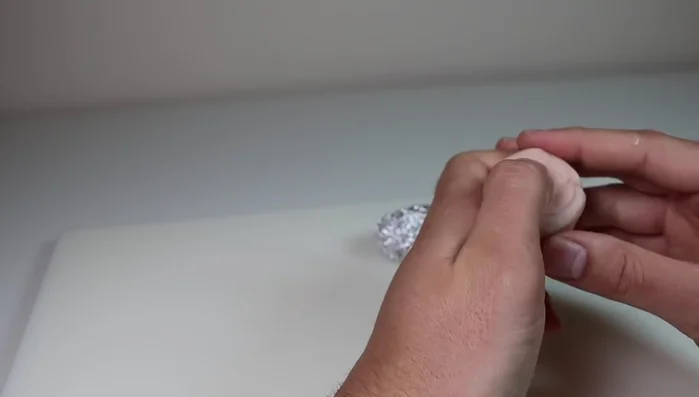
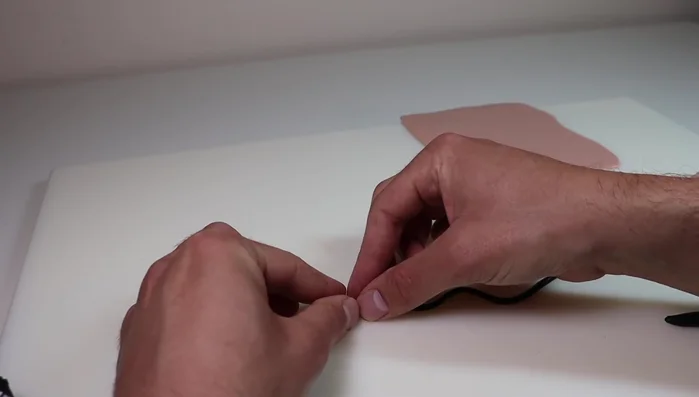
Create the Armature Cover Armature with Clay
- Cover the armature with clay. Roll out even sheets of clay using a pasta maker or rolling pin. Smooth the clay onto the foil armature.
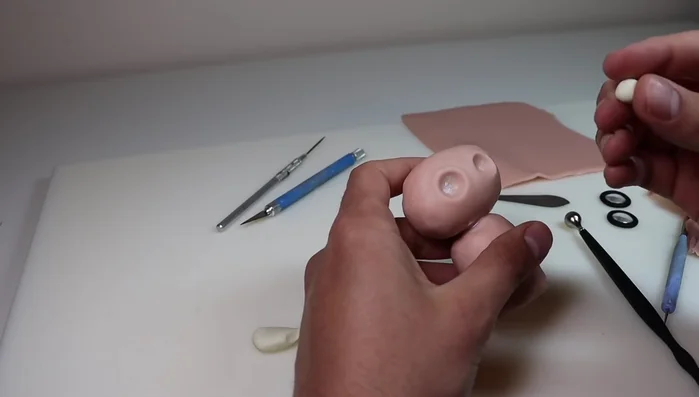
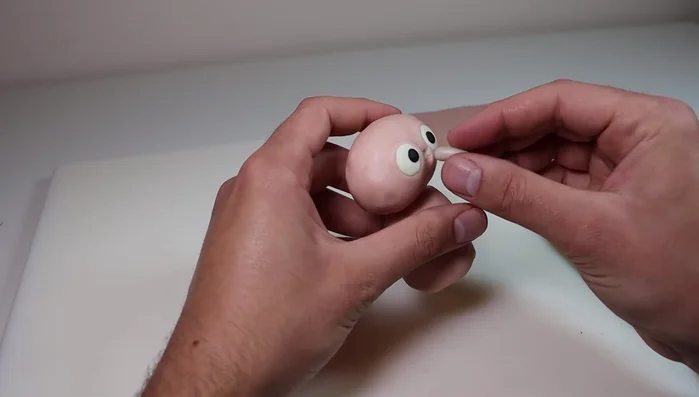
Cover Armature with Clay Make and Attach Eyes
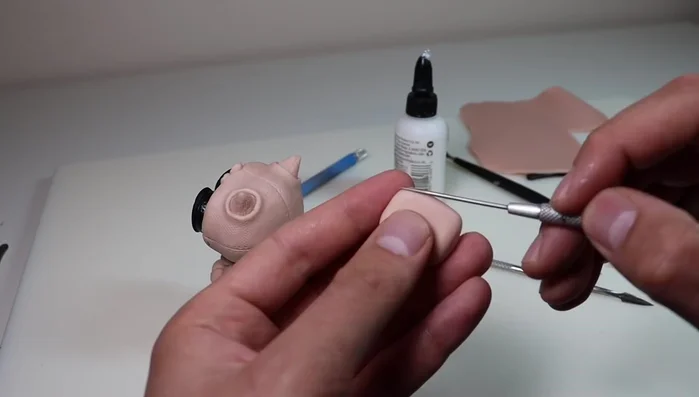
- Use clear cabochons and add a rim with Sculpey Primo clay. Add details with a pin tool. Pre-bake the eyes.
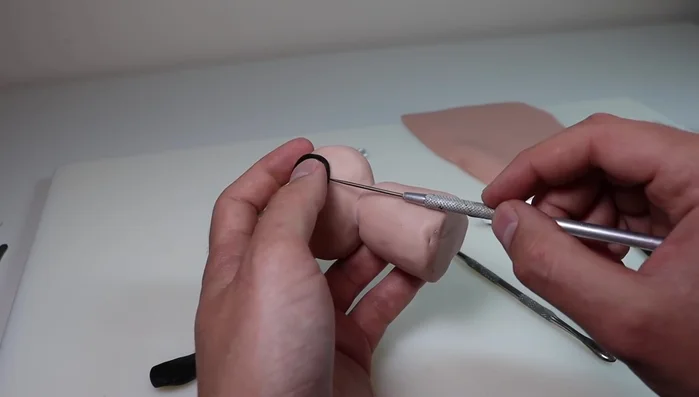
- Create eye sockets in the owl's head using a ball stylus and fill with glow-in-the-dark clay. Add irises with black Sculpey Primo clay.
Make and Attach Eyes Add Beak
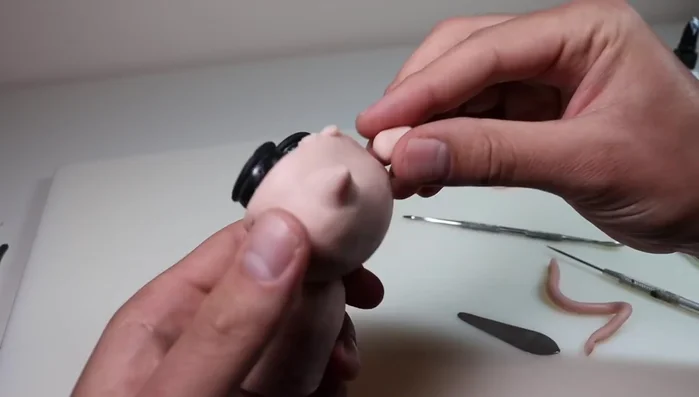
- Add the beak using translucent Sculpey Primo clay.
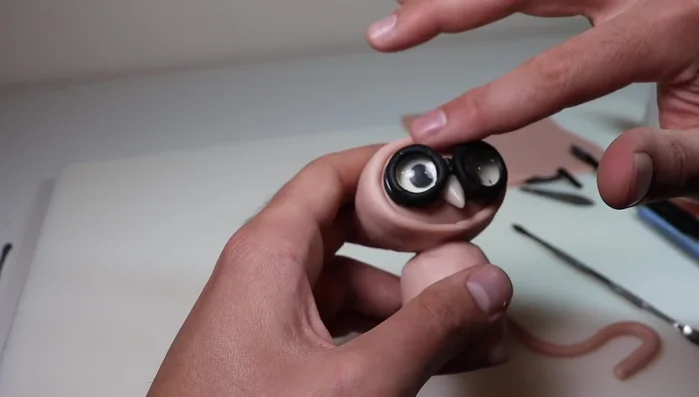
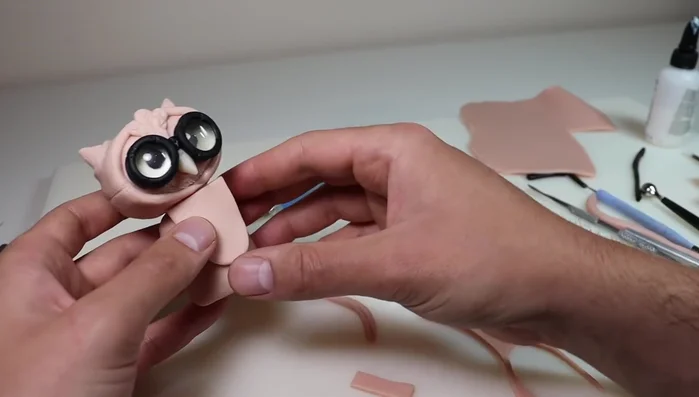
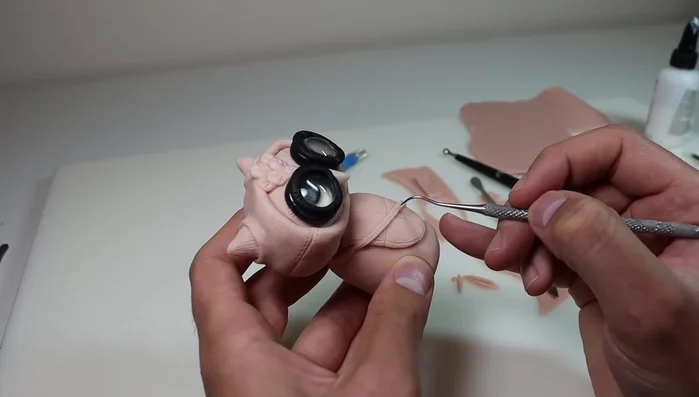
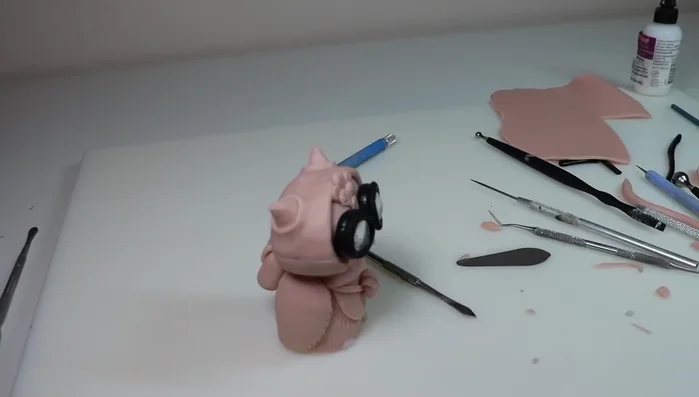
Add Beak Attach Goggles
- Create a rim around each eye socket with clay. Make a small hole in an inconspicuous area of each goggle to release air during baking. Secure lenses with Bacon Bond.
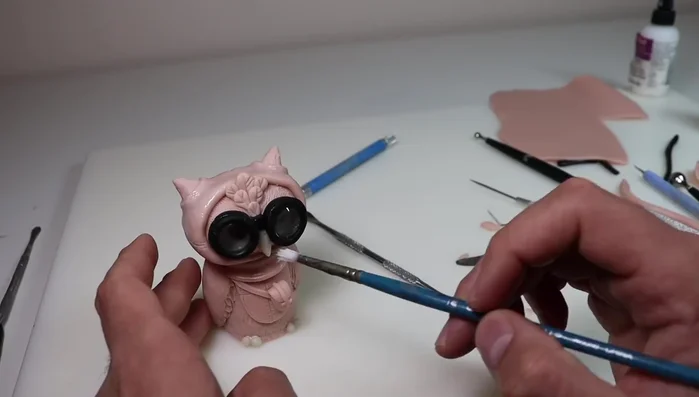
Attach Goggles Create and Attach Hood
- Create and attach the hood using a snake of clay, blending it into the head. Add feathers to the forehead and texture the hood.
Create and Attach Hood Add Plume Corns
- Add plume corns and create openings in the hood for them.
Add Plume Corns Add Bandana
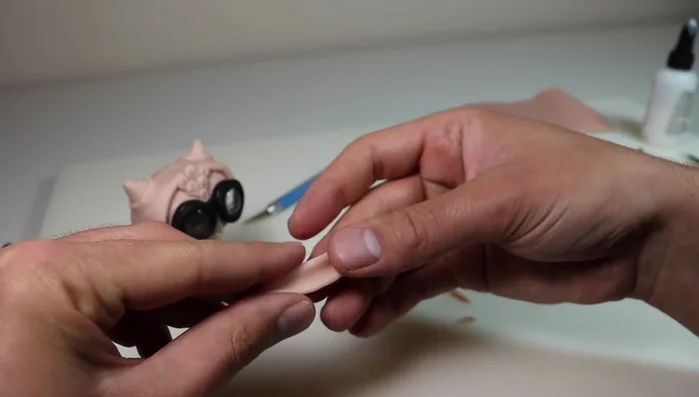
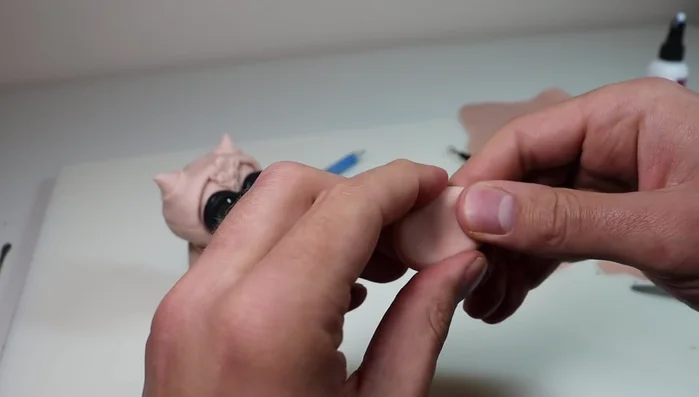
- Add a bandana and texture it.
Add Bandana Add Breastplate
- Create and attach a leather breastplate with stitching details.
Add Breastplate Add Small Backpack
- Create and attach a small backpack with straps and a clasp.
Add Small Backpack Add Wings
- Create and attach wings. Texture the wings with a variety of textures.
Add Wings Add Large Backpack
- Create and attach a larger backpack to the back of the owl with straps and seams.
Add Large Backpack Add Feet
- Add small feet.
Add Feet Bake and Cool
- Bake the owl and allow it to cool completely.
Bake and Cool Paint the Owl
- Paint the owl using Folk Art matte acrylics and metallics. Use layering and dry brushing techniques for depth and dimension.
Paint the Owl

Read more: Hang Your Clay Creations: The No-Hole Hanger Method
Tips
- Use Bacon Bond to secure pieces together for increased strength.
- Create small holes in the goggles to prevent air bubbles during baking.
- Use layering and dry brushing techniques for painting to create depth and dimension.