Landscape painting often hinges on the artist's ability to master the subtle art of smooth gradients, creating believable depth and atmosphere. Nowhere is this more crucial than in depicting scenes of delicate beauty, such as a cherry blossom forest, where the gentle transitions of light and shadow define the overall impact. The ethereal quality of a blossoming cherry tree, the way light filters through countless petals, demands a nuanced approach to color mixing and brushwork to avoid a harsh or artificial look. Achieving this delicate balance is key to capturing the essence of the scene, transporting the viewer to a tranquil and captivating world.
This tutorial will guide you through the process of creating a breathtaking cherry blossom forest painting, focusing specifically on achieving seamless color transitions and utilizing various techniques to master smooth gradients. We'll explore the step-by-step process, from initial sketch to final details, enabling you to capture the enchanting beauty of a cherry blossom forest on your canvas.
Preparation and Safety Guidelines
- Square-headed brush
- Round-headed brush
- Acrylic paints (primary blue, titanium white, primary red, Mars black, burnt umber)
- Protect your workspace: Use a drop cloth to prevent paint spills and protect your working surface. Acrylics and oils can be difficult to clean up.
- Work in thin layers: Allow each layer of paint to dry completely before applying the next to prevent muddying the colors and achieving smooth gradients. This is especially important with oils.
- Clean your brushes thoroughly: Proper brush cleaning is essential to maintain their quality and achieve clean transitions between colors. Use appropriate solvents (water for acrylics, mineral spirits for oils) and a brush soap.
Step-by-Step Instructions
Establishing the Sky and Water Base
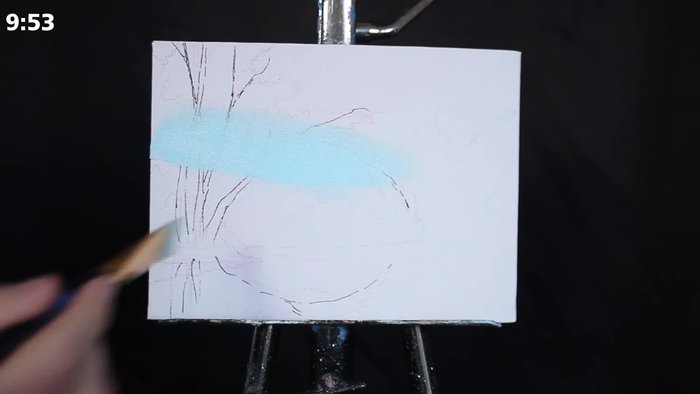
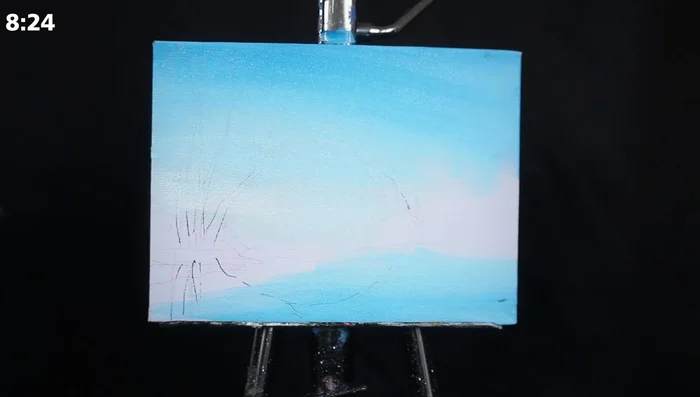
- Create a smooth sky gradient using a damp square-headed brush with a mixture of primary blue and titanium white. Apply this mixture across the entire canvas, including where the trees will be, to allow for seamless blending.
- Mirror the sky colors in the water, making the top brightest and the bottom darkest.

Establishing the Sky and Water Base Layering Distant Trees
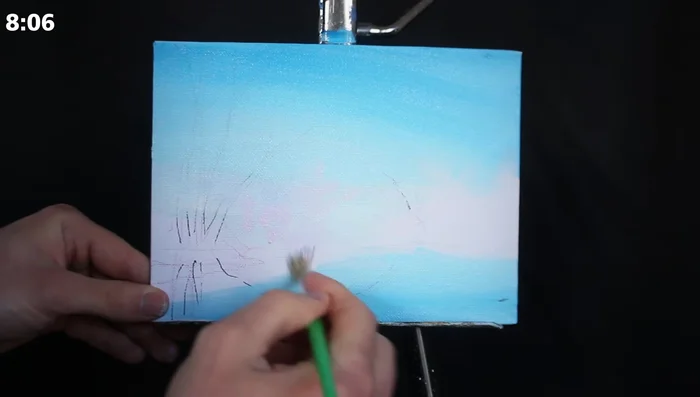
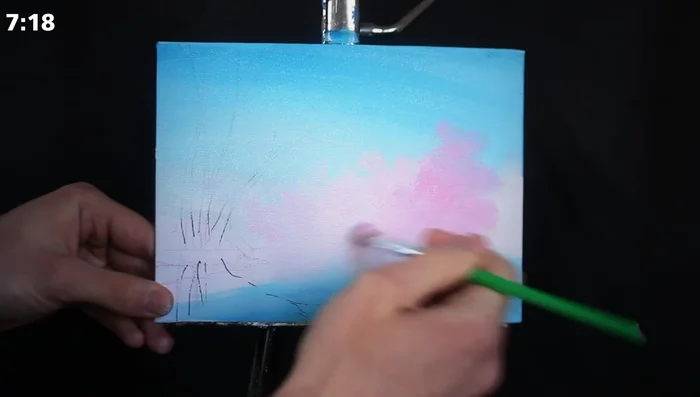
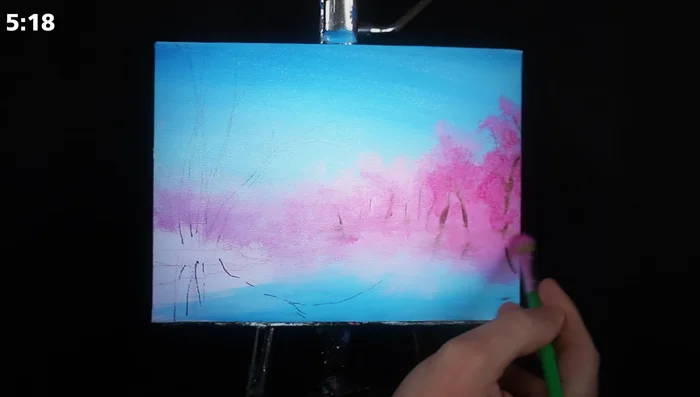
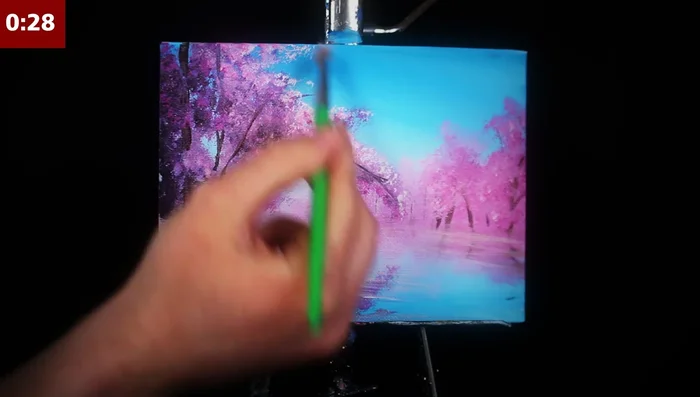
- Use a light pink (primary red and titanium white) with a tapping motion of an old square-headed brush to create distant trees. The varied bristle directions create a natural, dot-like effect implying foliage.
- Gradually increase the saturation of the pink by adding more primary red as you move towards the foreground, suggesting trees getting closer and more vibrant.
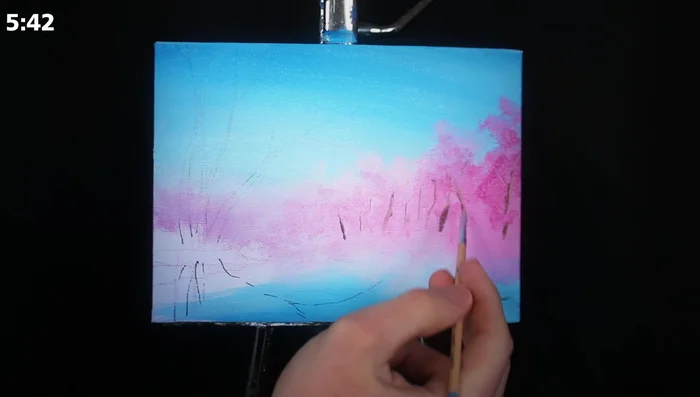
- Use a small round brush with Mars black and burnt umber to add branches and tree trunks in the distance, allowing them to mix with the pink underneath for a natural look.
Layering Distant Trees Adding Depth and Overlap
- Dab more pink over portions of the piece to show leaves overlapping branches, creating depth and visual interest.
Adding Depth and Overlap Painting the Foreground Tree
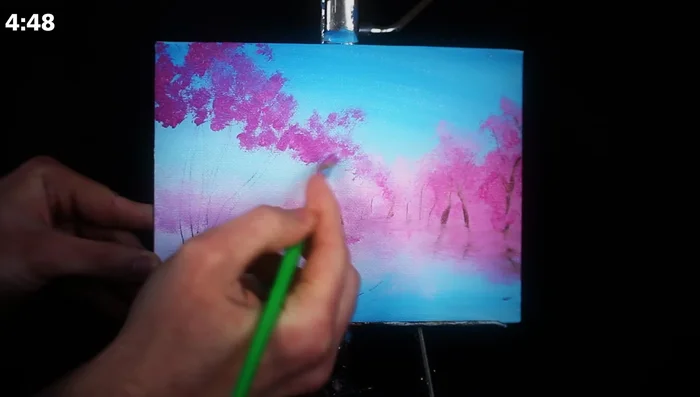
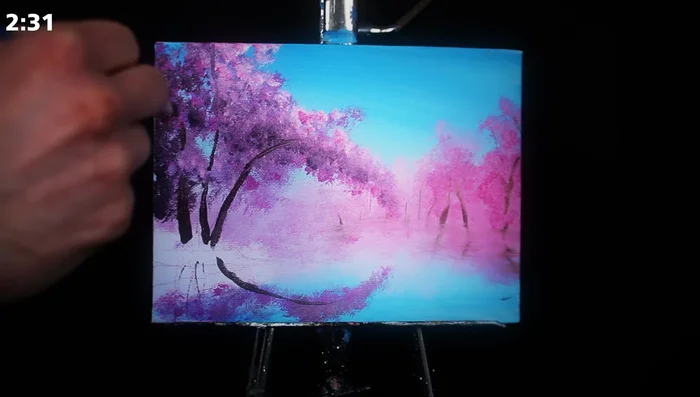
- For the main foreground tree, use a medium-dark pink with black to ensure it stands out against the bright sky. Layer darker mixtures on inner portions and lighter pigments on the outskirts to build three-dimensionality.
- Use a tapping motion with brush rotation to create diverse leaf clusters, ensuring that the tree is interesting and full of natural variation.
Painting the Foreground Tree Creating Foreground Branches and Trunks
- Use a small square-headed brush with a mixture of Mars black, burnt umber, and water to create long, cohesive strokes for branches and trunks in the foreground. Use plenty of water to allow for smooth, fluid lines.
Creating Foreground Branches and Trunks Ground and Final Details
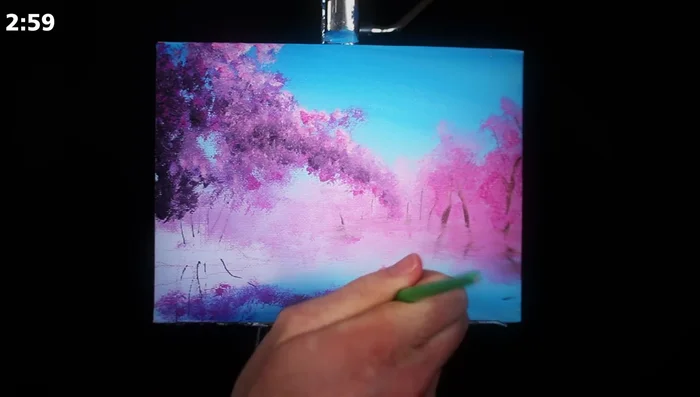
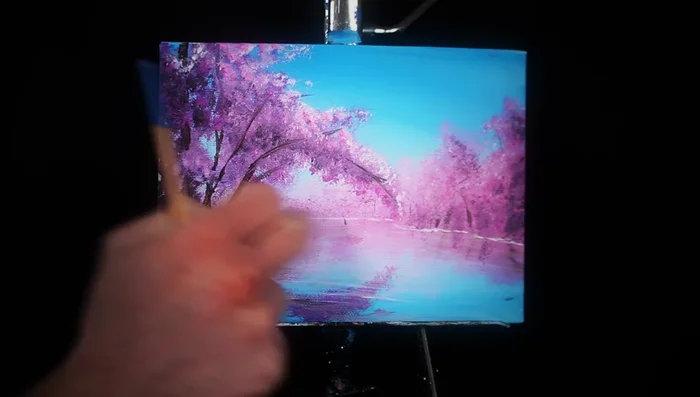
- After letting the painting dry, add a base for the ground with brown, avoiding excessive blending with the pink.
- Add linear strokes of titanium white to the water to suggest movement. Add additional titanium white highlights to the edges of the foreground tree and subtly to the background for cohesion.
- Add a darker pink/purple to the background for subtle depth, and additional linear strokes to define land and water. Blur background strokes and add further volume to trees and ground for three-dimensionality.
Ground and Final Details

Read more: 7 Top Paint Color Trends for 2024: A Complete Guide with Free Downloadable Resource
Tips
- Use a very light touch and a damp brush for smooth gradients; avoid grinding the brush into the canvas.
- Save the extremity of your brightest and darkest colors for later, using subtle variations for the initial washes.
- Incorporate diversity in your trees and elements for a stronger painting.
- Don't be afraid to take artistic liberties and deviate from realism to improve composition or color.