Transform ordinary glass jars into stunning decorative pieces with the versatility and charm of chalk paint! This simple yet effective technique allows you to personalize your home décor, creating unique storage solutions, beautiful vases, or charming candle holders – all from repurposed materials. The possibilities are as endless as your imagination, whether you prefer a rustic, shabby-chic aesthetic, a bold and vibrant look, or something subtly sophisticated. Chalk paint’s matte finish and incredible adhesion to glass make it the ideal medium for this project, providing a durable and beautiful result that will last.
Forget expensive store-bought decorations; unlock your creativity and unleash your inner artist with our comprehensive guide to DIY painted glass jars. This step-by-step tutorial will walk you through every stage of the process, from prepping your jars to achieving that perfect, effortlessly chic finish. Prepare to be amazed by how easily you can elevate everyday items into stylish accents for your home.
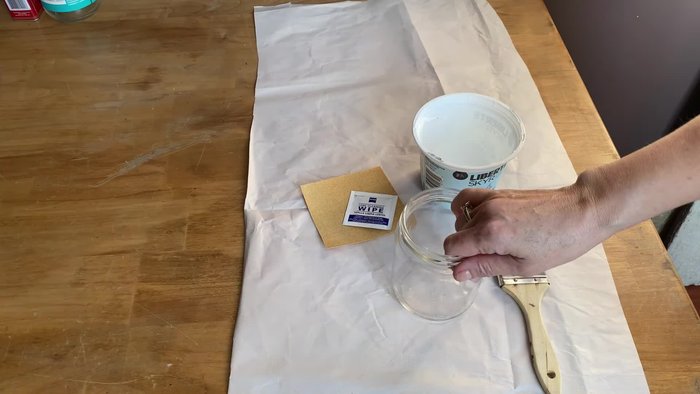
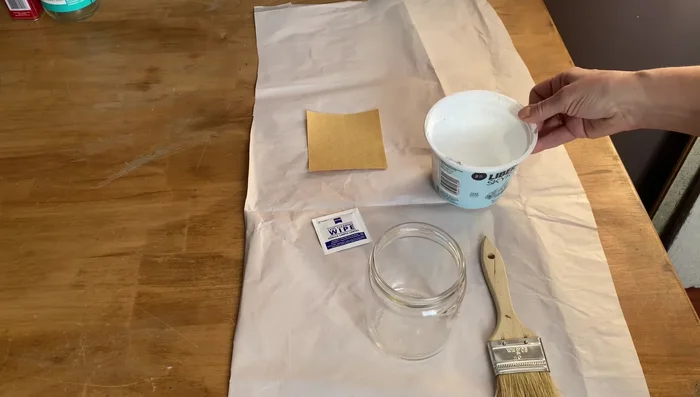
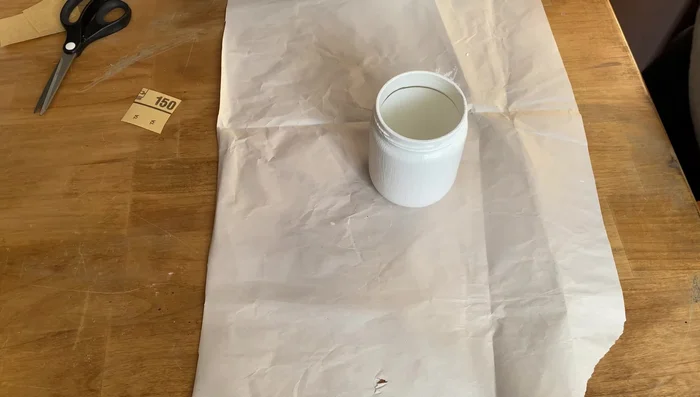
Preparation and Safety Guidelines
- Dawn dish soap
- paintbrush (chip brushes recommended)
- 150-grit sandpaper
- glass cleaner wipes (or alcohol and paper towels)
- homemade chalk paint
- Always work in a well-ventilated area. Chalk paint and its solvents can release fumes.
- Protect your work surface. Chalk paint can stain.
- Use oven-safe jars only if you plan on baking the paint for a more durable finish. Check the jar's label for oven-safe temperatures before proceeding.
Step-by-Step Instructions
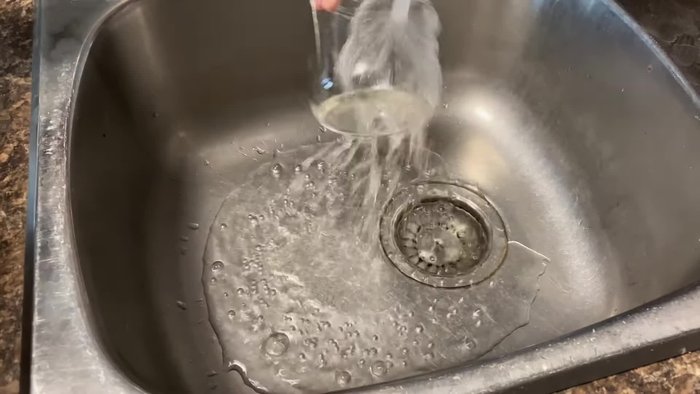
Prepare the Jars
- Clean the glass jars thoroughly with Dawn dish soap to remove any grease or oil residue.
- Dry the jars completely.
- Clean the jars again with alcohol-based wipes to remove any remaining residue.

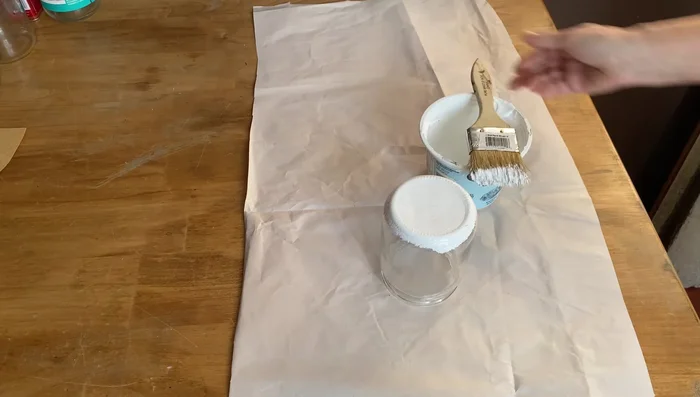
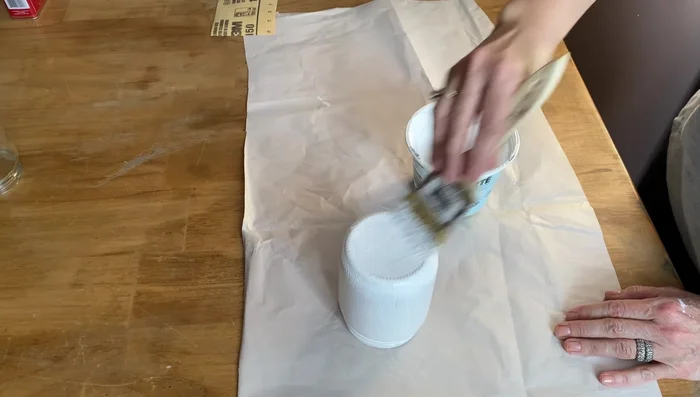
Prepare the Jars Paint the Bottom
- Paint the bottom of the jar with a thin coat of homemade chalk paint, letting it dry completely before painting the sides.
- Apply a second coat to the bottom of the jar.
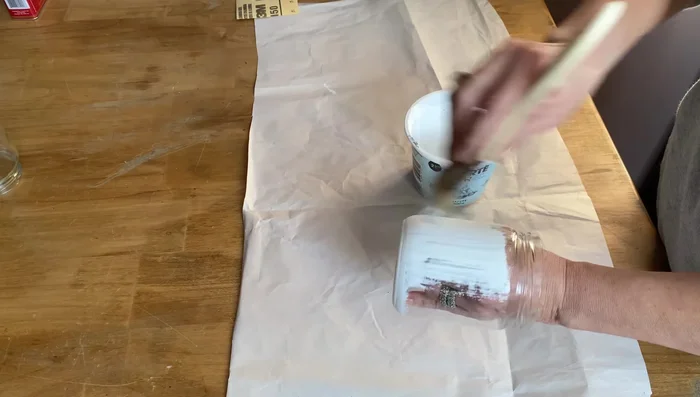
Paint the Bottom Paint the Sides
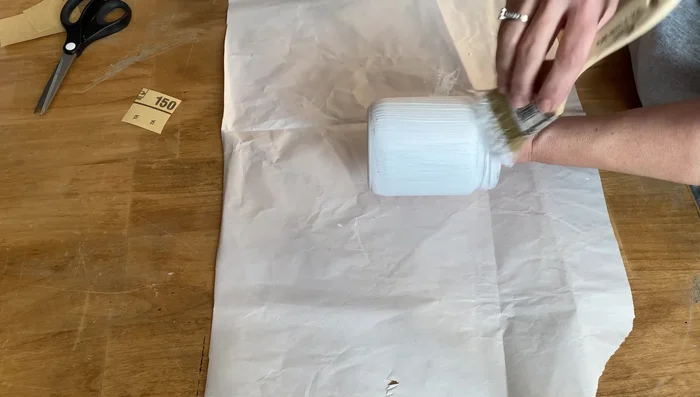
- Apply a thin coat of chalk paint to the sides of the jar using long strokes.
- Apply a second coat to the sides of the jar using the same technique as before.
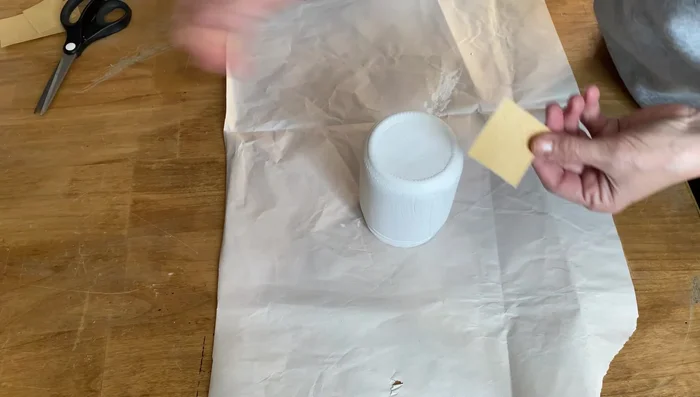
Paint the Sides Smooth and Finish
- Lightly sand the jar with 150-grit sandpaper to smooth out any bumps or lumps.
- Dab paint around the rim to seal it.
- Apply a top coat of water-based crystal clear verithane (matte finish) to seal the paint.
Smooth and Finish

Read more: 7 Top Paint Color Trends for 2024: A Complete Guide with Free Downloadable Resource
Tips
- Use a thin coat of paint for each layer to avoid streaks and ensure even coverage.
- Chalk paint will have a slightly textured and potentially streaky finish; this is normal and can be minimized with thin coats.
- Don't use sandpaper with a grit coarser than 150; a finer grit is gentler on the paint.
- You can add colored paint testers to your homemade chalk paint recipe for a variety of colors.
- Two coats of chalk paint are usually sufficient, but a third coat can be added if needed.