In today's visually-driven world, a captivating poster can make all the difference – whether you're promoting an event, announcing a sale, or simply sharing a message. Creating professional-looking designs, however, often feels like a task reserved for graphic design experts. But what if we told you that stunning, eye-catching posters are within everyone's reach, even without prior design experience? Canva, the user-friendly graphic design platform, empowers you to create impactful visuals with ease, regardless of your skill level. Its intuitive interface and vast library of templates, images, and fonts make designing a breeze.
Forget complicated software and steep learning curves; Canva simplifies the process, offering a streamlined way to transform your ideas into impactful designs. This step-by-step guide will walk you through the essential steps to create stunning posters in Canva, from choosing the right template to adding finishing touches. Let's dive in and unleash your inner designer!
Preparation and Safety Guidelines
- Canva Account
- Computer/Tablet
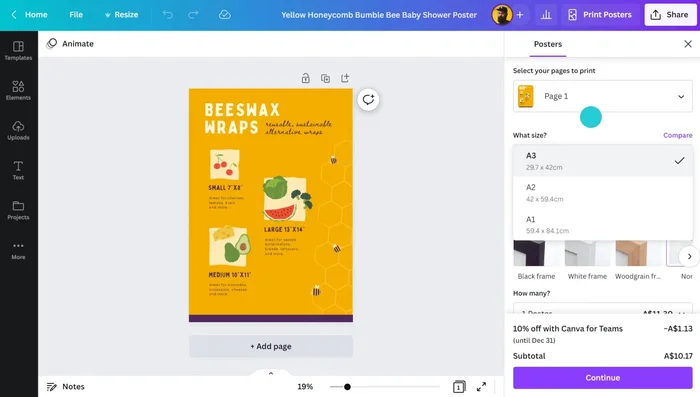
- Always save your Canva designs in high resolution (at least 300 DPI) for optimal print quality. Lower resolutions will result in blurry posters.
- Ensure you have the correct file size and dimensions for your intended printing method or online platform. Check the specifications before you begin designing.
- Review your design carefully before downloading or printing. Check for typos, blurry images, and ensure all elements are correctly aligned and sized.
Step-by-Step Instructions
Choosing a Template
- Choose a Poster Type and Search for Templates
- Filter by your needs (e.g., 'display posters', 'event posters').

Choosing a Template Customizing the Template or Starting from Scratch
- Modify existing templates to fit your design brief (e.g., changing colors, fonts, images).
- Create a new design from scratch, adding graphics and text elements individually.
Customizing the Template or Starting from Scratch Adding Visual Elements
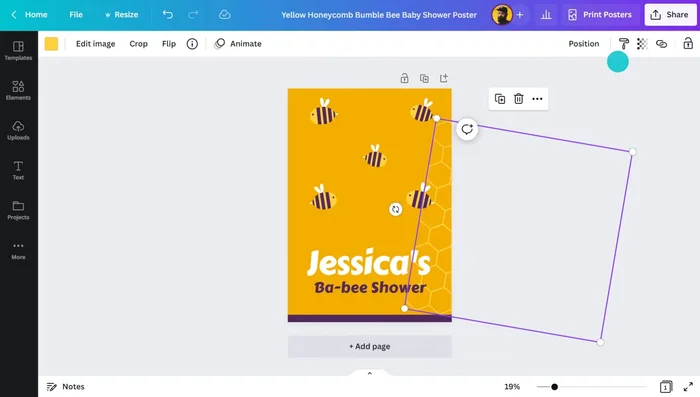
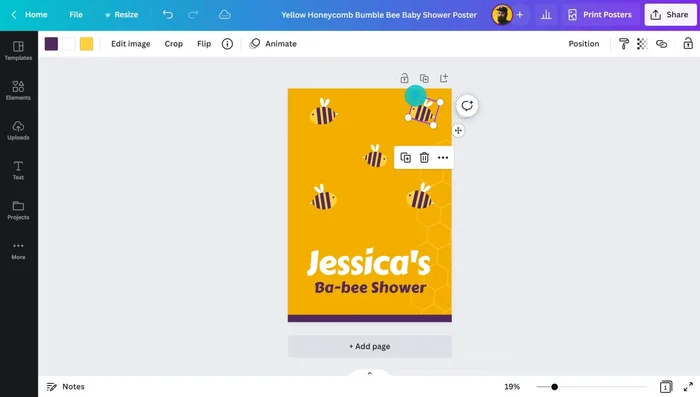
- Incorporate relevant images from Canva's library or upload your own.
- The imagery significantly impacts the poster's overall message and appeal.
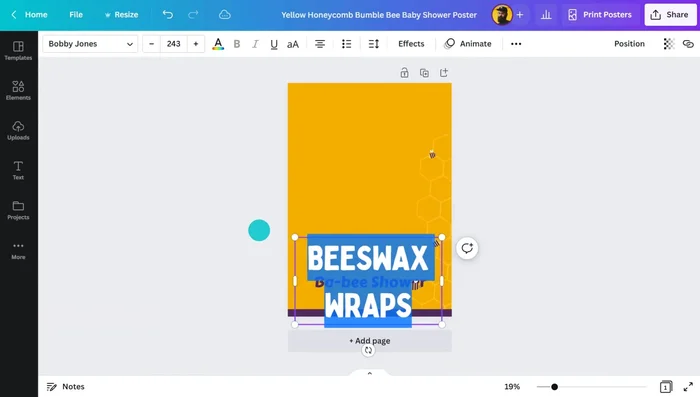
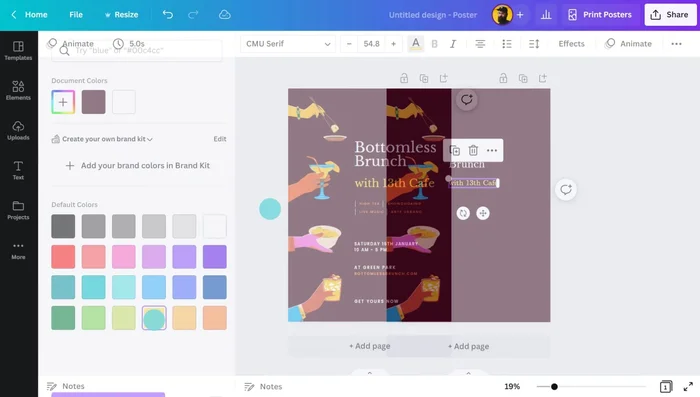
Adding Visual Elements Adding and Formatting Text
- Include headings, subheadings, body text, and other textual information.
- Use varying font sizes, styles, and colors to create visual order and emphasize key information.
- Limit the number of fonts used (three or less) for a cohesive look.
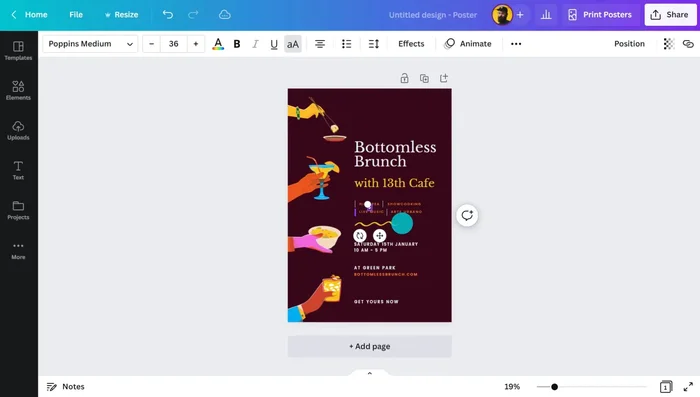
Adding and Formatting Text Refining and Preparing for Print
- Refine the design, ensuring visual balance and clarity.
- Choose the appropriate size, finish (gloss, matte), and framing options within Canva.
Refining and Preparing for Print

Read more: Easy Origami Paper Box Tutorial: Step-by-Step Guide
Tips
- Use a limited number of fonts (3 or less) for a cleaner look.
- Prioritize important information visually using size, color, and placement.
- Consider the typical Western reading pattern (top-left to bottom-right) when arranging elements.
- Select graphics that visually support your message.