Tired of boring, generic placemats? Do you crave a touch of personalized style at your next dinner party or family gathering, but the thought of complex design software intimidates you? Then look no further! This guide shows you how to create stunning, custom placemats in minutes, using the incredibly user-friendly design platform, Canva. Forget expensive printing services and complicated design programs; with Canva's intuitive interface and readily available templates, designing unique placemats is surprisingly simple and affordable.
This guide will take you through a straightforward, step-by-step process for creating personalized placemats in Canva, from choosing a template to downloading your finished design. Whether you're aiming for a rustic, modern, or whimsical aesthetic, we’ll equip you with the knowledge and techniques to bring your vision to life, transforming your dining experience with personalized flair. Let's get started!
Preparation and Safety Guidelines
- Canva Pro (optional)
- Always double-check your dimensions before printing to ensure your design fits your placemats perfectly. Incorrect sizing can lead to wasted materials and unsatisfactory results.
- Consider the material you'll be printing on when choosing your design elements and colors. Some colors might appear different on different materials (e.g., linen vs. vinyl).
- Before committing to a large print order, it's recommended to print a test copy to check the quality and color accuracy of your design.
Step-by-Step Instructions
Set up your Canva project
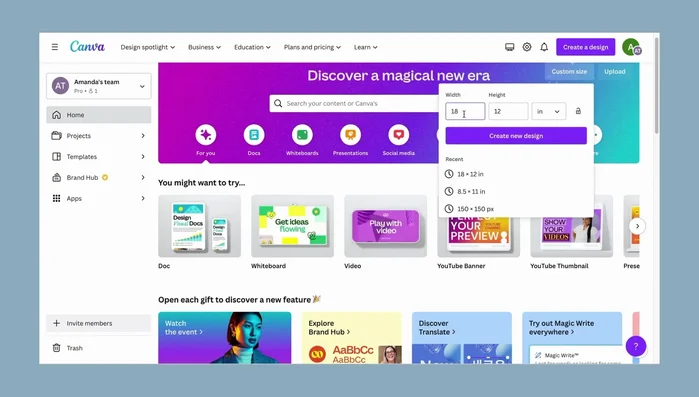
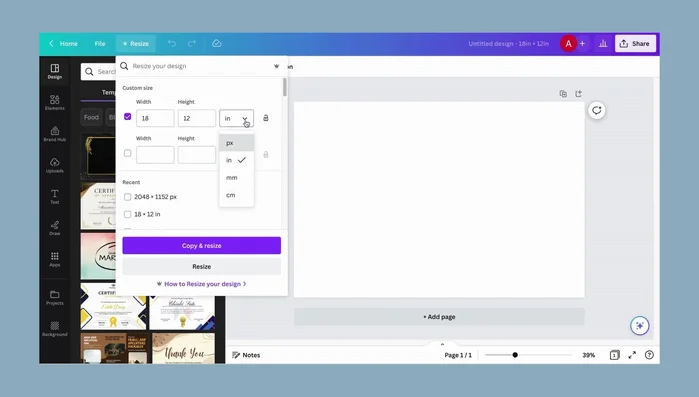
- Determine your placemat size. The example uses 18x12 inches.
- Use Canva's resizing feature to adjust your design to the desired dimensions.

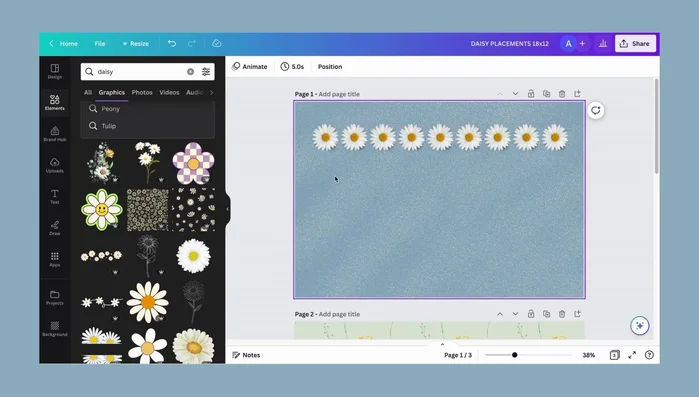
Set up your Canva project Choose your design theme and elements
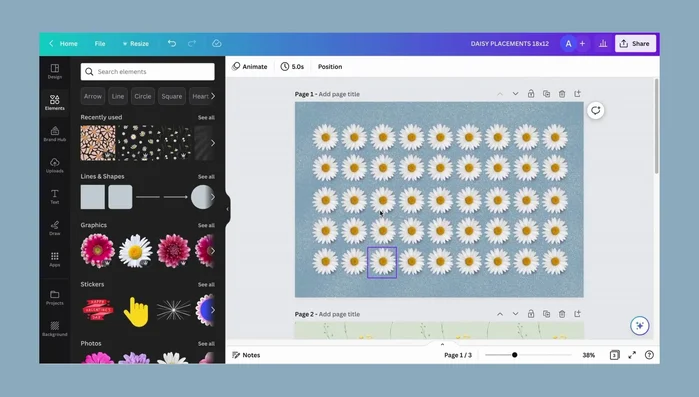
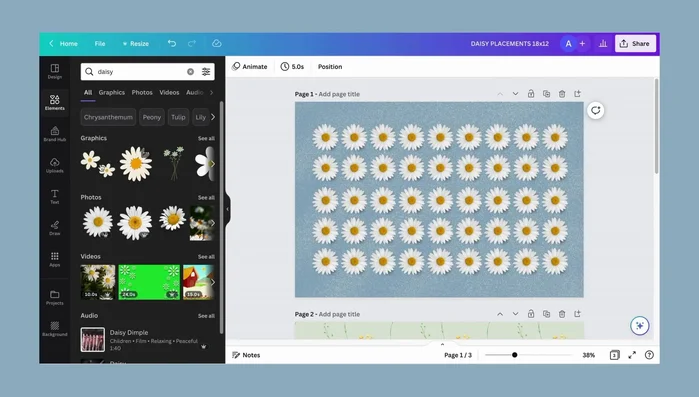
- Choose your design theme. The example uses a Daisy theme.
- Select and copy/paste design elements (graphics, images). Group copied elements to move them efficiently.
- Experiment with different design elements and color schemes to achieve your desired aesthetic.
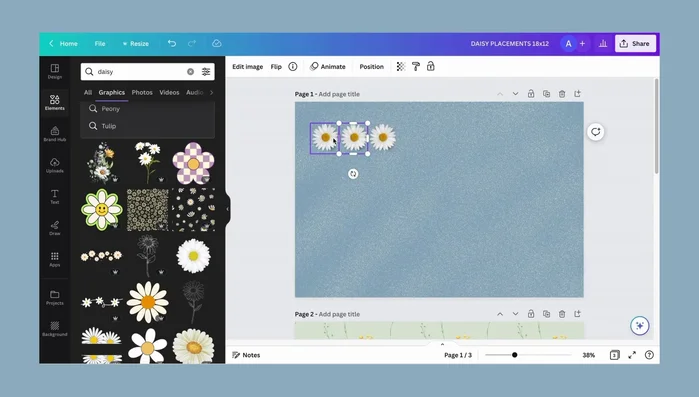
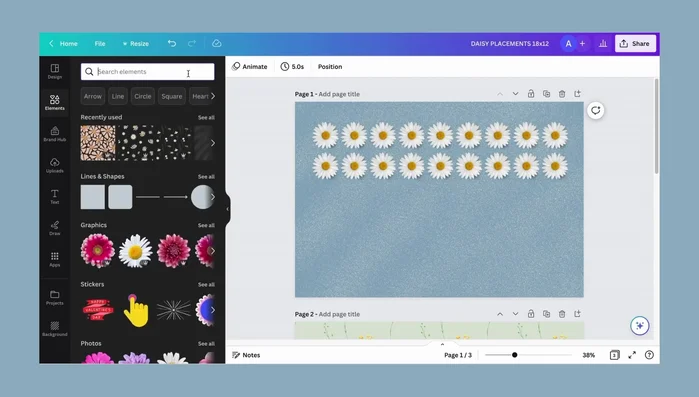
Choose your design theme and elements Create your design layout
- copy one, paste it, then copy again repeatedly to quickly populate your design.
- Arrange and align elements. Use Canva's alignment tools for precise placement.
- select a color, add elements, and experiment with textures for a 3D effect or keep it flat.
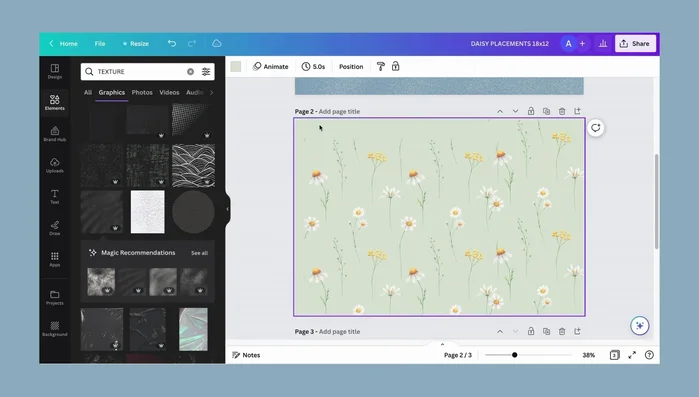
Create your design layout Add a background
- select a color, add elements, and experiment with textures for a 3D effect or keep it flat.
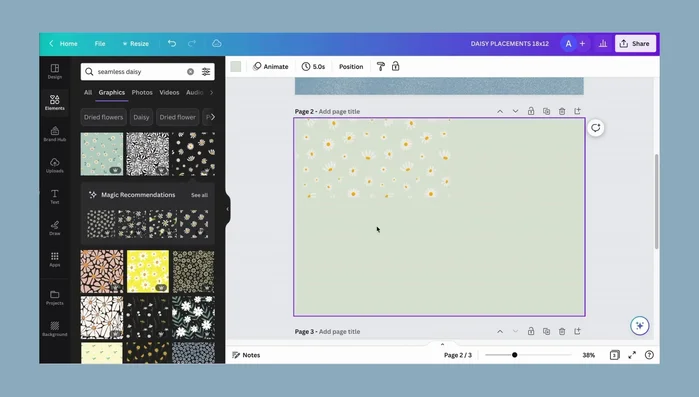
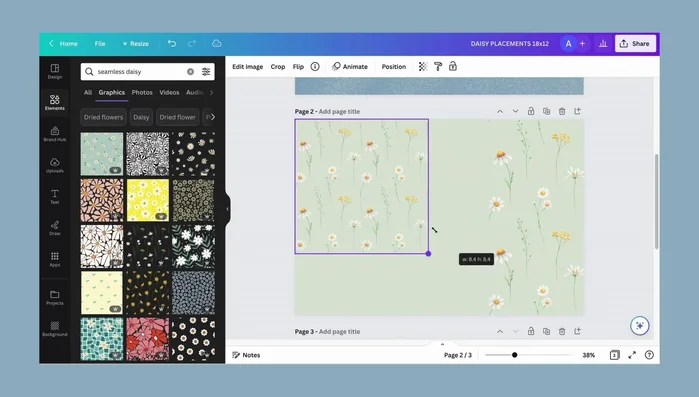
Add a background Create a seamless pattern (optional)
- use Canva's search to find seamless patterns or create your own by repeating elements.
- Adjust the scale of your pattern to fit your placemat size.
Create a seamless pattern (optional) Finalize and prepare for printing
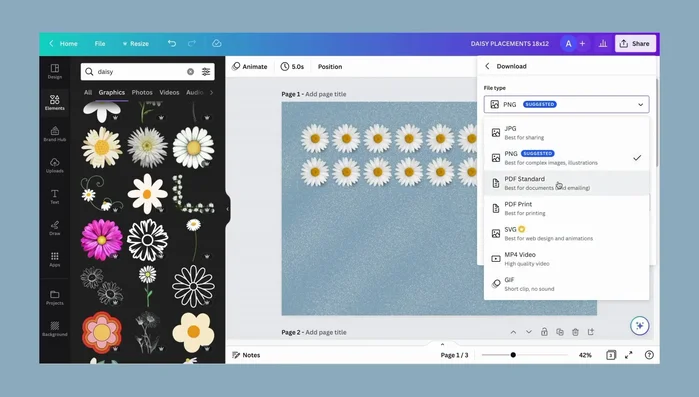
- Save your design with a descriptive file name.
- Select all pages and set the color mode to CMYK for printing. Download as a PDF.
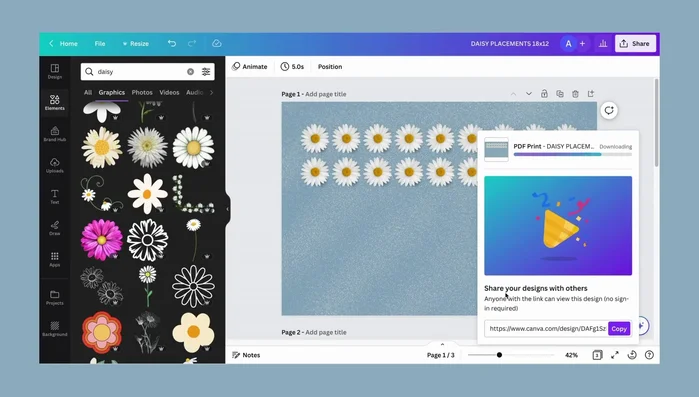
Finalize and prepare for printing Print your placemats
- Print your placemats at a local print shop or online printing service.
Print your placemats

Read more: Easy Origami Paper Box Tutorial: Step-by-Step Guide
Tips
- Using Canva Pro allows for easy resizing of designs.
- Grouping elements in Canva streamlines the design process.
- Experiment with textures to add depth to your placemat design.
- CMYK color mode is recommended for accurate print results; RGB may appear less vibrant when printed.
- Consider using cardstock for a higher-quality, thicker placemat.