Tired of soggy spoons ruining your perfectly crafted soups and stews? Do you dream of a kitchen adorned with beautiful, functional pottery, but the thought of throwing clay on a wheel seems daunting? Then you've come to the right place! This beginner's guide will show you how to create your very own lightning-fast spoon rest, using simple techniques and readily available materials. Forget expensive classes and complicated processes; we'll demystify the art of pottery, making it accessible and enjoyable for everyone, regardless of experience.
This project is perfect for a fun weekend afternoon and guarantees a satisfying sense of accomplishment. We'll guide you through each step, from preparing the clay to glazing your finished masterpiece, ensuring a beautiful and durable spoon rest that adds a touch of handmade charm to your kitchen. Ready to get your hands dirty and create something truly special? Let's dive into the step-by-step process!
Preparation and Safety Guidelines
- Pottery wheel
- Clay (buff stoneware recommended)
- Bats
- Sponge
- Glazes
- Always use caution when working with clay and glaze materials. Wear a dust mask to prevent inhalation of clay particles and gloves to protect your skin.
- Ensure your pottery kiln is properly ventilated and used according to the manufacturer's instructions. High temperatures and fumes can be hazardous.
- Allow finished pieces to cool completely before handling to prevent burns. Glazes may also contain harmful chemicals until fully cured.
Step-by-Step Instructions
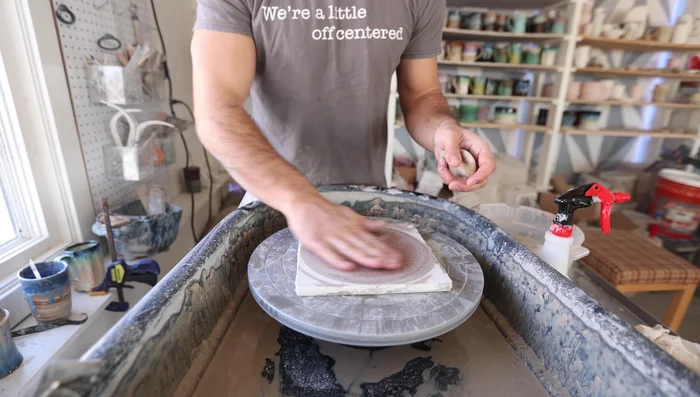
Prepare the Clay
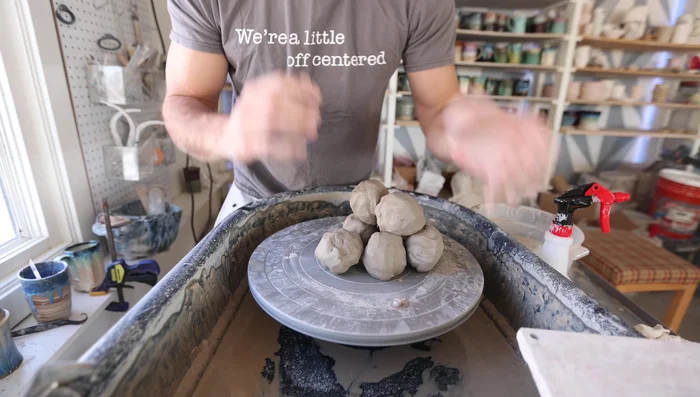
- Prepare clay balls (approximately 8 ounces each). No need to wedge for small pieces.

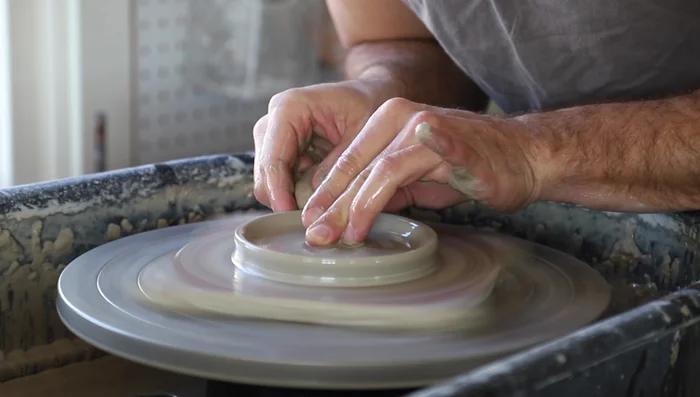
Prepare the Clay Center and Shape the Clay
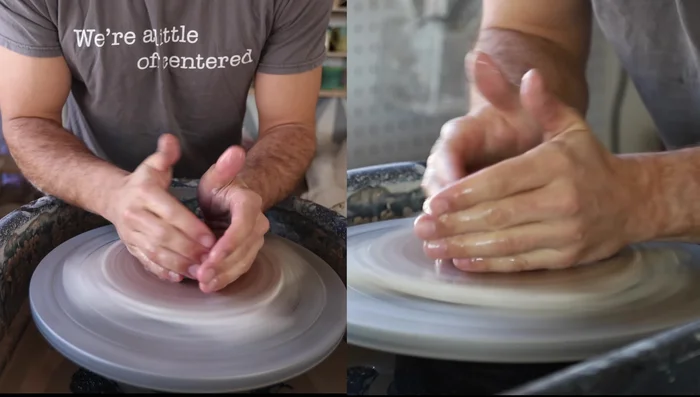
- Center the clay on the bat on the pottery wheel.
- Using the edge of your hand, create a shallow V-shape in the clay, making it thinner in the center and tapering towards the edges.
- Use your fingers to further refine the shape, ensuring it's about ½ to ¾ inch thick in the center.
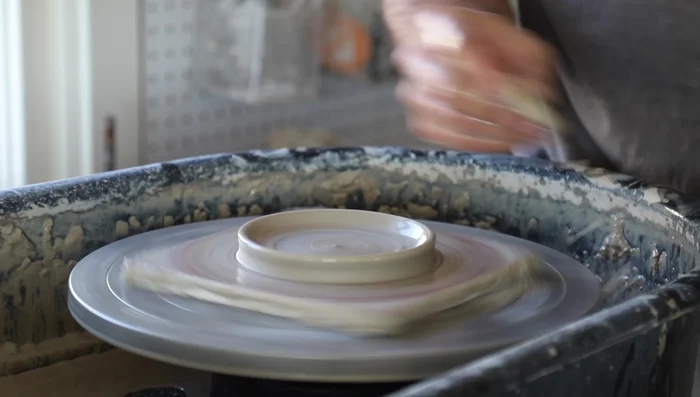
Center and Shape the Clay Form the Spoon Rest
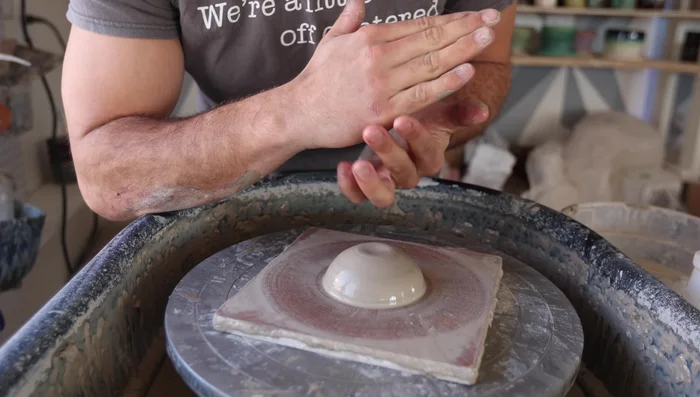
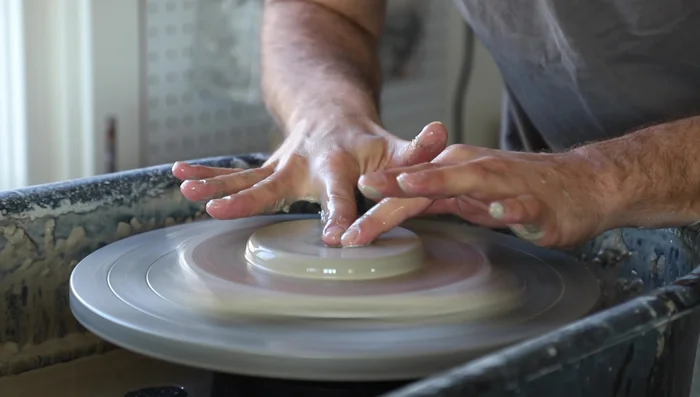
- Pull up the edges using your fingers and a damp sponge to smooth the surface and maintain moisture.
- Create a flat area on one side for the spoon handle by pushing down and shaping with your fingers.
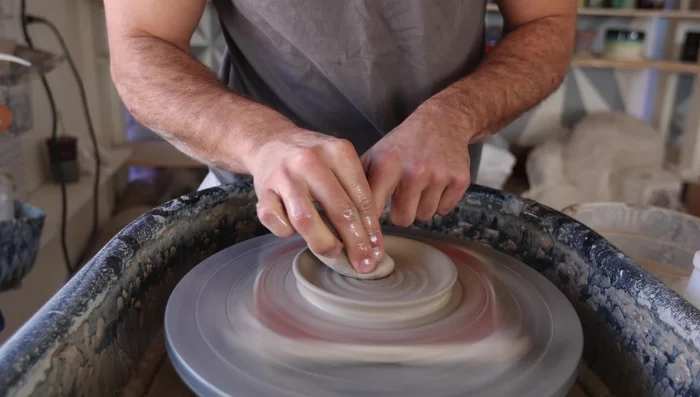
Form the Spoon Rest Dry and Decorate
- Let the spoon rest dry overnight on the bat before removing it.
- Add decorative elements such as spirals or other designs to the surface before glazing.
Dry and Decorate Glaze the Spoon Rest
- Glaze the spoon rest. A simple dip technique using two different glazes is suggested (e.g., dip one side, then dip the other, allowing for overlap).
Read more: Hang Your Clay Creations: The No-Hole Hanger Method
Tips
- Coning up and down the clay helps to center it properly on the wheel, especially if you don't wedge.
- Using a sponge helps retain moisture while shaping the clay, reducing the need for frequent water application.
- Experiment with different sizes and shapes to create a variety of spoon rests.
- Consider offering a range of price points for your spoon rests to cater to different customer budgets.