Sculpting realistic hands is often cited as one of the biggest challenges for aspiring sculptors, regardless of their skill level. The intricate details, subtle movements, and delicate proportions of the human hand demand precision and a keen eye for anatomy. Many beginners find themselves intimidated by the complexity, leading to frustration and a sense of inadequacy. But fear not! Mastering this challenging aspect of sculpting is entirely achievable with the right approach and a little patience. This doesn't require years of study; even a beginner can create surprisingly realistic results with a few simple techniques.
This quick and easy tutorial breaks down the process of sculpting realistic hands into manageable steps, perfect for those just starting their sculpting journey. We'll guide you through creating believable form, capturing accurate proportions, and adding those fine details that truly bring your sculpted hands to life. Let's get started and discover how easy it is to sculpt convincingly realistic hands – follow along with our step-by-step guide below!
Preparation and Safety Guidelines
- Clay
- Sculpting tools (optional, but helpful)
- Always use sharp, well-maintained sculpting tools. Dull tools require more force, increasing the risk of injury.
- Work in a well-ventilated area, especially when using oil-based clays or solvents. Inhaling clay dust or fumes can be harmful.
- Wash your hands thoroughly before and after sculpting. Clay can contain bacteria and some clays may be toxic if ingested.
Step-by-Step Instructions
Create the Basic Hand Shape
- Start with a clay blob and roll it into a thick snake shape. Then, pinch and shape it into a rough, slightly curved form resembling a hand.

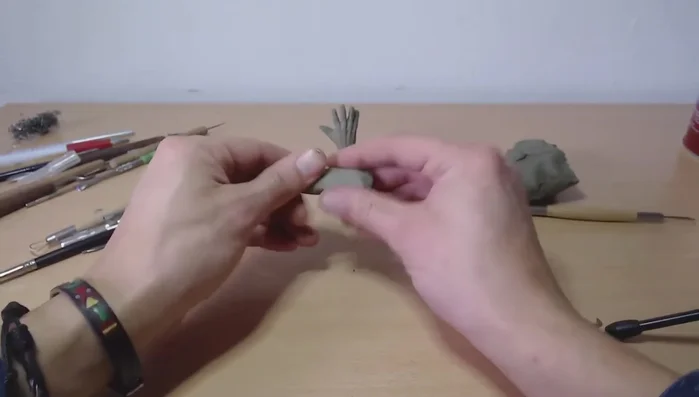
Create the Basic Hand Shape Form the Palm and Thumb Area
- Pinch and shape the clay to create a distinct palm area and a slightly separated area for the thumb.
Form the Palm and Thumb Area Add and Attach the Thumb
- Roll a small piece of clay into a spike, then pinch and attach it to the thumb area.
- Connect the thumb to the palm, blending the clay for a smooth transition.
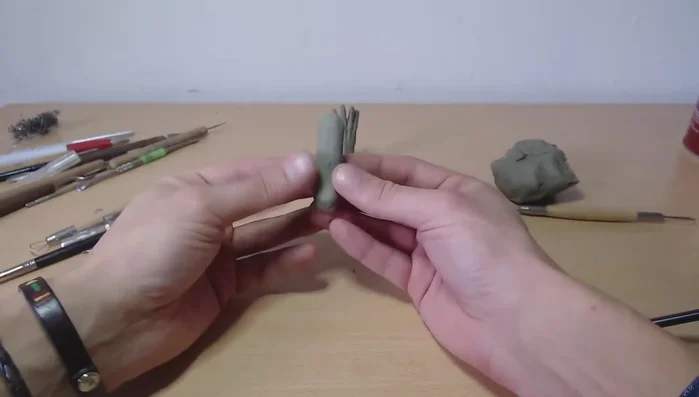
Add and Attach the Thumb Shape the Fingers
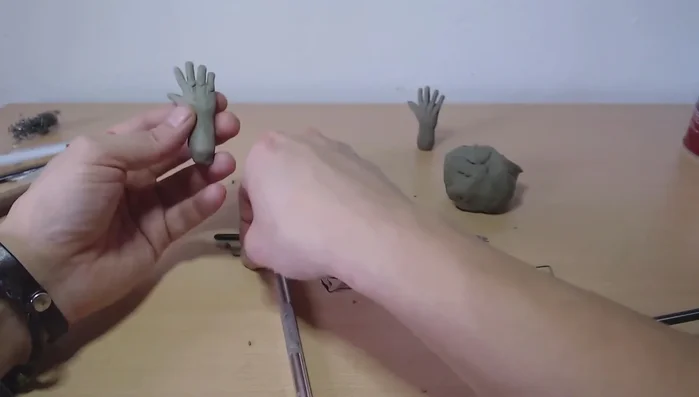
- Use a sculpting tool (or your fingers) to cut the finger sections from the main hand mass. Don't worry about precise shapes yet.
- Pinch, roll, and gently stretch the fingers to refine their shapes and remove sharp edges.
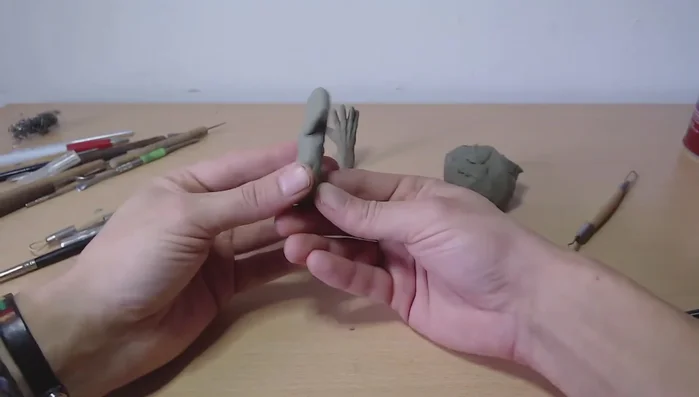
Blend Fingers to Palm
- Use a sculpting tool to smoothly blend the fingers to the palm, paying close attention to the connection points.
Blend Fingers to Palm Add and Blend Knuckles
- Add small balls of clay to represent the knuckles, then carefully blend them into the hand.
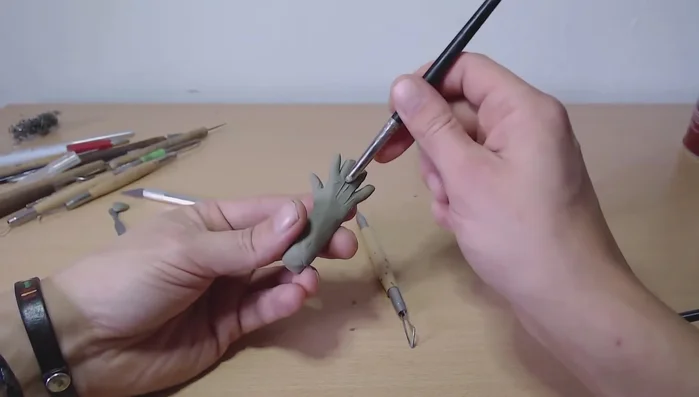
Add and Blend Knuckles Refine Details and Final Touches
- Add final details to the hand, such as nail shapes and subtle muscle definition. Remember to frequently refer to a real hand for accurate proportions and form.
Read more: Hang Your Clay Creations: The No-Hole Hanger Method
Tips
- Create a slight curve in the palm for a more realistic look.
- Keep fingers slightly angled, not perfectly straight, for a relaxed appearance.
- Use your fingers as much as possible to get a feel for the clay.
- Orient the fingers towards the viewer while angling the thumb, creating a natural hand posture.
- Use a soft blending tool to create smoother transitions between fingers and the palm.