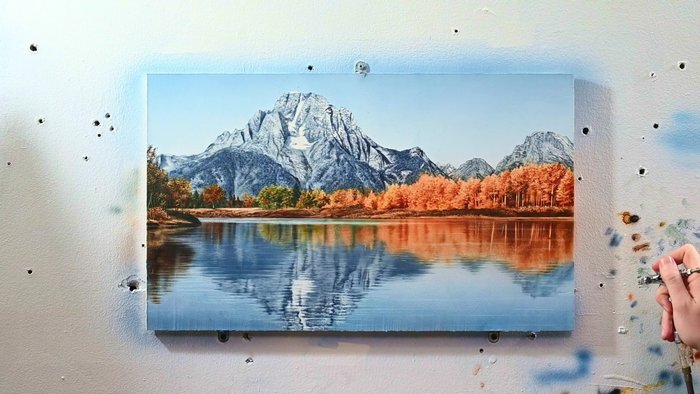
Autumn. The air crisps, the leaves blaze with fiery hues, and nature unveils its most breathtaking spectacle. Capturing this ephemeral beauty on canvas, particularly the mesmerizing interplay of water and its reflections, presents a unique challenge and immense reward for landscape painters. This exquisite dance of color and form, where trees mirrored in still waters create a doubled, ethereal world, demands a precise and nuanced approach. Mastering this technique unlocks a new level of depth and realism in your autumnal landscapes.
This article delves into the secrets of rendering the captivating reflections of autumn foliage in water, providing a step-by-step guide to achieving stunning results. From understanding the principles of light and shadow to mastering brushstrokes and color mixing, we will explore the essential techniques needed to transform your autumn paintings from simply beautiful to truly unforgettable. Let's embark on this artistic journey together.
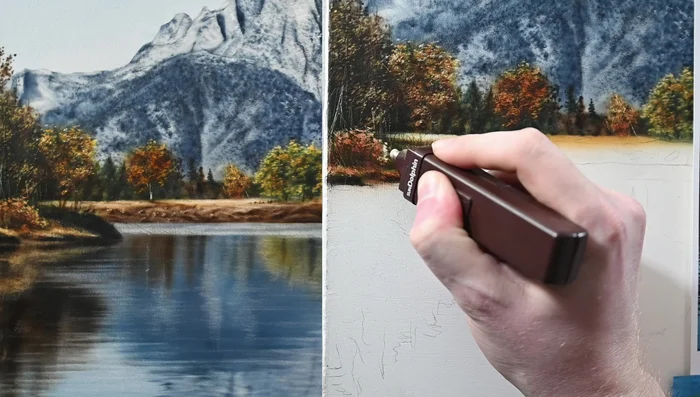
Preparation and Safety Guidelines
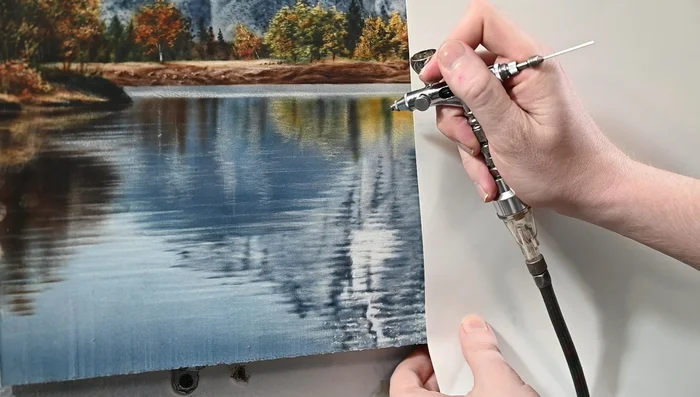
- Airbrush
- Ripped paper
- Eraser (standard ink eraser, electric eraser with sand eraser)
- X-Acto blade
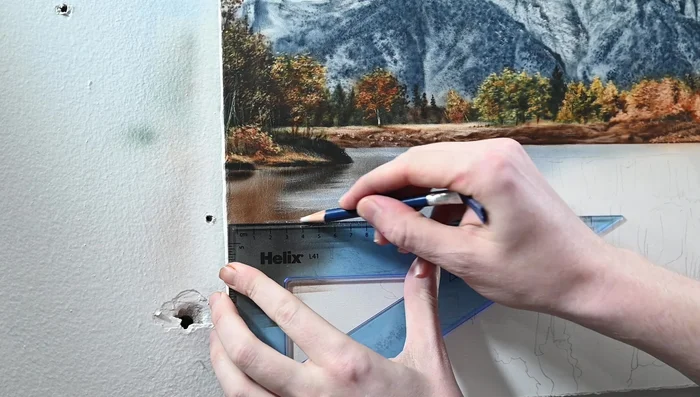
- Colored pencil
- Ruler
- Always use water-based paints and mediums outdoors to avoid inhaling fumes in enclosed spaces. Ensure adequate ventilation if working indoors.
- Protect your painting surface (canvas, paper) from direct rain or excessive moisture. Use a waterproof covering or work under a shelter if painting outdoors.
- Clean your brushes thoroughly after each painting session to prevent paint from hardening and damaging the bristles. Dispose of used water responsibly.
Step-by-Step Instructions
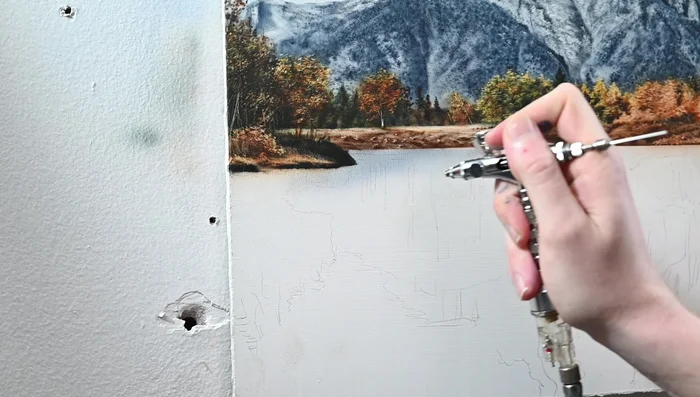
Creating the Landmass
- Add land below the trees, starting with a peninsula shape using Yellow Ochre. Cover up white canvas and create dark areas with diluted black paint, using a ripped piece of paper for a soft transition.
- Create a sharp line separating the land from the water using a shield or ripped piece of paper. Add texture with an eraser to simulate grass and shrubs.
- Add shadows on the left side with diluted black airbrush paint. Define a rock shape with a shield.
- Soften the edges of the land. Add a shadow for a bush using the airbrush. Use an X-Acto blade to create twig-like highlights.

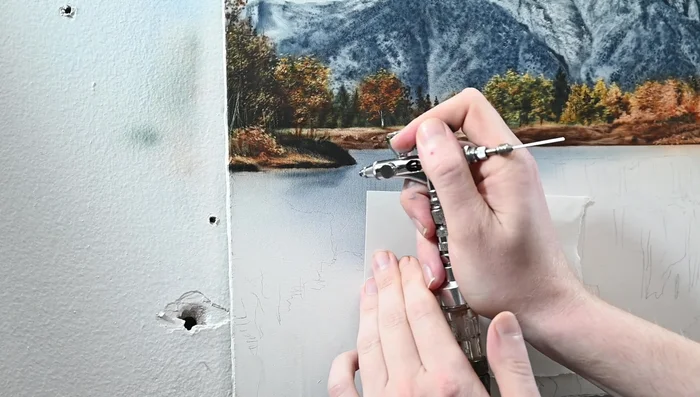
Creating the Landmass Refining the Landmass Texture
- Tap in highlights on the bush using the electric eraser. Aim for randomness.
- Glaze a diluted sepia color over the highlights to tone down the brightness.
- Add more texture to the grass area with the electric eraser. Add additional highlights to the bush and twigs with the X-Acto blade.
- Glaze sepia lightly over the bush to further refine highlights and shadows.
Refining the Landmass Texture Painting the Riverbank
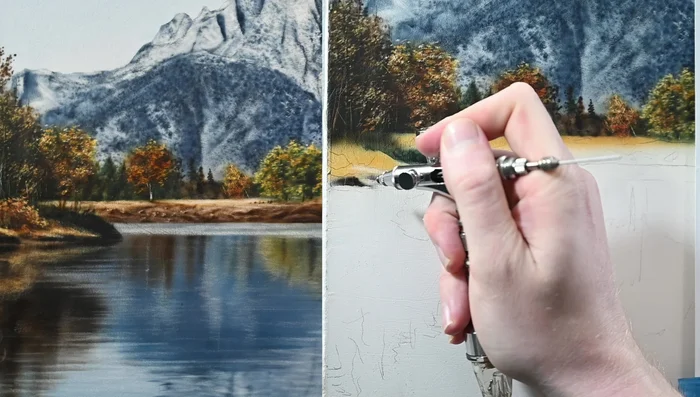
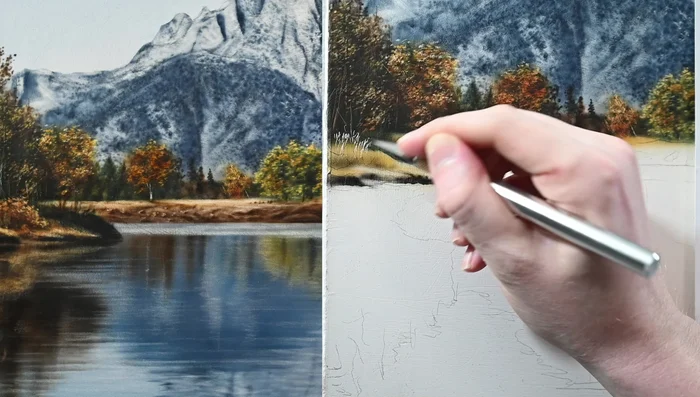
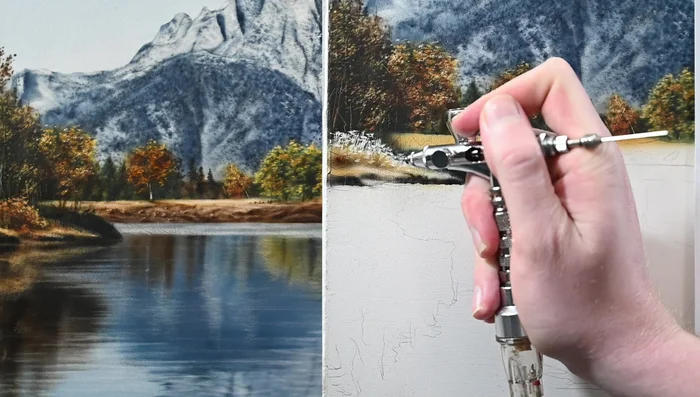
- Add texture to the small field before the water using sepia and the airbrush. Add random texture to simulate dirt, mud, and rocks.
- Use a ripped piece of paper to spray in shadows between rocks. Use a straight piece of paper for sharp lines. Erase highlights between shadows.
- Use a dark green colored pencil (or airbrush) to add blades of grass or small plants.
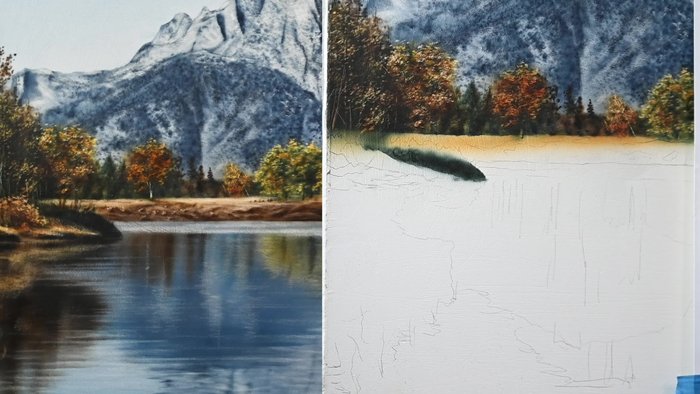
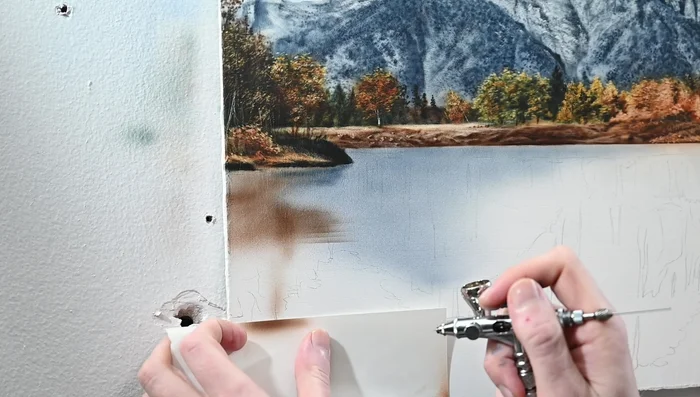
Painting the Riverbank Initial Water Reflection
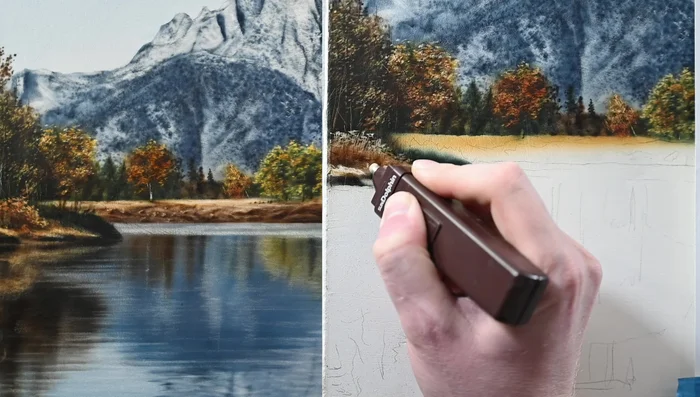
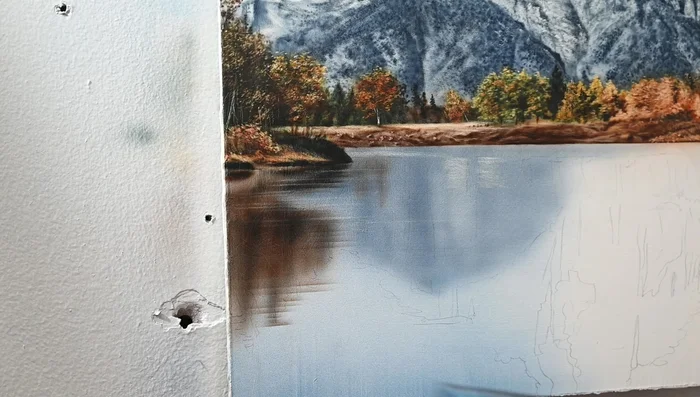
- Paint the water reflection, starting with the sky color (Cobalt Blue and Payne's Gray). Cover the gesso and shape the mountain reflection, making it darker.
Initial Water Reflection Creating Water Ripples and Reflections
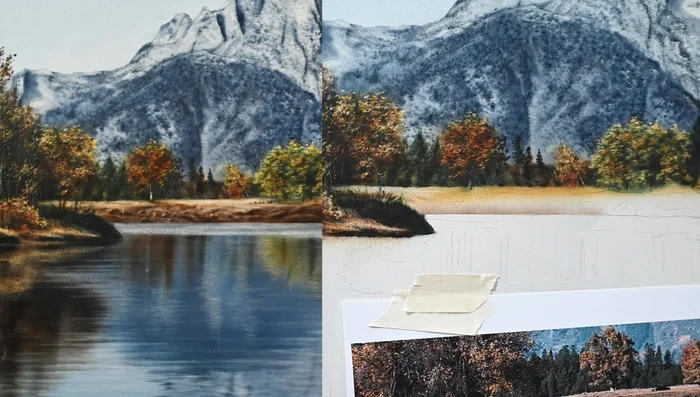
- Add a dark shadow reflection of the small land mass with black and blue. Add a sepia reflection of the trees using a straight edge.
- Add horizontal lines with sepia to create the ripple effect, considering linear perspective (larger closer, smaller farther).
- Add small ripples with black paint in the distance. Use the eraser to create horizontal highlight lines in the ripples.
- Use a ruler for perfectly horizontal lines when erasing ripples, keeping the water surface flat.
Creating Water Ripples and Reflections Refining Mountain and Sky Reflections
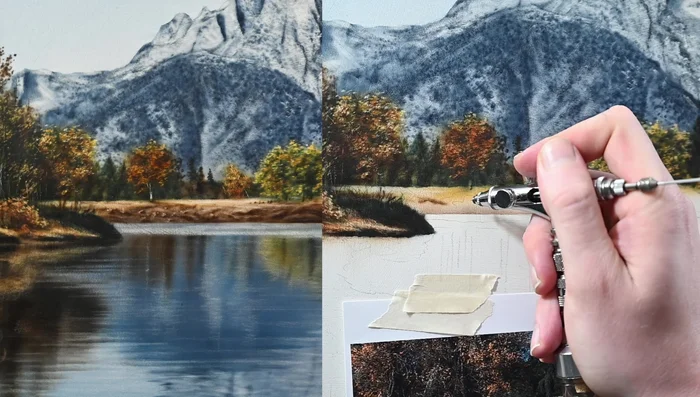
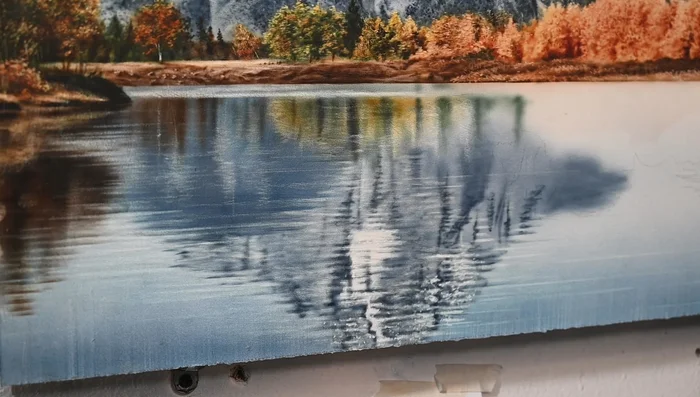
- Replicate the mountain reflection using the mountain color from the first part of the video. Use the eraser for highlights. Add specular highlights with the electric eraser.
Refining Mountain and Sky Reflections Painting Tree Reflections
- Add tree reflections using the same colors as the original trees. Erase areas, then glaze the color back on for soft reflections.
- Add darker reflections of shadows and trees using darker greens and black.
- Add more ripples using the eraser. Ensure the reflections mimic the landscape above, adjusting values and hues for a natural look.
Painting Tree Reflections


Read more: 7 Top Paint Color Trends for 2024: A Complete Guide with Free Downloadable Resource
Tips
- Don't be too precise with the eraser; aim for randomness in highlights and textures.
- Don't be afraid to experiment with colors; landscape painting offers many possibilities.
- The eraser is a forgiving tool; you can always go back and adjust highlights and textures.
- For water reflections, use the landscape as a guide. Replicate the image but make it softer and more distorted.
- Remember linear perspective when painting ripples. Larger ripples closer, smaller ripples farther away.