The Alcázar of Segovia, a breathtaking medieval castle perched dramatically on a rocky outcrop, has captivated artists and onlookers for centuries. Its fairytale-like silhouette, a blend of Gothic and Romanesque styles, presents a unique and rewarding challenge for aspiring painters. This iconic structure, with its imposing towers and intricate details, offers a rich tapestry of textures and light to explore on canvas. Capturing its grandeur requires a methodical approach, considering perspective, color blending, and the subtleties of architectural representation.
This tutorial will guide you through the process of painting your own stunning rendition of the Alcázar of Segovia. We'll break down the complex structure into manageable steps, focusing on techniques that will help you achieve a realistic and captivating representation. Get ready to unleash your creativity and embark on a journey to recreate this magnificent landmark; let's begin with the step-by-step painting process!
Preparation and Safety Guidelines
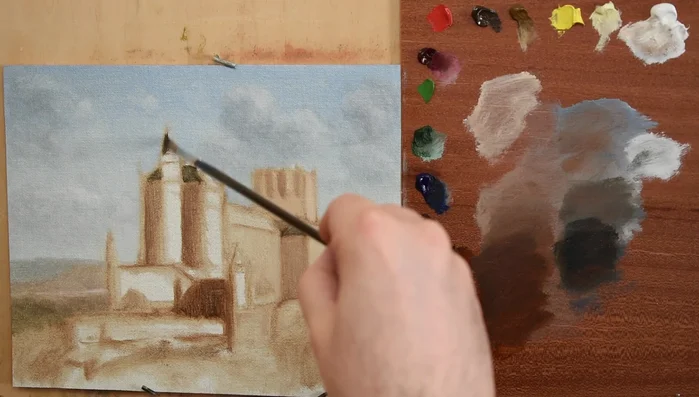
- Brushes (small long filter brush)
- Paints (Burnt Umber, Ultramarine Blue, White, Alizarin Crimson, Green Earth)
- Use water-soluble paints or a medium that allows for easy cleanup of mistakes, especially when working with intricate details like the Alcázar's towers and windows.
- Work from general shapes to specific details. Start with large blocks of color to establish the overall composition and perspective before adding fine lines and textures.
- Reference photographs of the Alcázar from multiple angles. This will help you accurately depict the building's complex structure and unique features, ensuring accurate representation of perspectives and proportions.
Step-by-Step Instructions
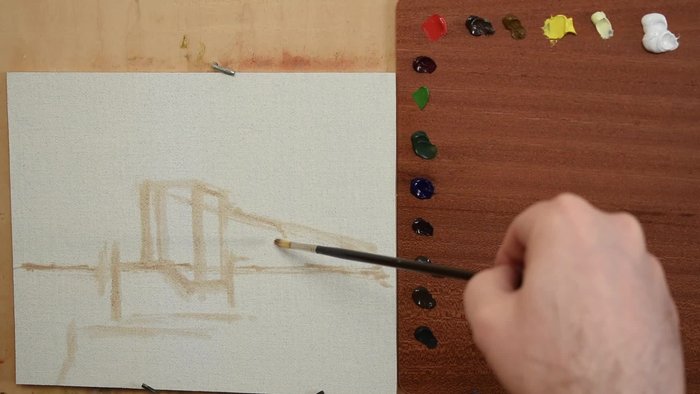
Initial Sketch
- Roughly draw the castle with a small long filter brush and Burnt Umber, focusing on composition.

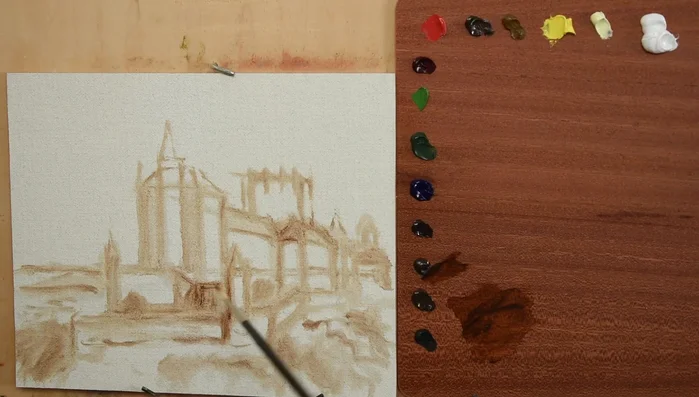
Initial Sketch Establish Light and Shadow
- Consider the light source and establish shadows using Burnt Umber.
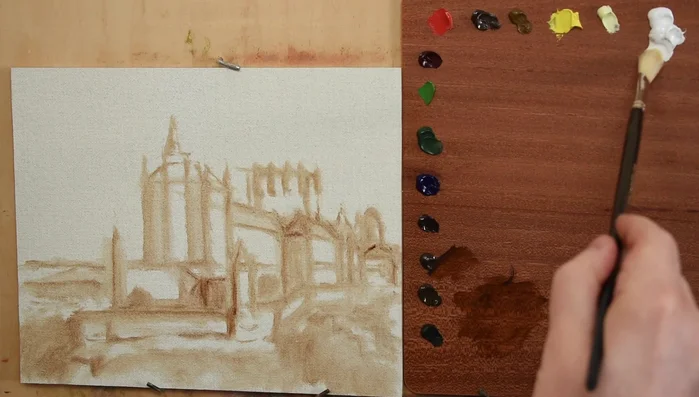
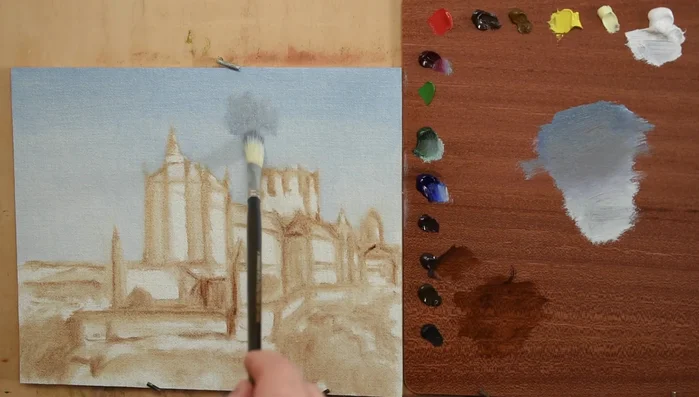
Establish Light and Shadow Block in Sky and Background
- Block in the sky using a mixture of Ultramarine Blue, White, Alizarin Crimson, and Green Earth.
- Block in the general colors, shapes, and values of the castle, mountains, and landforms. Use a matching color and tonality for distant elements to create depth.
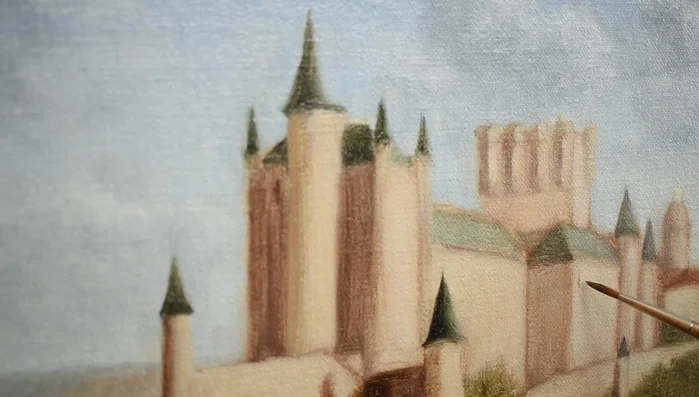
Block in Sky and Background Block in Main Forms and Colors
- Block in the general colors for the castle walls and conical roofs, using saturated colors for the foreground foliage and trees to bring them forward.
Block in Main Forms and Colors Add Details to Castle
- Add the windows of the castle.
Add Details to Castle Refine Foreground
- Add more details to the foreground foliage and trees.
Refine Foreground

Read more: 7 Top Paint Color Trends for 2024: A Complete Guide with Free Downloadable Resource
Tips
- Focus on arranging and organizing the composition in the initial drawing stage.
- Lay in general colors, shapes, and values before worrying about details in the blocking-in stage.
- Use color and tonality to create depth and recession in the distance.
- Use saturated colors to bring foreground elements forward.