Transform your kitchen into a whimsical wonderland with these adorable kawaii fridge magnets! This fun and easy DIY project uses air-dry clay, allowing you to unleash your creativity and craft unique, personalized magnets in a variety of charming designs. Forget mass-produced, boring magnets – get ready to create miniature masterpieces that perfectly capture your personality and style. Whether you're a seasoned crafter or a complete beginner, this tutorial will guide you through the process of sculpting, decorating, and magnetizing your kawaii clay creations.
From cute animals and delicious treats to quirky characters and vibrant landscapes, the possibilities are endless! This project is perfect for a relaxing afternoon crafting session, a fun activity with friends or family, or even a creative way to add a personal touch to your gifts. Let's dive into the step-by-step process and start making your own collection of kawaii fridge magnets!
Preparation and Safety Guidelines
- Air dry clay
- Rolling pin
- Cookie cutters
- Acrylic paints
- Glitter nail polish
- Dotting tool
- 3D paint (puppy paint)
- Ground puffy paint
- Magnets
- Hot glue
- Air dry clay can crack if it dries too quickly. Ensure even drying by avoiding direct sunlight or heat and turning the magnets periodically.
- Always supervise children when using air dry clay and ensure they do not ingest it. Keep clay and finished magnets away from pets.
- Use a non-toxic, food-safe varnish or sealant if you intend to use the magnets near food or small children to prevent accidental ingestion of potentially harmful materials.
Step-by-Step Instructions
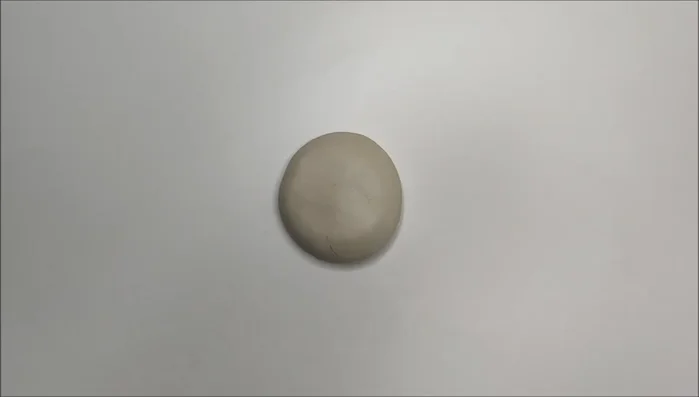
Prepare the Clay
- Prepare air dry clay. Roll it out evenly with a rolling pin.

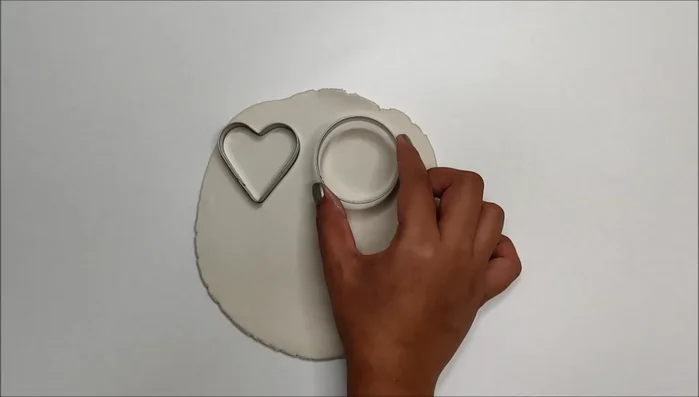
Prepare the Clay Cut and Shape the Clay
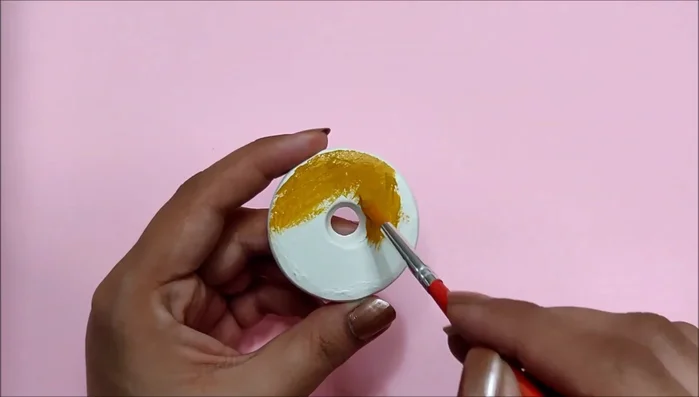
- Use cookie cutters to create desired shapes (e.g., stars, donuts).
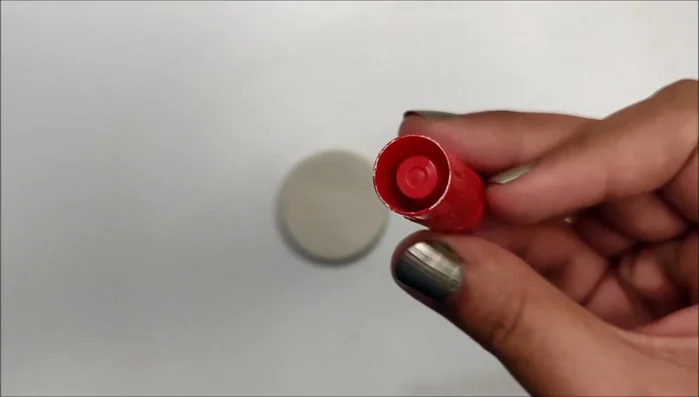
- Make a hole in the middle of round shapes to create donuts.
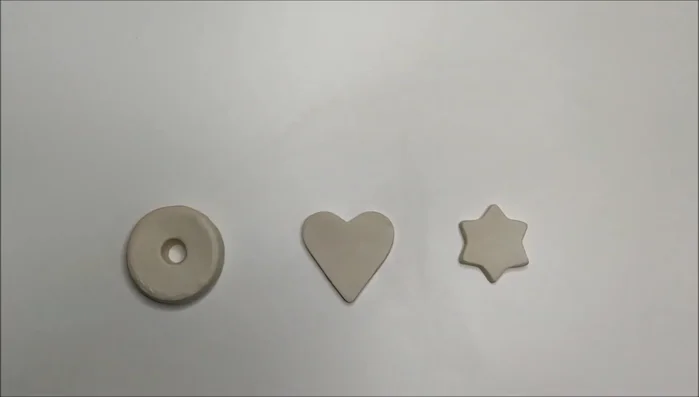
Cut and Shape the Clay Air Dry the Clay
- Let the clay shapes air dry completely for 48 hours.
Air Dry the Clay Decorate the Star
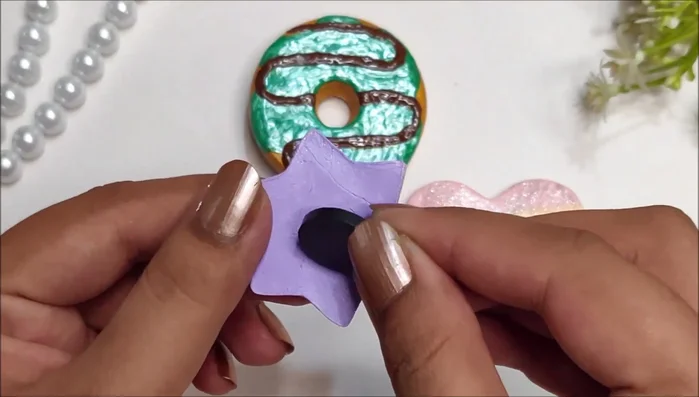
- paint a star purple, add glitter, then paint on a kawaii face.)
Decorate the Star Decorate the Donut
- paint beige, add 3D frosting, and chocolate sprinkles.)
Decorate the Donut Decorate Other Shapes
- paint a heart with rainbow stripes.)
Decorate Other Shapes Seal the Decorations
- Apply a clear glitter sealant to the finished decorations.
Seal the Decorations Attach Magnets
- Attach magnets to the back of the dried clay shapes using hot glue or a strong adhesive.
Attach Magnets


Read more: Hang Your Clay Creations: The No-Hole Hanger Method
Tips
- For even thickness, roll the clay with a rolling pin.
- Ensure to paint all sides and backs of your shapes for a professional look.
- Let the paint dry completely between layers for a neat finish.