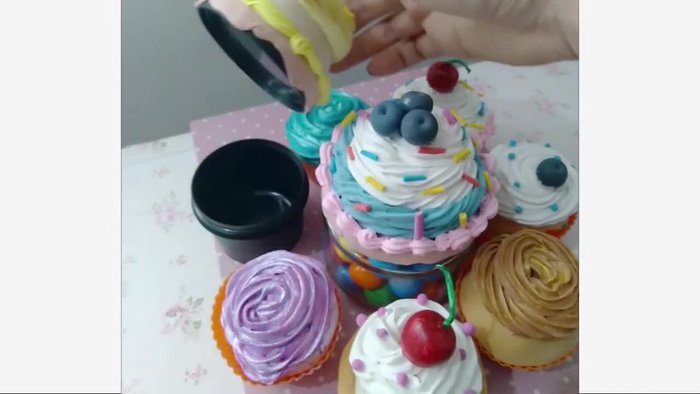
Air-dry clay offers a fantastic, mess-free alternative to traditional baking when it comes to creating adorable cupcake decorations. Forget the oven and the sticky aftermath; with this easy air-dry clay technique, you can craft charmingly realistic cupcakes that are perfect for embellishing cards, creating miniature scenes, or even using as unique party favors. The beauty of this medium lies in its versatility – easily molded and customizable, you can achieve incredibly detailed and personalized results, limited only by your imagination. These aren't your average fondant-covered confections; we’re talking about charming, handcrafted miniature masterpieces.
This tutorial will guide you through each step of creating perfect air-dry clay cupcakes, from preparing the clay to achieving realistic frosting swirls and delicate sprinkles. Prepare to be amazed by how simple it is to transform a humble lump of clay into a delightful, miniature baked treat, and get ready to unleash your inner artisan as we delve into the step-by-step process!
Preparation and Safety Guidelines
- Air dry clay
- Cupcake mold (silicone recommended)
- 2D piping tip
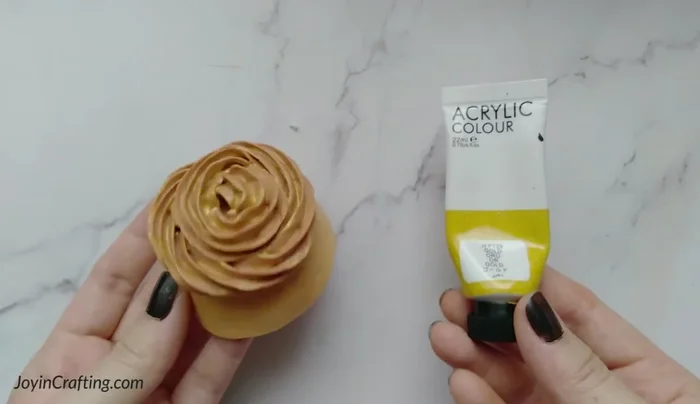
- Metallic acrylic paint (optional)
- Rolling pin (implied)
- Air dry clay can crack if it dries too quickly. Ensure even drying by placing the cupcakes in a cool, dry, and well-ventilated area, away from direct sunlight or heat sources. Avoid drafts.
- Air dry clay is not food safe. Do not attempt to eat or use these cupcakes for anything edible. Keep away from children and pets who might try to mouth them.
- Always supervise children when working with air dry clay. It can be a choking hazard if small pieces are ingested.
Step-by-Step Instructions
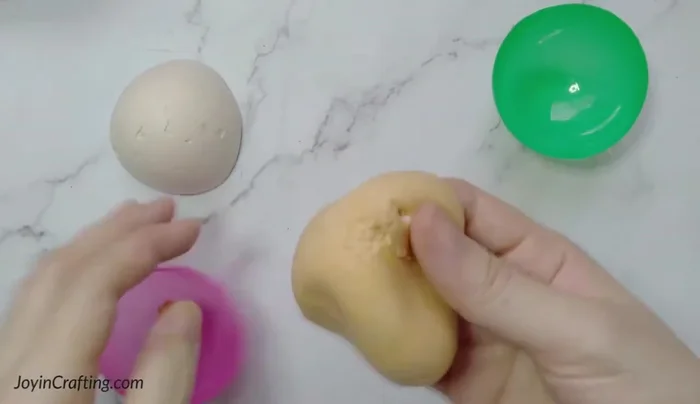
Prepare the Clay
- Prepare the air dry clay.

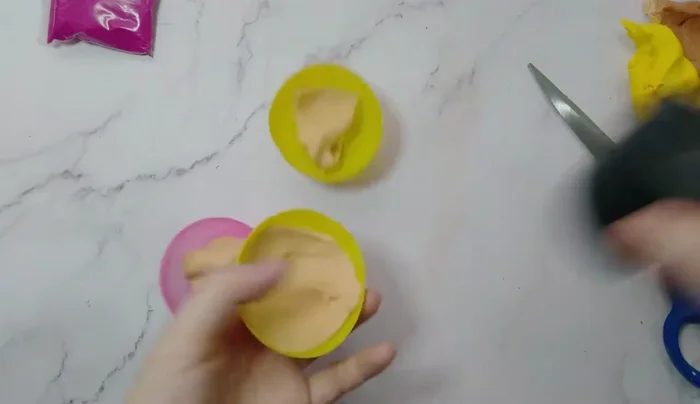
Prepare the Clay Mold the Cupcakes
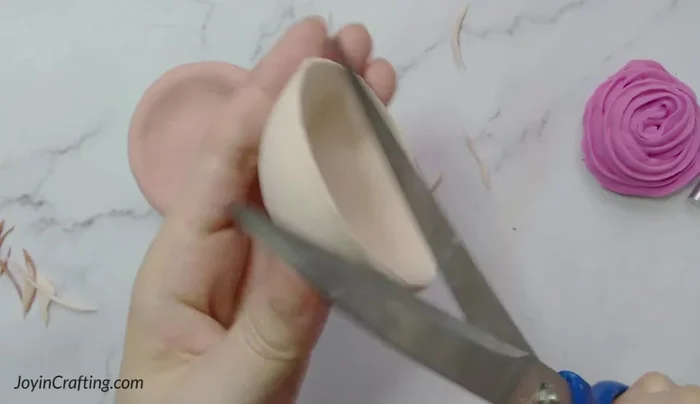
- Press clay into a cupcake mold.
- Let the clay dry overnight.
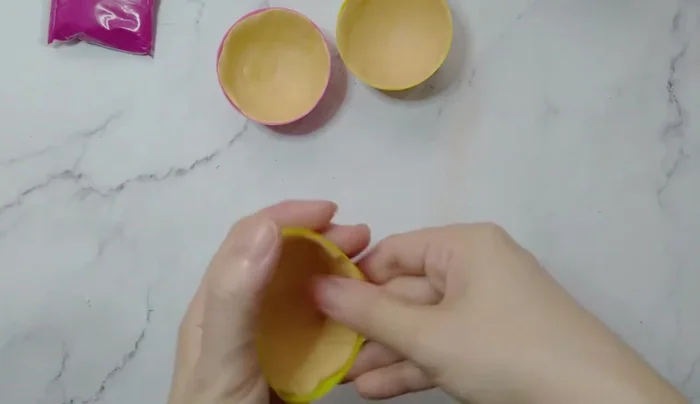
- Gently remove the clay from the mold.
Mold the Cupcakes Create the Frosting
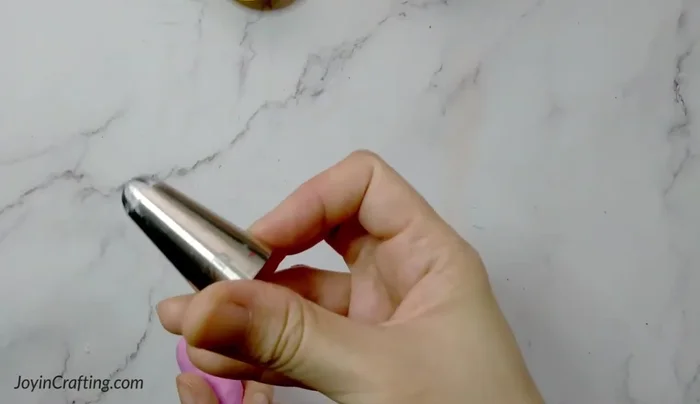
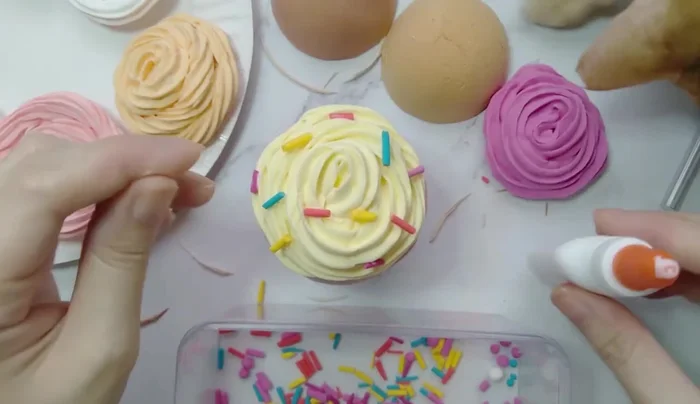
- Use a 2D piping tip to create cupcake frosting.
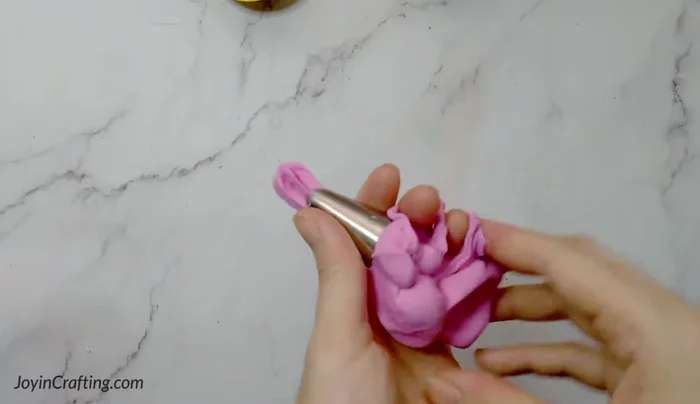
- Push the clay through the piping tip, using your thumb for control.
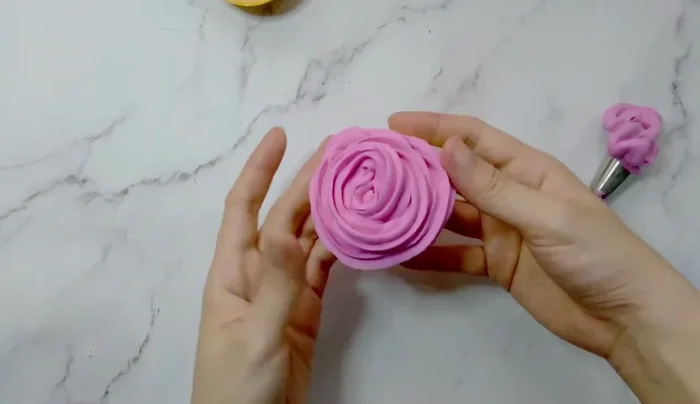
- Twirl the piping tip to create frosting swirls.
- Cut away any excess clay.
Create the Frosting Add Decorations
- Add sprinkles (tutorial link in description).
- Add glitter effect using metallic acrylic paint.
Add Decorations
Read more: Hang Your Clay Creations: The No-Hole Hanger Method
Tips
- Silicone cupcake molds are easier to use.