Have you ever gazed out at a breathtaking seascape, the vibrant colours of the ocean meeting a dramatic, ever-shifting sky? Capturing that raw beauty on canvas can feel daunting, but it doesn't have to be! This tutorial will guide you through creating your own stunning cloud and seascape painting using simple yet effective acrylic techniques. We'll explore easy methods for blending colours, achieving realistic textures, and building depth to transform your canvas into a captivating window to another world. No prior painting experience is necessary – just a desire to unleash your creativity and bring a piece of the ocean's majesty into your home.
Forget complicated brushstrokes and confusing colour palettes; this tutorial focuses on accessible techniques that yield impressive results. We’ll break down the process into manageable steps, focusing on layering, colour mixing, and simple brushwork to create dynamic clouds and realistic waves. Ready to embark on this artistic journey? Let's dive into the step-by-step process and discover the magic of acrylic seascape painting!
Preparation and Safety Guidelines
- 9x12 double primed and stretched canvas
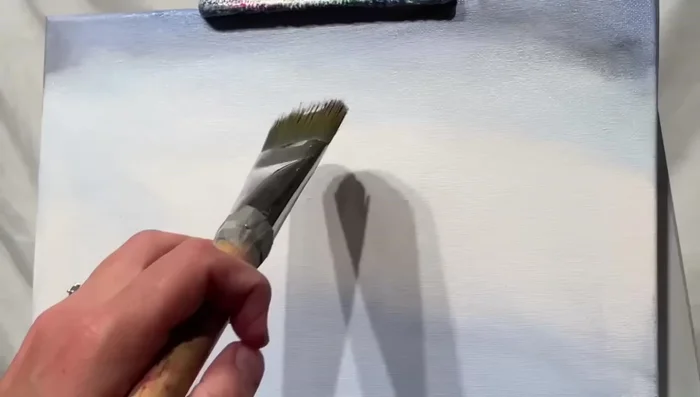
- Number 30 filbert brush
- Number 2 round brush
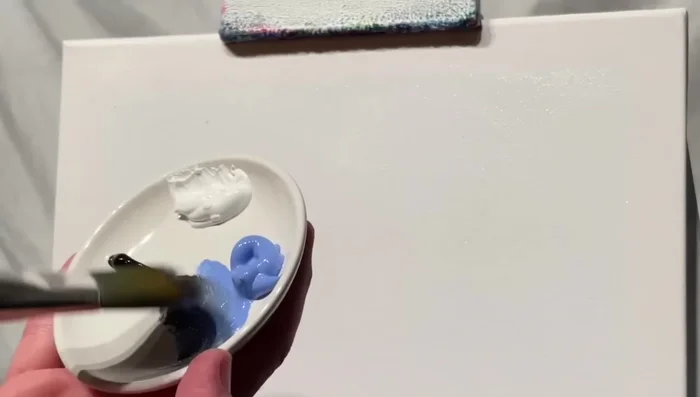
- Liquitex Basics acrylic paints (black, light blue violet, titanium white)
- Neon paints (optional)
- Always work in a well-ventilated area. Acrylic paints and mediums can release fumes.
- Protect your work surface with drop cloths or newspaper. Acrylic paint is difficult to remove once dried.
- Clean brushes thoroughly with water immediately after use to prevent paint from hardening.
Step-by-Step Instructions
Prepare the Canvas and Base Colors
- Wet the canvas to aid blending.
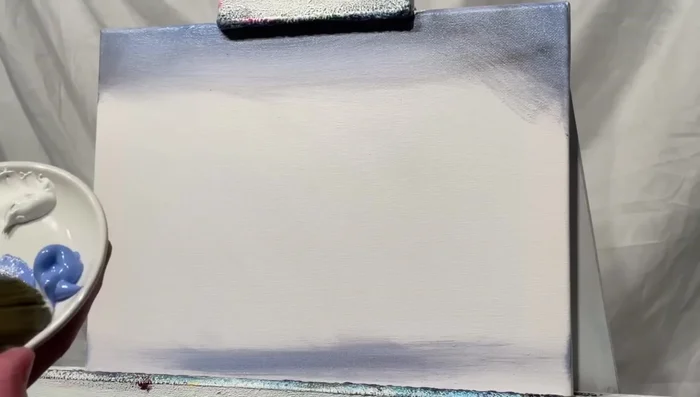
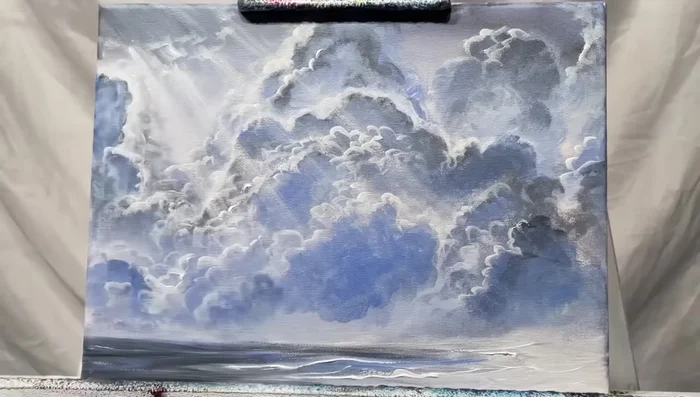
- Mix a tiny amount of black with more light blue violet. Apply to the top and bottom of the canvas, blending smoothly.
- Add titanium white and light blue violet to the bottom (beach area) and top of the sky, blending gently.

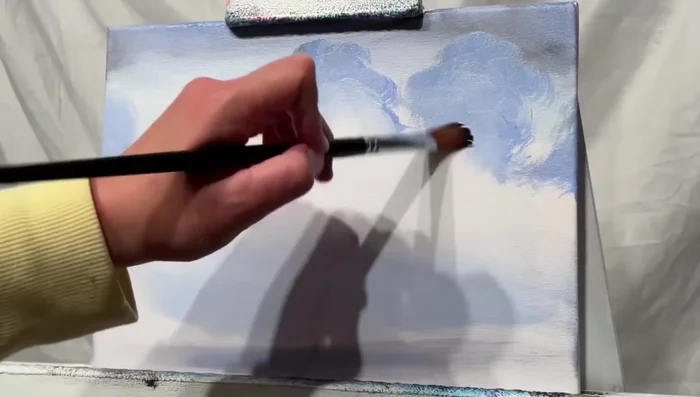
Prepare the Canvas and Base Colors Create the Initial Cloud Forms
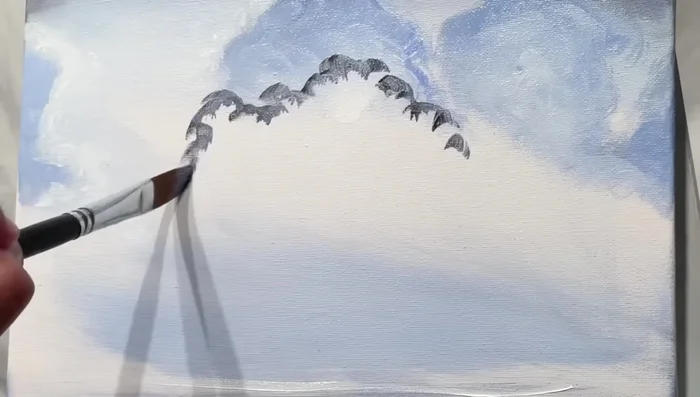
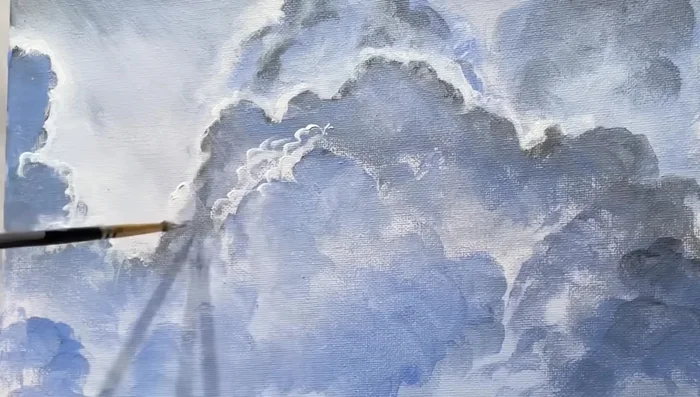
- Using the number 30 filbert brush and a mix of blue violet and a tiny bit of black, create puffy clouds with half-circle strokes.
Create the Initial Cloud Forms Soften and Blend Clouds
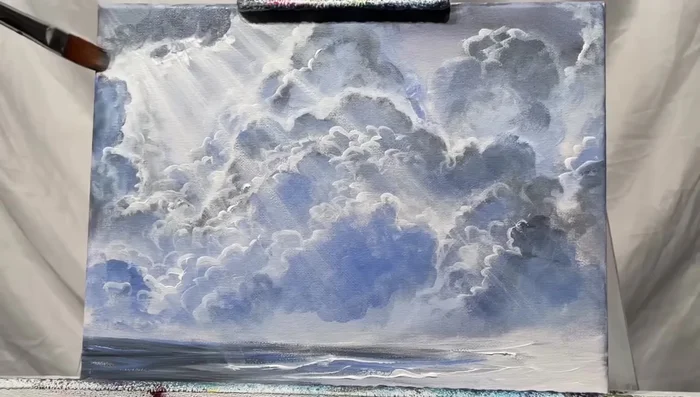
- Switch to a smaller filbert brush. Use white paint to soften and blend the edges of the clouds, creating a gradual transition to the canvas.
Soften and Blend Clouds Add Water Texture
- Add thick white streaks for water movement and whitecaps, using no water on the brush.
Add Water Texture Develop Cloud Depth and Contrast
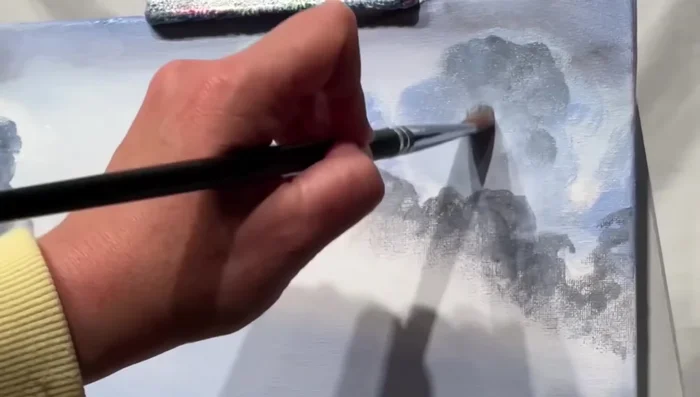
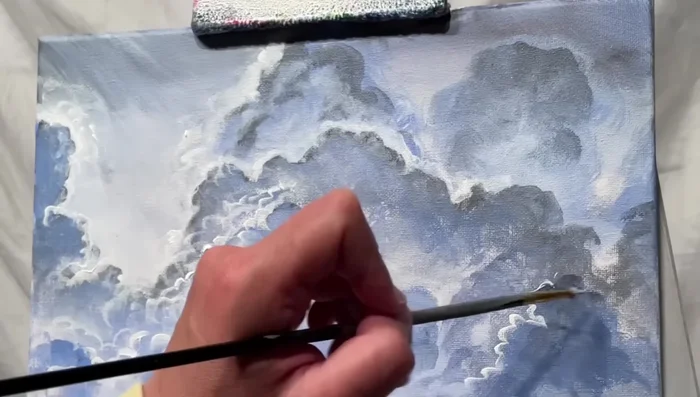
- Add darker shades (black and less blue) to create depth and contrast in the clouds, using the same half-circle technique. Soften and dry brush below.
- Layer additional clouds with varying shades and intensities, creating light and dark areas to simulate light filtering through.
- Saturate certain cloud areas with heavier paint to add depth and contrast, ensuring the clouds aren’t completely flat. Use a hint of white and blue to prevent clouds from looking completely black.
Develop Cloud Depth and Contrast Add Sunray Effects
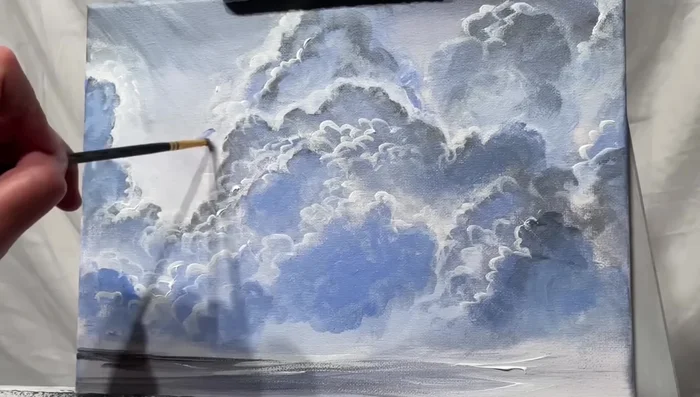
- Create a sunray effect by brushing back and forth, then using the tip of the brush for thin, narrow lines. Add smaller half-circles with white for added depth.
Add Sunray Effects Add Cloud Texture and Detail
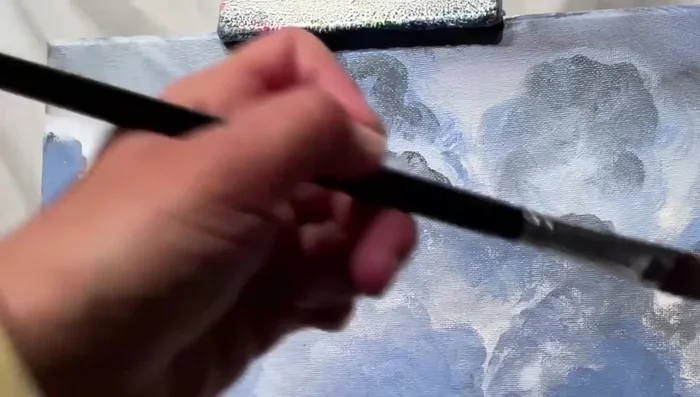
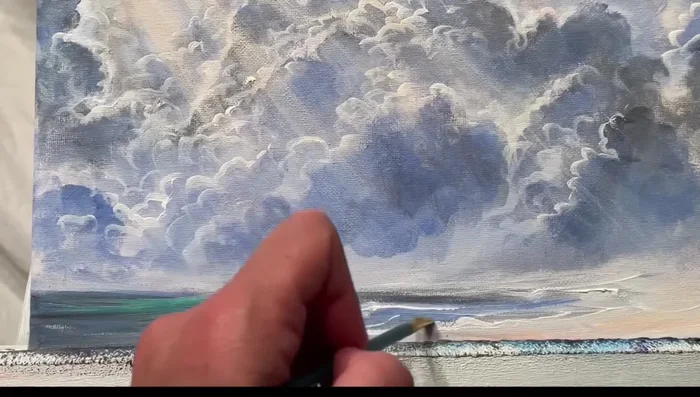
- Use a number 2 round brush and white paint to add small squiggly shapes on the clouds for added depth and texture.
- Continue layering clouds with varying shades and intensities, creating depth and realism.
Add Cloud Texture and Detail Refine Shadows and Highlights (Clouds and Water)
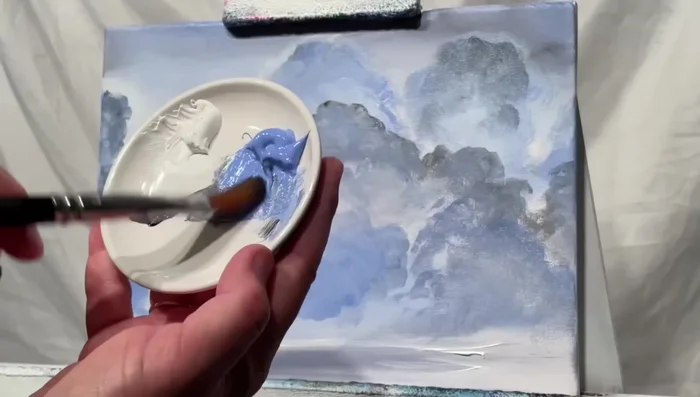
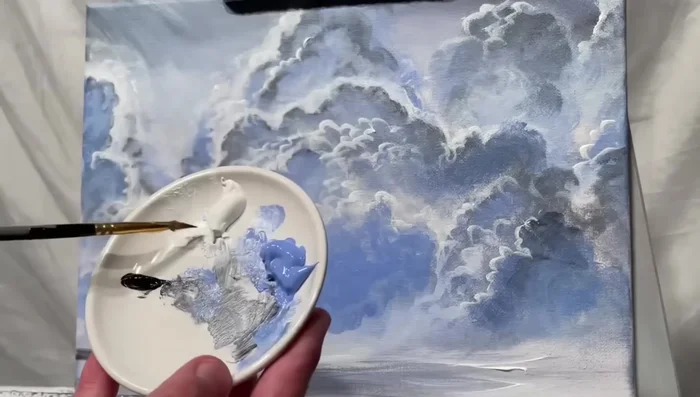
- Add more shadows and highlights using a mix of blue, black, and white to enhance contrast and depth.
- Add highlights in the water using white, blue, and other desired colors. Remember that shadows and highlights work together to create realism.
Refine Shadows and Highlights (Clouds and Water) Add Sunrays and Final Touches
- Use a filbert or flat brush and a transparent white or zinc white to create sunrays, ensuring the paint is thin and transparent for a realistic effect.
- Add final shadows using a dark bluish-gray color, and then touch up with white highlights. Tint the white with a warm neon yellow for subtle warmth.
- Add finishing touches with bright aqua green or turquoise to the water.
Add Sunrays and Final Touches

Read more: 7 Top Paint Color Trends for 2024: A Complete Guide with Free Downloadable Resource
Tips
- Don't be afraid to experiment with different brush sizes and types. You don't need the exact same brushes as used in the tutorial.
- Practice makes perfect! The amount of water used is crucial and develops with experience.
- Don't overload your brush with paint, especially when adding highlights. Thick paint layers can prevent highlights from blending properly. Allow layers to dry before adding highlights.
- Shadows and highlights need each other for contrast. Adjust them to your liking, but ensure there is a balance.
- Use transparent white or zinc white to create sunrays, for better blending with the surrounding colors.