Dive into the captivating world of acrylic pond painting, where vibrant colors and shimmering surfaces come alive! This tutorial explores a layered glazing technique, perfect for creating realistic and luminous underwater scenes, complete with intricately detailed fish. Forget flat, lifeless images; we'll unlock the secrets to building depth and dimension, mimicking the interplay of light and shadow beneath the water's surface. Imagine the translucent scales of a koi, the playful dart of a minnow, all rendered with the fluid ease of acrylics. We'll be achieving this stunning effect through careful layering of transparent and semi-transparent washes, allowing each color to subtly influence the next.
This layered approach is key to achieving depth and realism in your pond painting. The following step-by-step instructions will guide you through the entire process, from sketching your initial design to adding the final, mesmerizing details that bring your aquatic masterpiece to life. Prepare to be amazed by the transformation as your canvas transforms into a vibrant, three-dimensional underwater paradise.
Preparation and Safety Guidelines
- Canvas (16.5 x 11.5 inches)
- Flat brush
- Stiff bristle brush
- Synthetic brush
- Acrylic paints (French Ultramarine Blue, Indigo Blue, Turquoise, Quinacridone Gold, Brown, Purple, Lavender/Lilac, Off-white, Orangey Red, Cadmium Orange, Cadmium Yellow, Titanium White, Sap Green)
- Glazing medium
- Chalk pastel pencil
- Always work in a well-ventilated area. Acrylic paints, while water-based, can still release fumes that may be harmful if inhaled in large quantities.
- Protect your work surface. Acrylic paints can stain, so cover your table or floor with a drop cloth or newspaper.
- Dispose of paint and cleaning materials responsibly. Check your local regulations for proper disposal of acrylic paints and solvents.
Step-by-Step Instructions
Creating the Pond Background
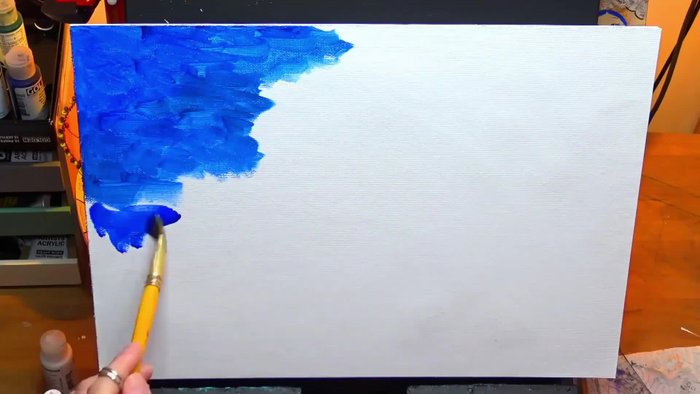
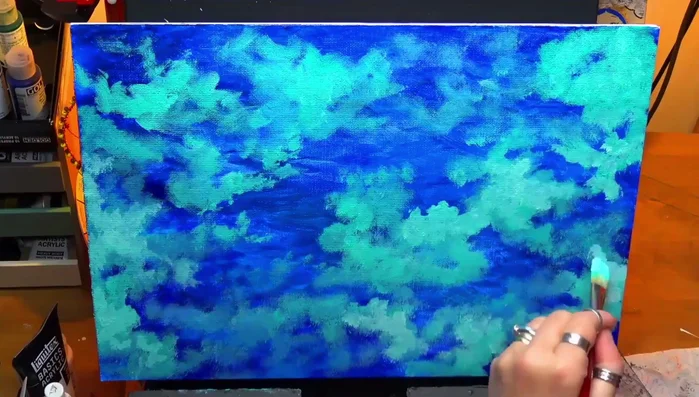
- Layering a dark blue background using a flat brush. Apply paint in a choppy manner for a blocky feel.
- Adding a darker blue (indigo) to represent shadows in the pond, maintaining the blocky style.
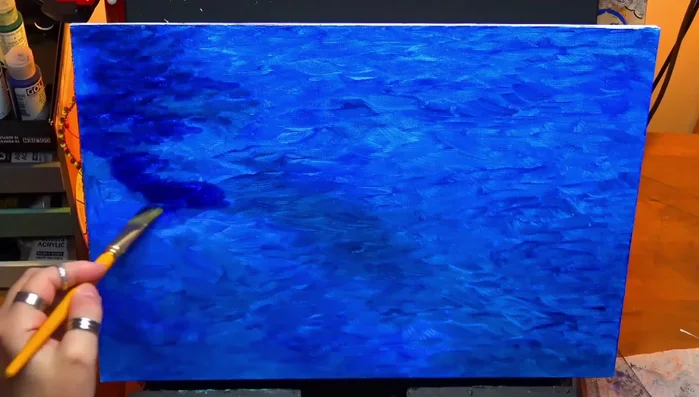
- Applying a quick glaze with glazing medium tinted slightly with blue to unify the colors.
- Using a stiff bristle brush to add turquoise, creating a mix of harsh and soft edges.

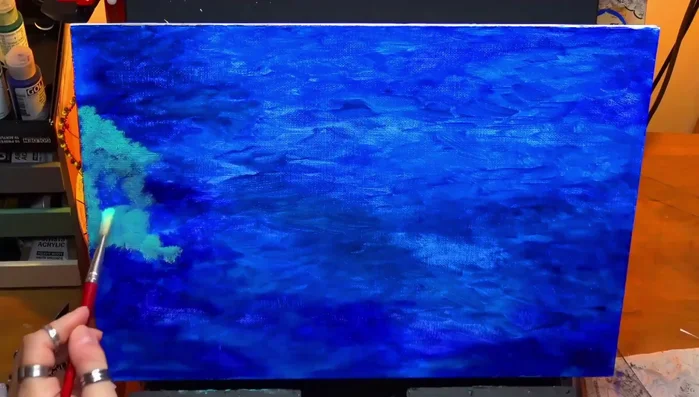
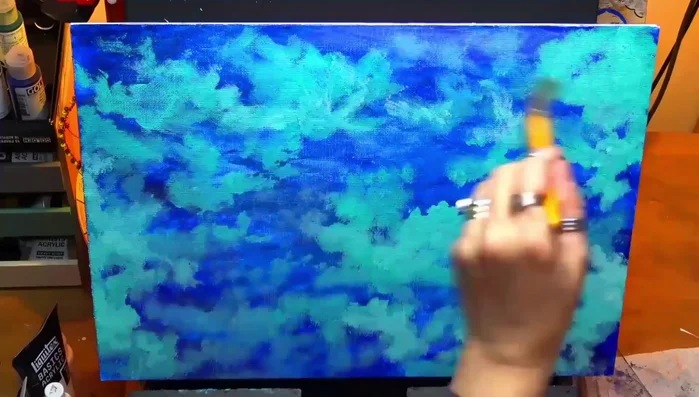
Creating the Pond Background - Adding another layer of lighter turquoise with the stiff bristle brush for variation.
- Applying another glaze, tinted with a little bit more blue and white for a misty effect.
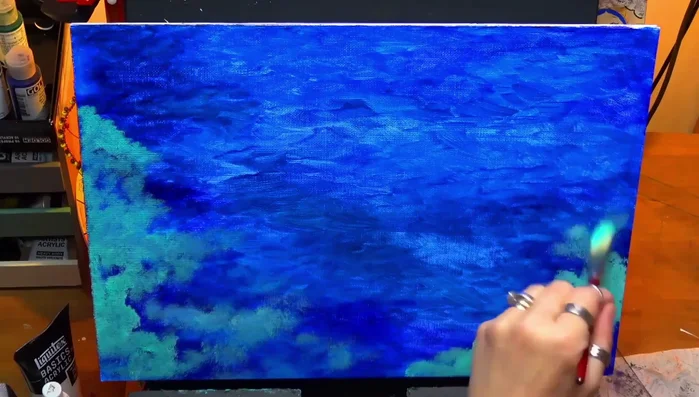
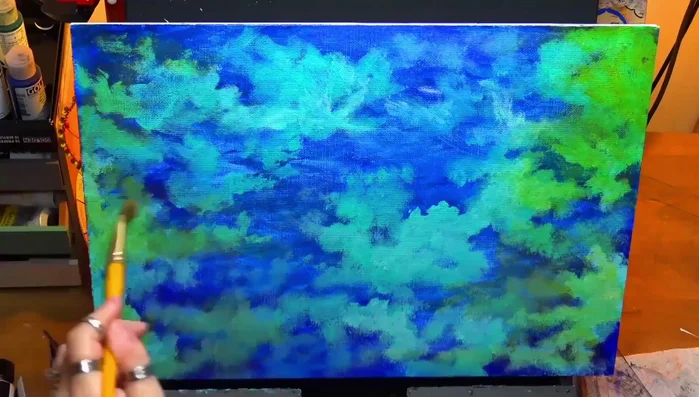
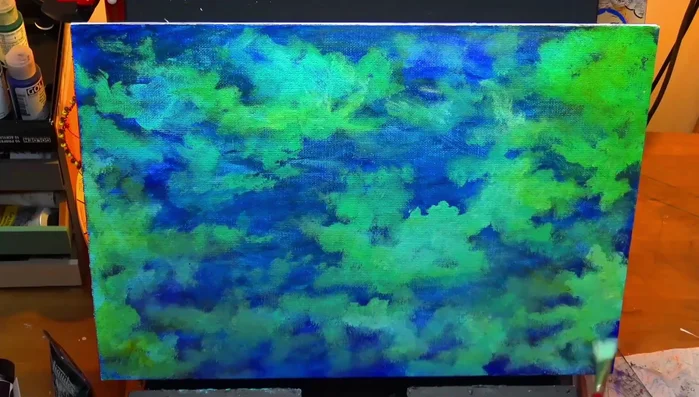
- Using a synthetic brush to apply a very thin glaze of Quinacridone Gold, evenly distributing it across the canvas.
- Applying another thin glaze tinted with a tiny bit of blue to further refine the background.
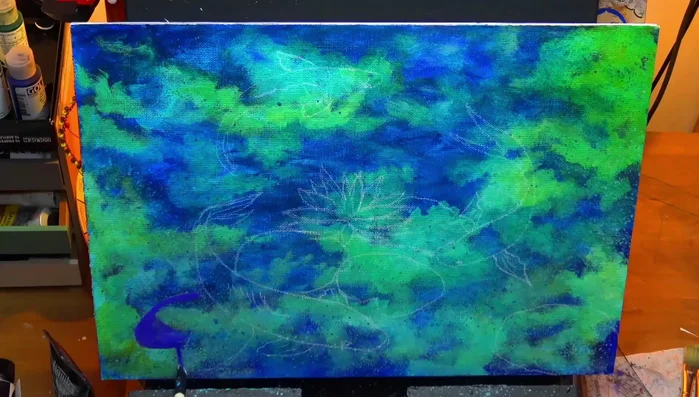
Creating the Pond Background Sketching and Blocking in Elements
- Sketching the composition of fish and lily pads with a chalk pastel pencil.
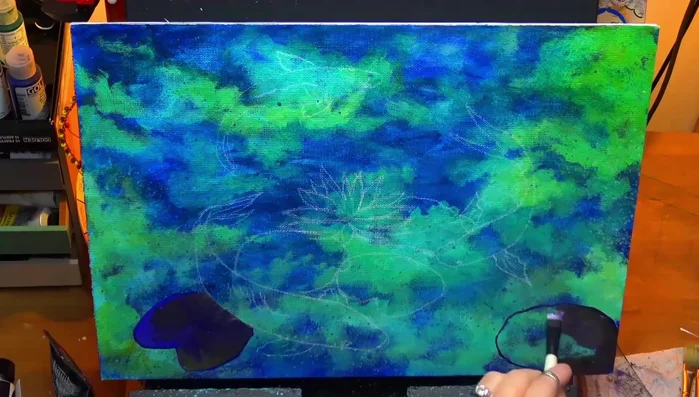
- Blocking in the lily pads with brown and purple.
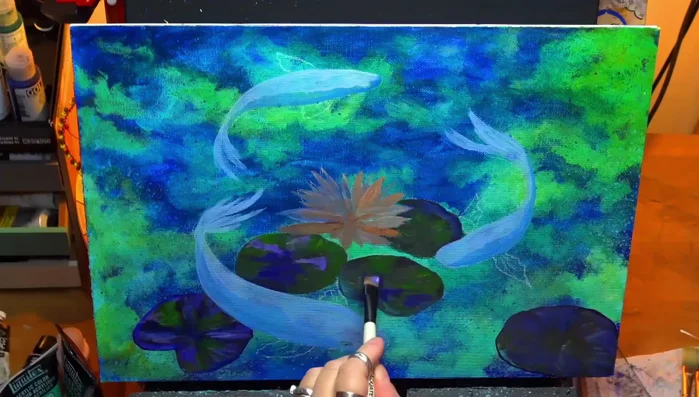
- Blocking in the fish with a lavender/lilac color, adding shadows underneath for a 3D effect.
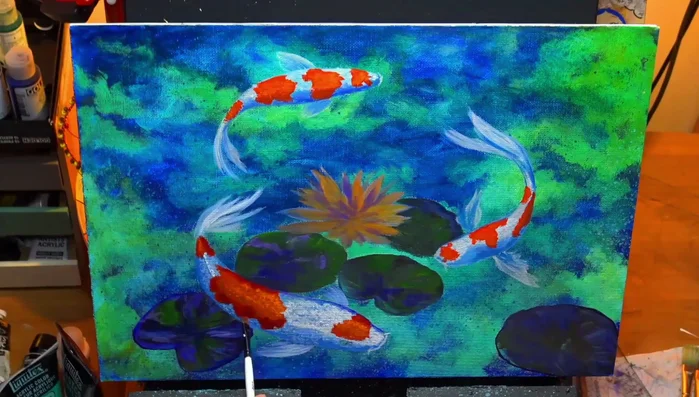
Sketching and Blocking in Elements Layering Lily Pads and Lotus Flower
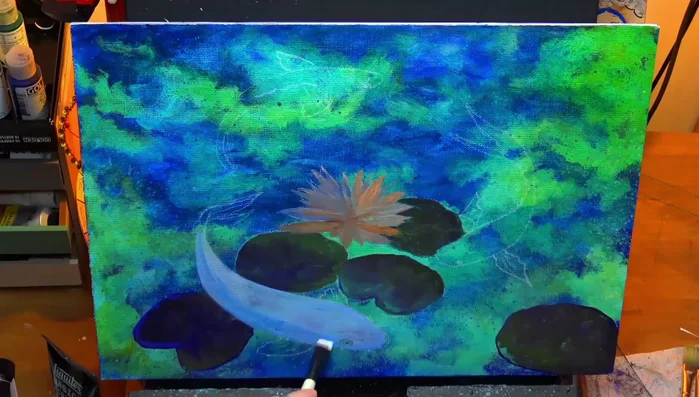
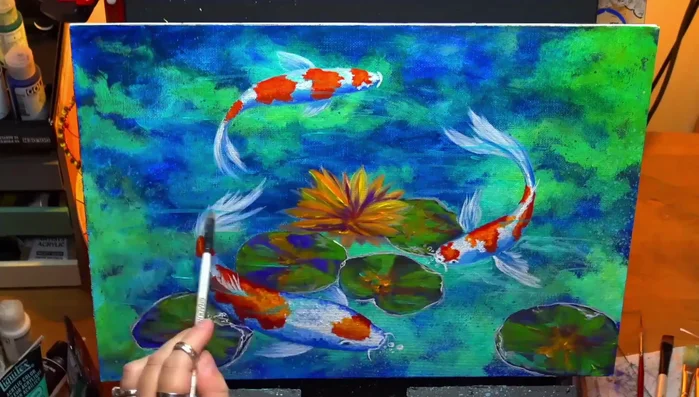
- Adding more purple to the lily pads with a loose feel.
- Adding a tinty green to the lily pads.
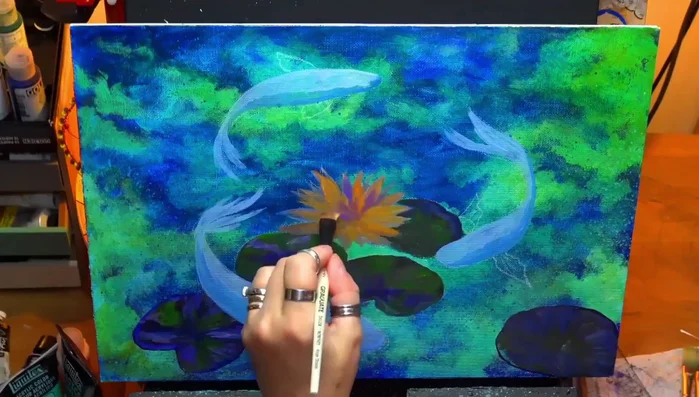
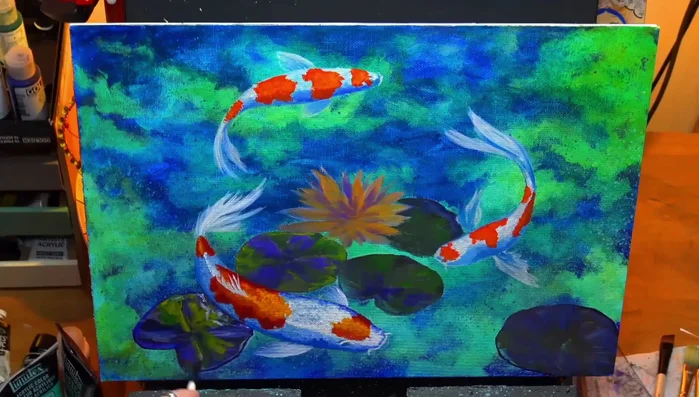
- Adding yellows and purples to the lotus flower.
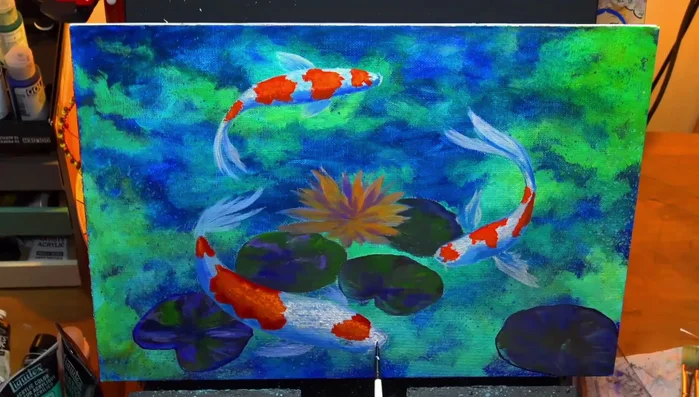
Layering Lily Pads and Lotus Flower Painting the Fish: Base Layers
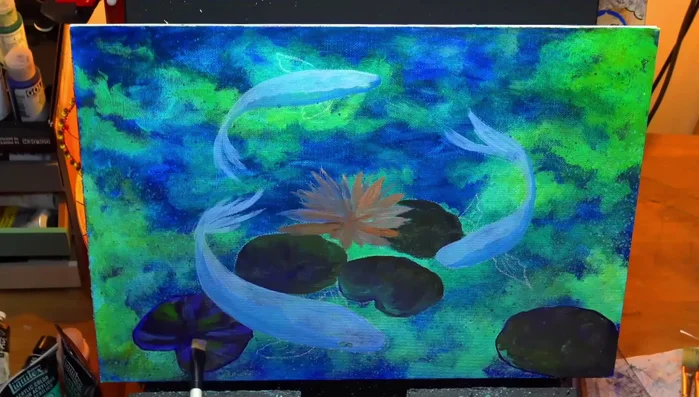
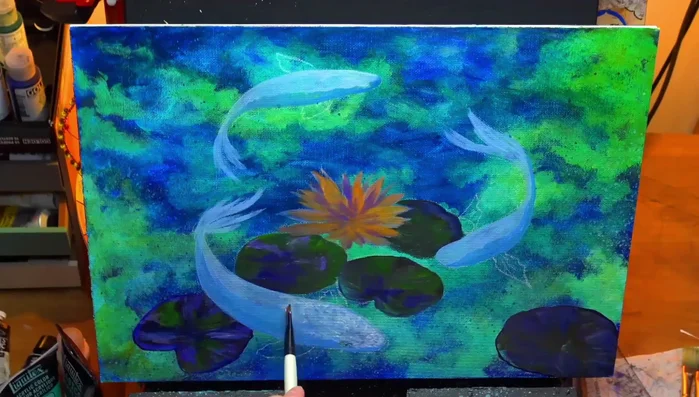
- Adding off-white mixed with blue to the fish, using dabbing motion to create scale effects.
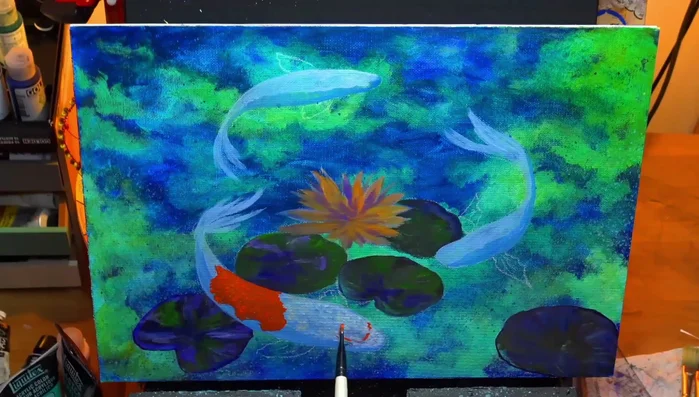
- Adding orangey red for fish markings, using dabbing motion and varying the intensity for visual texture.
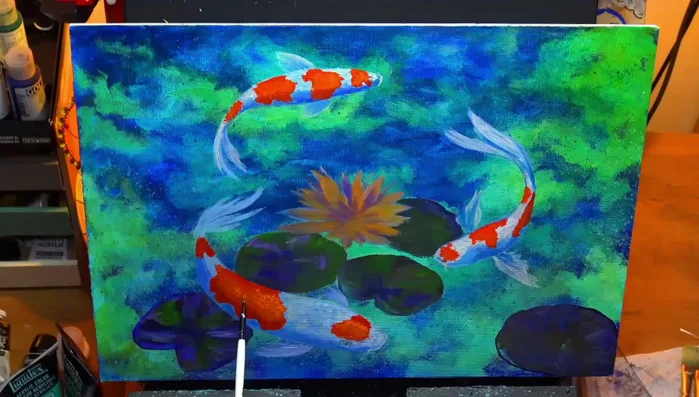
Painting the Fish: Base Layers Painting the Fish: Highlights and Shadows
- Adding lighter orange to the fish for highlights, maintaining dark shadows.
- Adding brighter orange and a touch of cadmium yellow for intense highlights, emphasizing the fish's form.
- Using pearl or titanium white for bright highlights on the fish scales.
- Adding details to the fish, emphasizing dark shadows and highlights for realism.
Painting the Fish: Highlights and Shadows Adding Final Details and Refinements
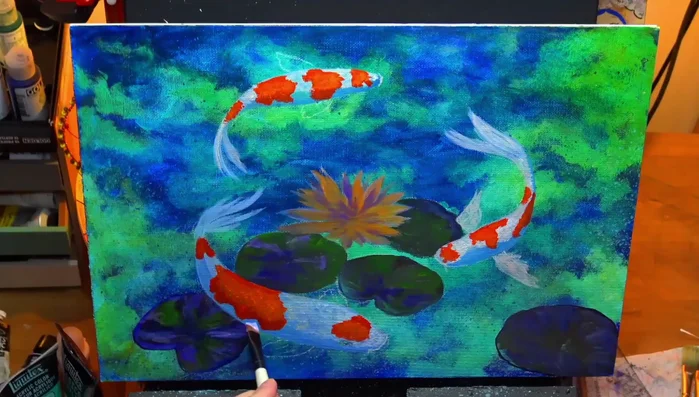
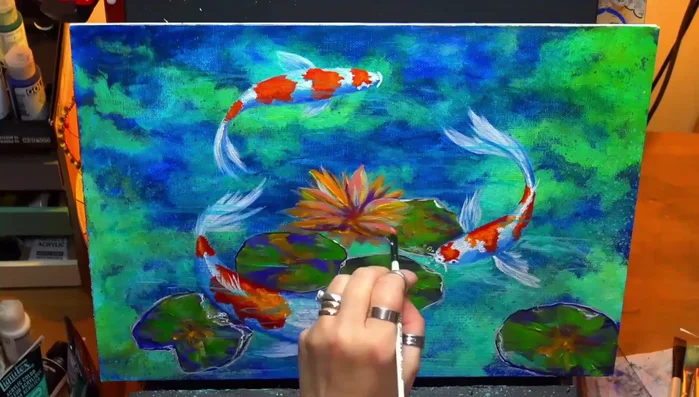
- Adding more details to lily pads, flowers and bubbles, applying different colors to create depth and realism.
- Adding thin layers of watermarks to create an underwater illusion.
- Adding final details using a liner brush to enhance the overall composition.
Adding Final Details and Refinements
Read more: 7 Top Paint Color Trends for 2024: A Complete Guide with Free Downloadable Resource
Tips
- Work in thin layers with acrylics for a smoother, nicer finish.
- Glazing improves artwork and creates a nice look.
- Use a stiff bristle brush for firm paint application and blending.
- Plan out fish markings beforehand for consistency.
- Focus on values (light and dark) to create depth and realism.