The peony, with its opulent blooms and captivating array of colors, is a beloved subject for artists of all levels. Capturing the delicate translucency of its petals and the subtle shifts in value that give the flower its depth, however, can be a challenge. This tutorial will guide you through the process of painting a realistic peony using acrylics, focusing on mastering the essential techniques of color mixing and value manipulation to achieve breathtaking results. We’ll explore how to build layers of color to create dimension and how to effectively utilize light and shadow to bring your peony to life.
This detailed, step-by-step guide will walk you through each stage of the painting process, from sketching your initial outline to adding the final, subtle highlights that truly bring the peony to bloom. Prepare to unlock your artistic potential and learn how to create a stunning acrylic painting of this iconic flower, mastering the nuances of color and value along the way.
Preparation and Safety Guidelines
- Acrylic paints (Burnt Umber, Titanium White, Ultramarine Blue, Alizarin Crimson, Cadmium Yellow Light, Cadmium Red Medium, Phthalo Blue)
- Primed toned and sanded canvas
- Brushes
- Water
- Palette
- Liquitex Professional Matte Medium (optional)
- Masking tape
- Acrylic paints are water-based but can still irritate skin and eyes. Always work in a well-ventilated area and wear protective eyewear. Wash hands thoroughly after painting.
- Clean your brushes immediately after use with soap and water to prevent paint from hardening and ruining the bristles. Acrylics dry quickly.
- Dispose of used paints and cleaning materials responsibly according to local regulations. Avoid pouring paint down the drain.
Step-by-Step Instructions
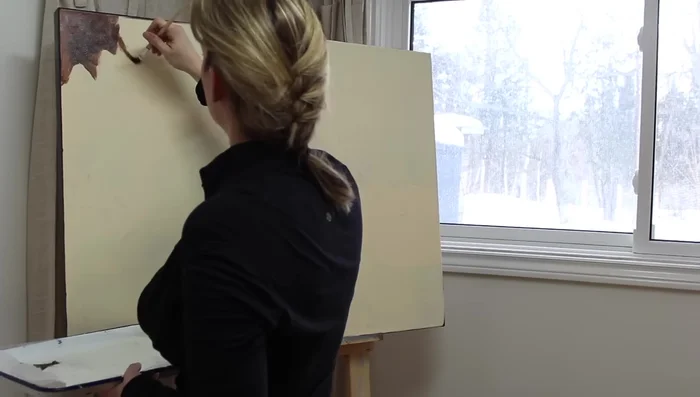
Prepare the Canvas
- Transfer drawing onto primed canvas and outline with watered-down burnt umber.

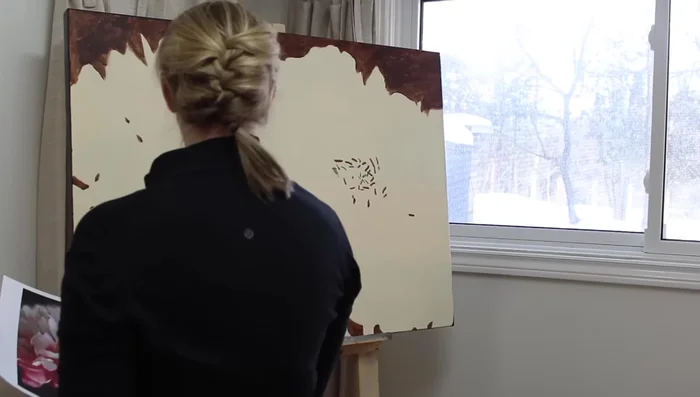
Prepare the Canvas Initial Layering and Background
- Apply first layer focusing on light and shadow using a rough, scratchy technique.
- The tutorial shows a mistake here and a correction).
Initial Layering and Background Develop Depth and Color
- Apply the second layer, focusing on warm vs. cool colors to create depth, using a medium for blending.
- Paint the yellow section, carefully mixing yellows and adding complementary colors (purples) to avoid dullness.
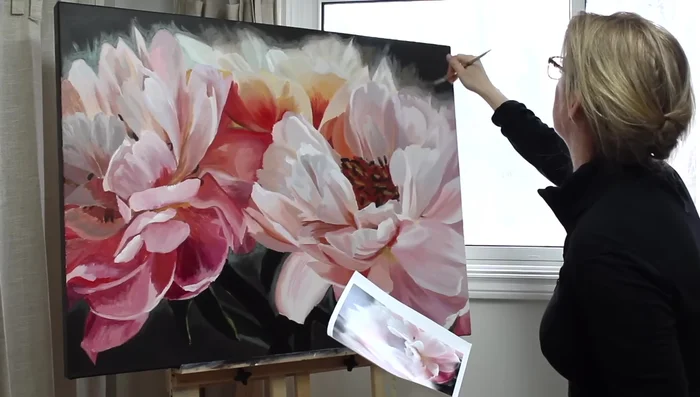
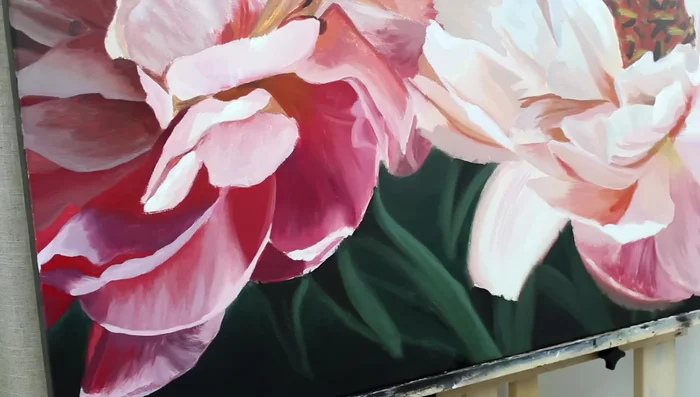
Develop Depth and Color Refine Petals and Shape
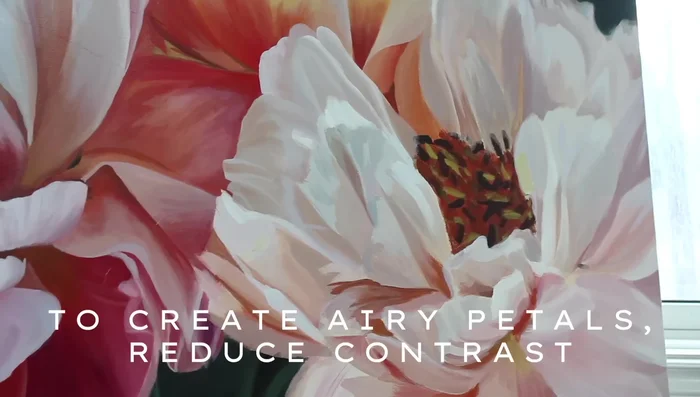
- Paint the final flower, focusing on subtle variations in value and undertones for realistic shape.
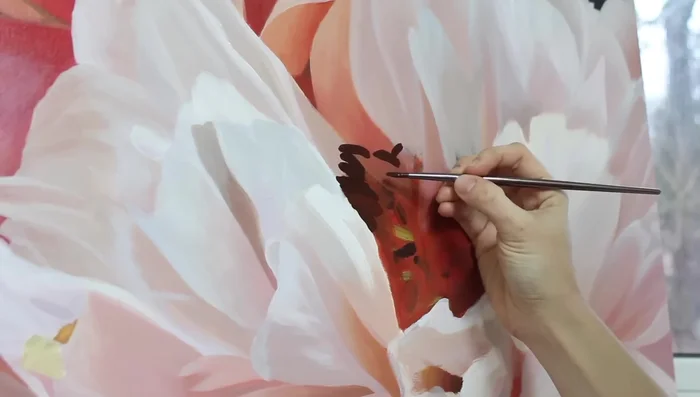
Refine Petals and Shape Center and Details
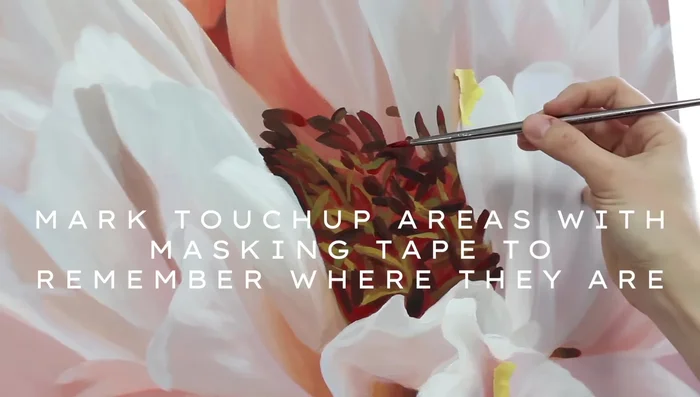
- Paint the center of the peony, using a variety of colors and values for realism.
Center and Details Final Touches and Stems
- Do touch-ups and paint stems, carefully checking for and correcting 'sticky spots'.
Final Touches and Stems

Read more: 7 Top Paint Color Trends for 2024: A Complete Guide with Free Downloadable Resource
Tips
- Use a split primary palette for richer colors.
- Don't correct value issues until the first layer is complete.
- Use a medium sparingly, mostly in the second layer to avoid diluting the paint pigmentation.
- Train your eye to see color without preconceived notions.
- Create your grays and blacks by mixing burnt umber and ultramarine blue to control warmth/coolness.