Parrots, with their vibrant plumage and striking personalities, are captivating subjects for artists. But capturing the lifelike sparkle and intelligence in their eyes can be a significant challenge. The intricate details, the subtle reflections of light, and the nuanced colors all contribute to the realism that makes a parrot painting truly come alive. Mastering the art of painting realistic parrot eyes can elevate your artwork from good to breathtaking. Accurately depicting these features can be the difference between a generic bird portrait and a piece that truly captures the spirit of the animal.
This step-by-step guide will walk you through the process of painting realistic parrot eyes using acrylics, focusing on techniques that will help you achieve depth, luminosity, and incredible detail. We'll cover everything from preparing your canvas to applying the final touches, allowing you to create incredibly lifelike eyes that will make your parrot paintings unforgettable.
Preparation and Safety Guidelines
- Acrylic paints (burnt umber, white, purple, black, Prussian blue, magenta/alizarin crimson)
- Flat brush
- Small detail brush
- Acrylic paints can be irritating to the skin and eyes. Always work in a well-ventilated area and wear protective eyewear and gloves.
- Parrot eyes are incredibly detailed. Don't rush the process. Take your time with each layer to achieve realism. Patience is key!
- Clean your brushes thoroughly between color changes to prevent muddy colors and maintain the vibrancy of the eye.
Step-by-Step Instructions
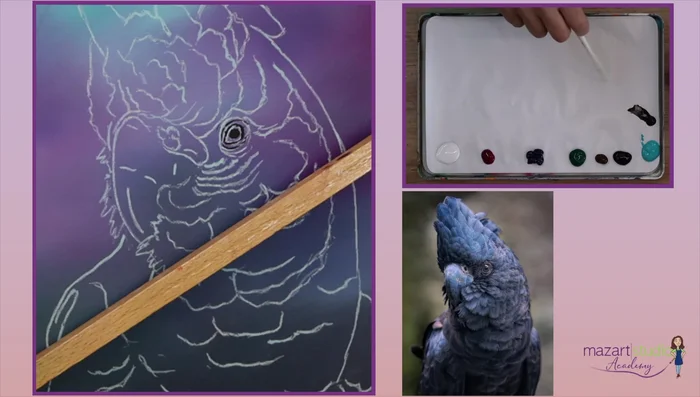
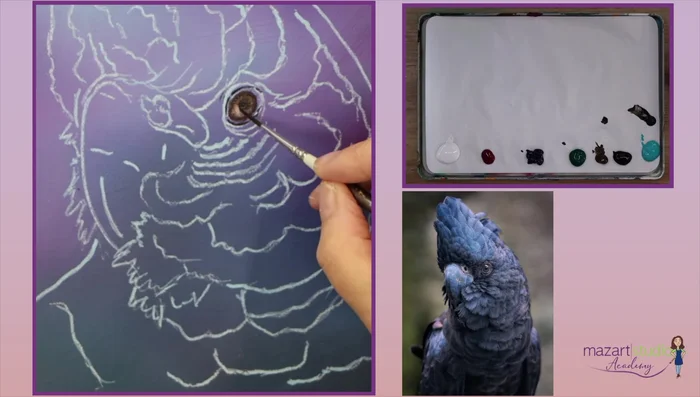
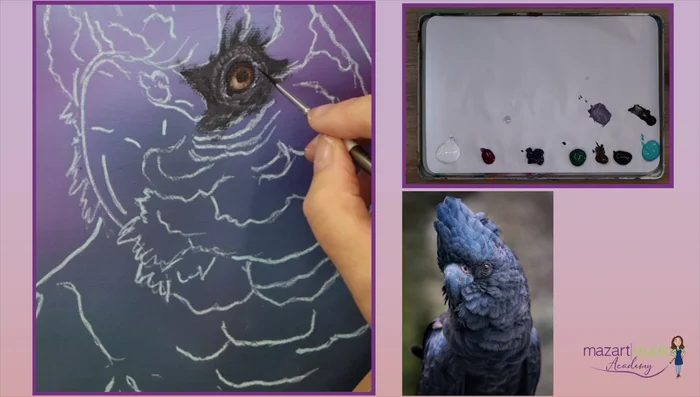
Base Layer and Catchlight
- Begin with a base layer of burnt umber, working wet-on-wet to create a smooth transition.
- Add a small amount of white to a detail brush, wiping off most of the paint. Create a catchlight reflecting the light source (above the eye).
- Blend the white into the burnt umber while still wet to soften the edges.

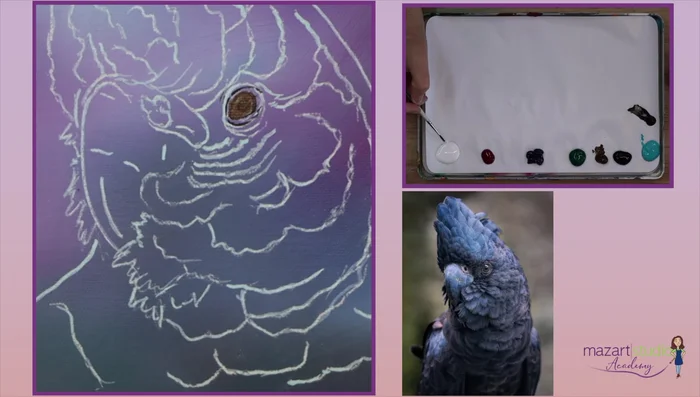
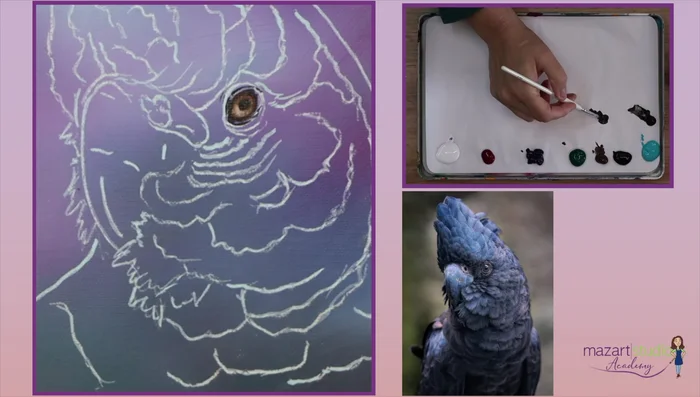
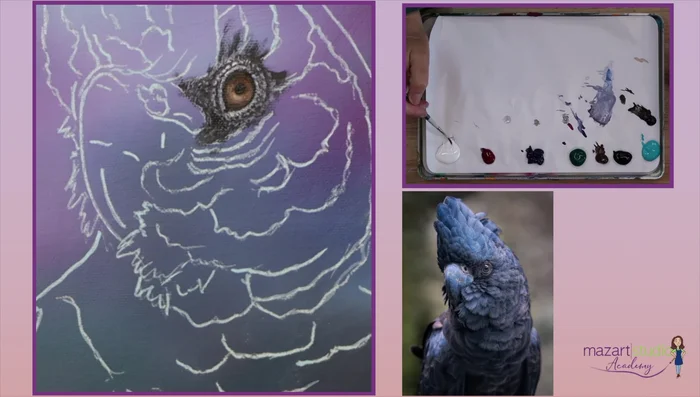
Base Layer and Catchlight Adding Depth and Shading
- Use a smaller brush with burnt umber to darken the areas underneath the catchlight, creating depth.
- Add a tiny amount of white to the center of the catchlight for extra brightness, keeping the area smaller than the previous white application.
- Use burnt umber and a small amount of purple to define the pupil's shape and add subtle shading.
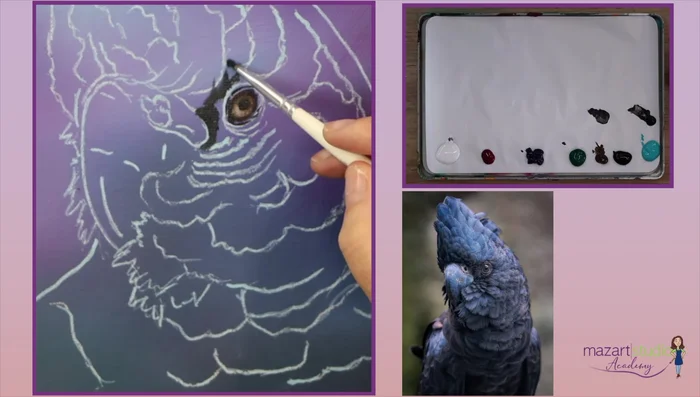
- Gradually add black and Prussian blue to darken the pupil and surrounding areas, building up layers for depth and intensity.
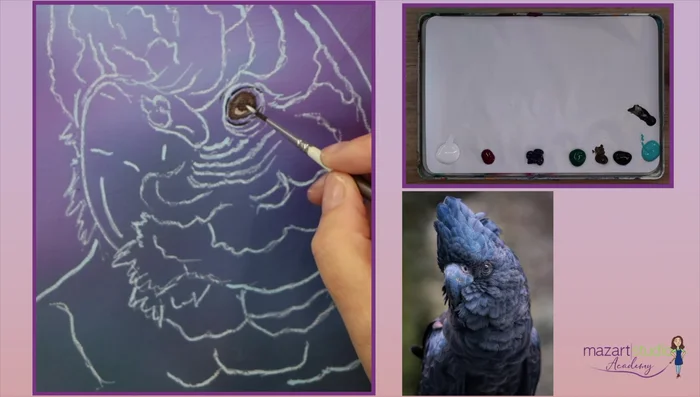
Adding Depth and Shading - Create a dark gray mix (black, blue, tiny bit of white) for the darkest corners of the eye.
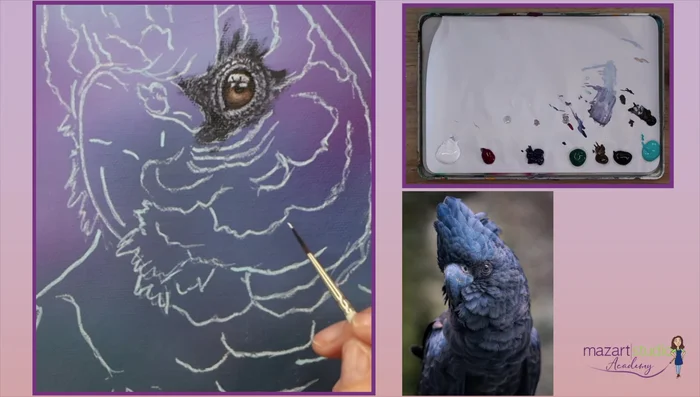
Adding Depth and Shading Blending and Feather Details
- Use soft strokes to blend the dark gray into the surrounding feathers.
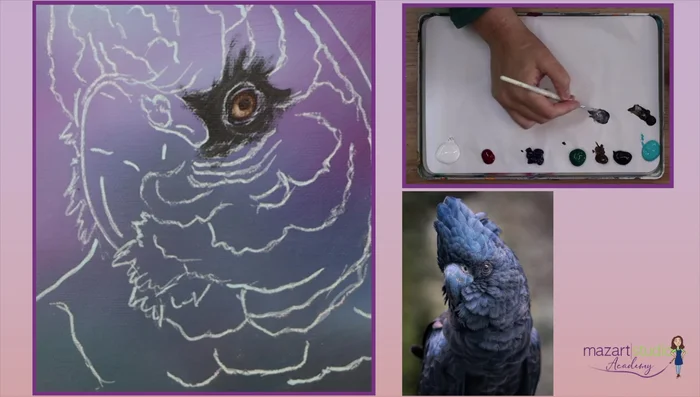
- Build up lighter areas around the eye using a mix of white, a touch of the previous darker mix, and perhaps a hint of magenta or alizarin crimson. Use small tapping strokes.
- Add tiny dots of lighter tones to suggest feathers. Focus on the areas where light hits the strongest.
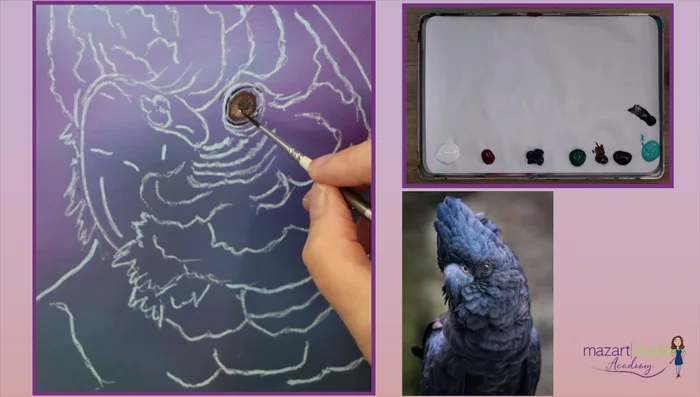
Blending and Feather Details Refining and Highlighting
- Refine the eye's shape with black, correcting errors and adding depth.
- Add tiny dots of a bluish-gray mix to enhance the catchlight's shape.
- Create a final highlight with pure white, using small taps to avoid covering the underlying colors.
Refining and Highlighting


Read more: 7 Top Paint Color Trends for 2024: A Complete Guide with Free Downloadable Resource
Tips
- Work wet-on-wet to achieve smooth transitions and blending.
- Build up colors slowly, adding layers to achieve depth and intensity.
- Use small, tapping strokes, especially for detailing the feathers and highlights.
- Don't use pure black or white too early; it's better to build up gradually with mixtures.
- Observe where the light source hits the eye for accurate highlight placement.