Discover the tranquility of nature and the joy of creating art with this beginner-friendly guide to acrylic painting! We'll be painting a serene landscape featuring a charming footbridge spanning a calm, reflective stream, a perfect project for those new to the world of acrylics. No prior experience is needed – we'll break down the process into simple, manageable steps, ensuring a satisfying and rewarding experience regardless of your skill level. You'll learn fundamental techniques like blending colours, creating texture, and achieving realistic water effects, all while producing a beautiful piece of artwork to proudly display.
This step-by-step tutorial will guide you through each stage of painting our peaceful footbridge landscape, from sketching the initial outline to adding the final touches. Prepare to unleash your creativity and enjoy the meditative process of bringing this calming scene to life on canvas, using only basic supplies readily available at your local art store. Get ready to embark on this artistic journey and experience the magic of acrylic painting!
Preparation and Safety Guidelines
- Acrylic paints (various colors, including white, blue, red, green, yellow)
- Canvas
- Traceable (optional)
- Black Sharpie marker (optional)
- Medium and small flat brushes
- Small pointy brush
- Acrylic paints are water-based but can still be irritating to skin and eyes. Always work in a well-ventilated area and wear appropriate clothing to protect your skin. Wash your hands thoroughly after painting.
- Clean your brushes immediately after use with soap and water. Acrylic paint dries quickly and becomes difficult to remove once hardened.
- Dispose of paint and cleaning materials responsibly according to local regulations. Never pour paint down the drain.
Step-by-Step Instructions
Preparation
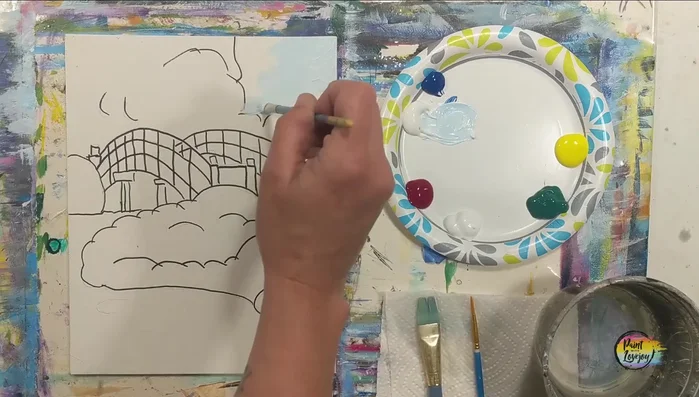
- Prepare your supplies and transfer your traceable to your canvas surface. Take progress photos.

Preparation Painting the Sky and Water
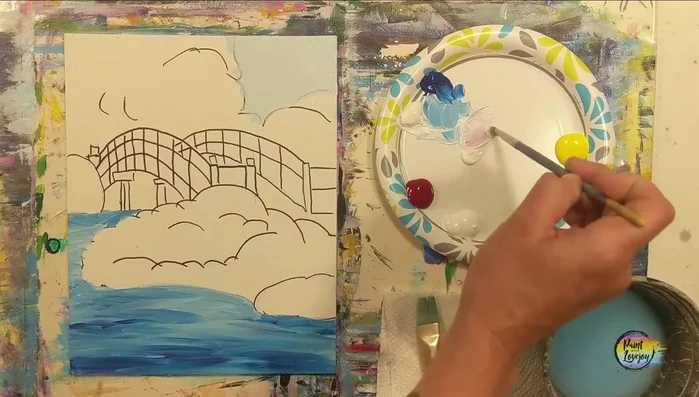
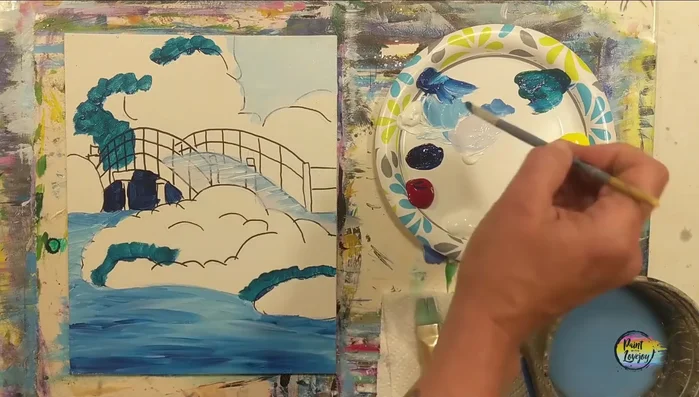
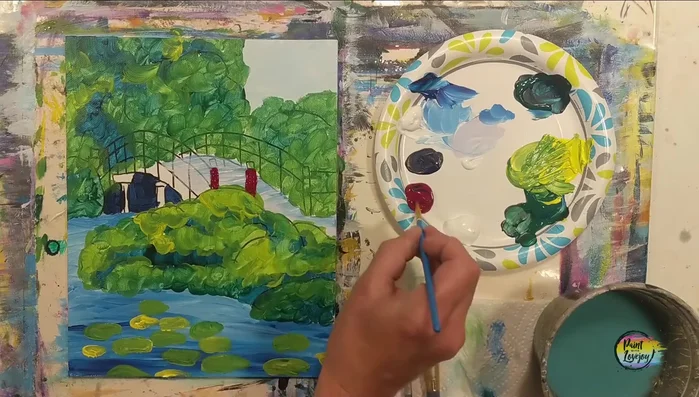
- Mix a light blue (white + a little blue). Paint the sky and water areas using the medium flat brush. Add darker blue on top for depth, blending wet-on-wet.
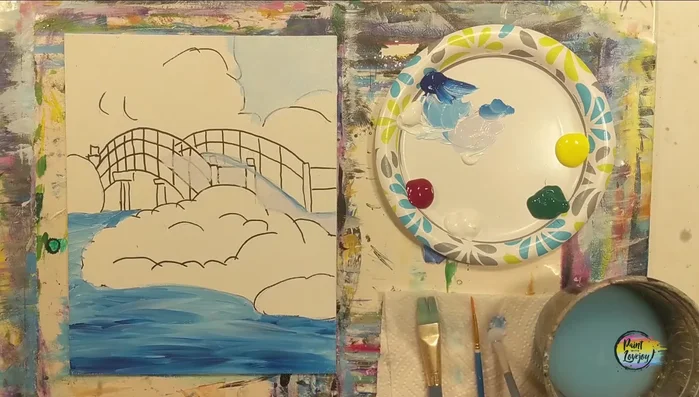
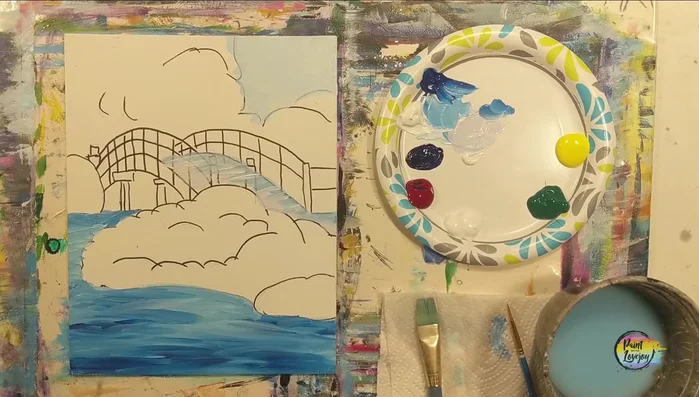
Painting the Sky and Water Painting the Footbridge Base
- Mix a light periwinkle (white + a little blue + a tiny bit of red). Paint the base of the footbridge.
- Use light blue to add shadows to the footbridge, blending with light pressure.
- Add tiny white highlights to the footbridge path.
Painting the Footbridge Base Painting Bridge Shadows and Foliage Shadows
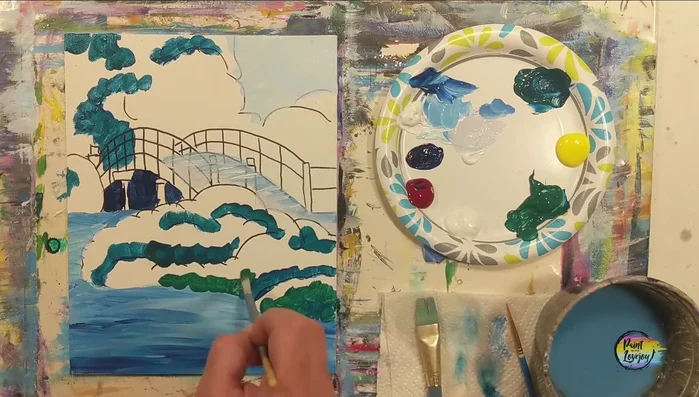
- Mix a dark blue-red for shadows under the bridge. Apply this color without using black paint.
- Mix a dark teal (blue + green). Apply this to create the shadows for the foliage.
Painting Bridge Shadows and Foliage Shadows Painting the Foliage
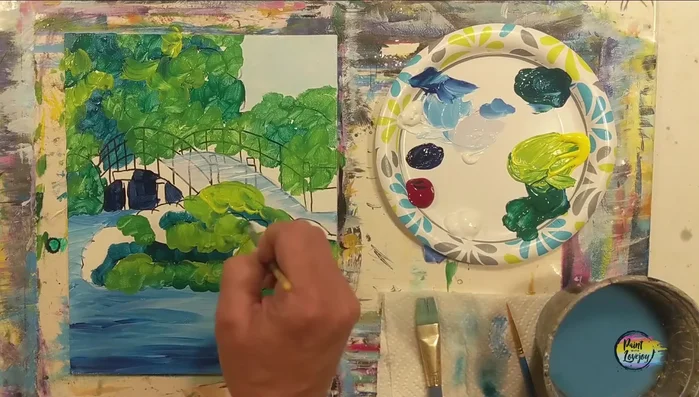
- Apply green using the middle flat brush, creating overlapping dots for the foliage. Repeat for better opacity.
- Mix yellow-green and apply in a similar dotting technique, layering over previous colors.
- Add highlights with light yellow-green, focusing on lighter areas.
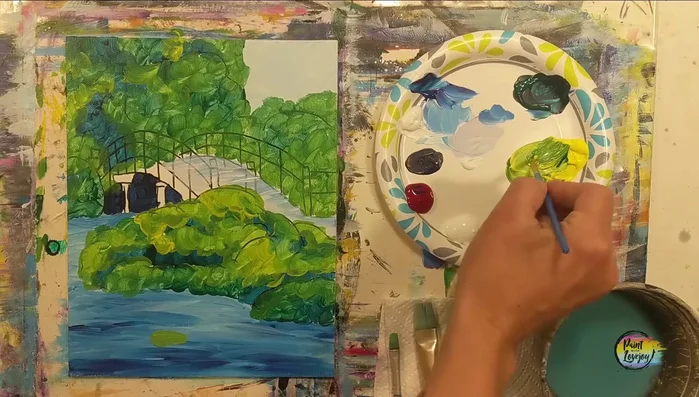
Painting the Foliage Adding Water Details
- Add yellow-green lily pads to the water using a small pointy brush. Let previous layers dry first.
Adding Water Details Painting the Bridge Structure
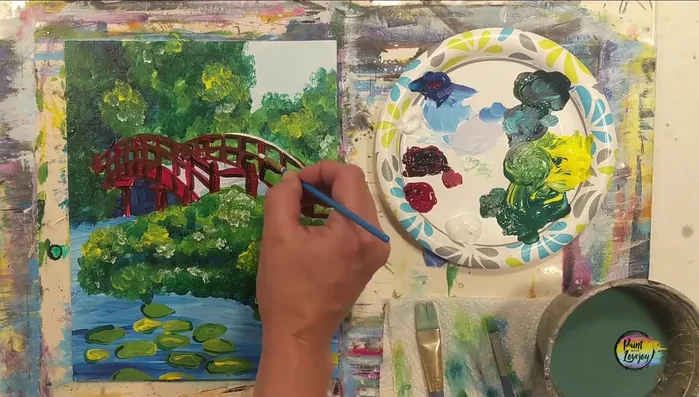
- Paint the bridge using red paint and a small pointy brush. Use the edge of the brush and vary pressure for line width.
- Add shadows to the bridge with a blue-red mixture, focusing on negative spaces under the structure.
- Add white highlights to the bridge's top edges.
Painting the Bridge Structure Adding Finishing Touches
- Add lotus flowers (using pink, red, and white) and stems (green) to the water.


Read more: 7 Top Paint Color Trends for 2024: A Complete Guide with Free Downloadable Resource
Tips
- Don't stress about getting the exact same shade each time you mix your paint.
- If painting on a stretched canvas, carry the color around the sides for a neat look.
- Relax and breathe while painting. It's therapeutic!
- Observe your painting from a distance (5-10 feet) to assess color balance and make adjustments.
- Vary brushstrokes by slightly twisting and twirling the brush between your fingers.