Acrylics, with their vibrant colours and quick-drying nature, offer a unique challenge and reward for landscape painters. Achieving the smooth, ethereal blends and delicate layering that define breathtaking landscapes requires a mastery of specific techniques. Unlike oils, the rapid drying time necessitates a strategic approach, demanding careful planning and a nimble hand. This often leads to frustration for beginners, who might find their efforts resulting in harsh lines and muddy colours rather than the intended effect. But fear not! With the right knowledge and practice, even the most complex landscape visions can be realized in acrylics.
This article will guide you through a step-by-step process, detailing the techniques essential for creating stunning acrylic landscape paintings. We will explore methods for achieving seamless colour transitions, mastering layering strategies to build depth and dimension, and utilizing various tools and mediums to control the paint's consistency and drying time, ultimately helping you to unlock the full potential of this versatile medium.
Preparation and Safety Guidelines
- Acrylic paints
- Blending brush
- Water
- Number 4 and 8 brushes
- Detail brush
- 18x24 inch gallery canvas
- Always work in a well-ventilated area. Acrylic paints contain solvents that can be harmful if inhaled.
- Wear protective clothing, such as an apron, to avoid staining your clothes. Acrylic paint is notoriously difficult to remove once dry.
- Clean your brushes thoroughly with soap and water immediately after use to prevent the paint from hardening and ruining your brushes.
Step-by-Step Instructions
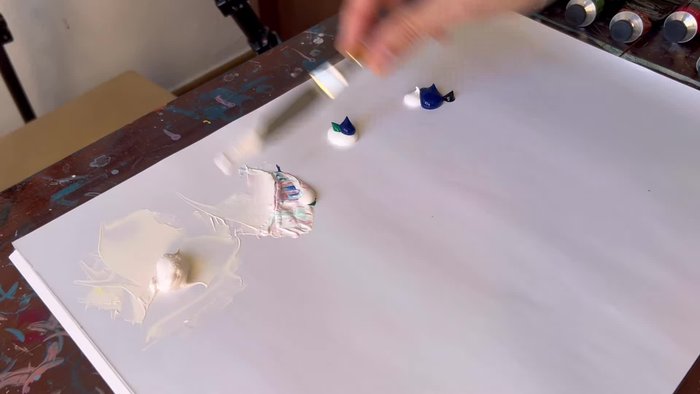
Prepare Sky Colors
- Mix acrylic paint colors for the sky, from lightest to darkest.

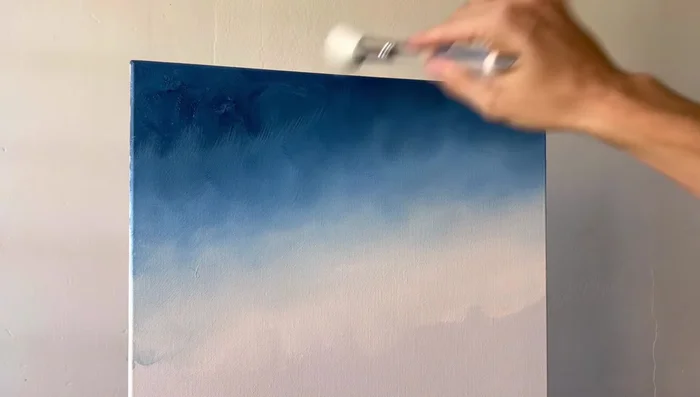
Prepare Sky Colors Paint the Sky
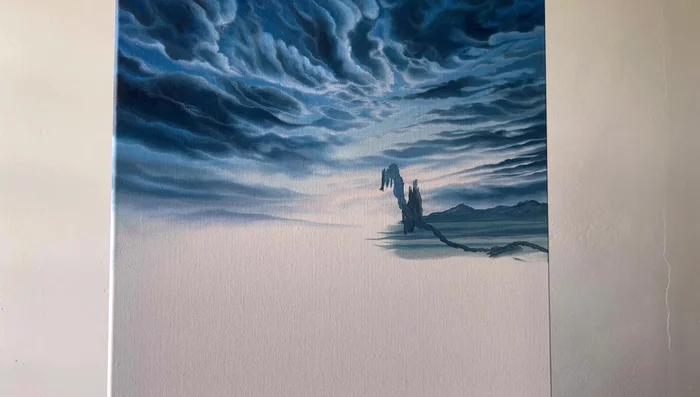
- Apply the sky colors onto the canvas using a wet blending brush, working from lightest to darkest. Use water to keep the paint wet and blendable.
- Let the sky layer dry completely before continuing.
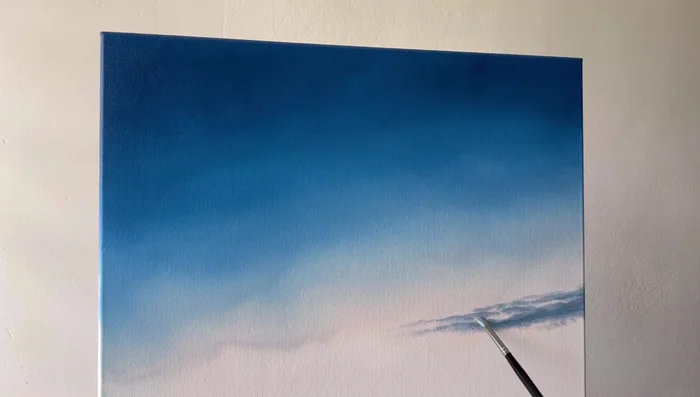
Paint the Sky Prepare and Paint Clouds
- Mix colors for clouds (grayish blues, light blues, darker blues).
- Apply a base layer of clouds, outlining their shapes.
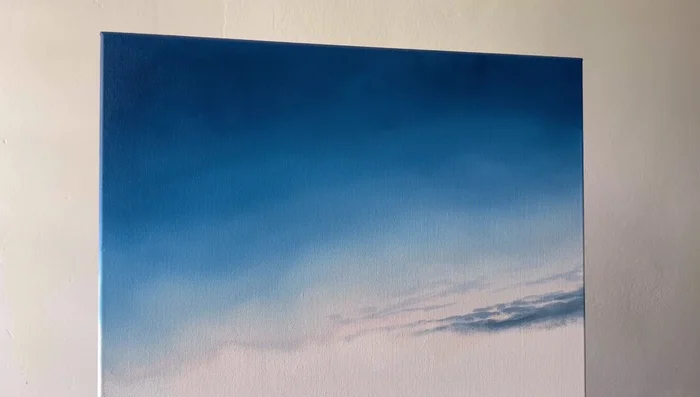
- Add subsequent layers of similar colors to blend brush strokes and create a smoother effect. Use a dry blending brush for smooth transitions.
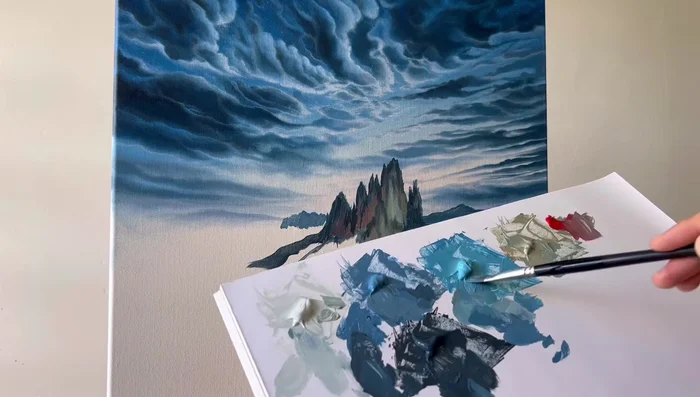
Prepare and Paint Clouds Paint Background Elements
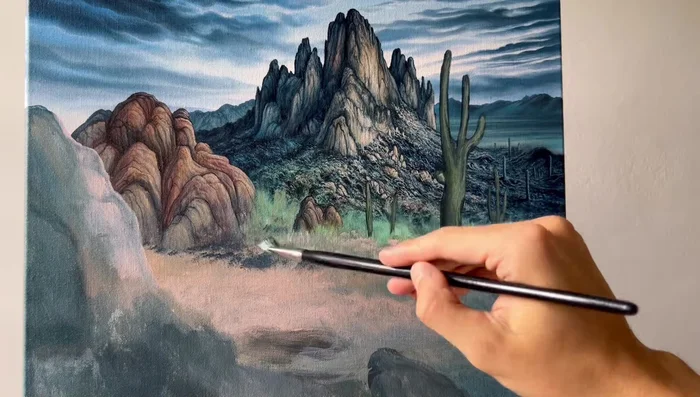
- Work on the background elements (mountains and land), using more neutral, bluish tones to maintain depth and distance.
- Add a base layer for the background elements, similar to the cloud process.
- Add subsequent layers to refine the background details, gradually increasing color vibrancy as the elements get closer to the foreground.
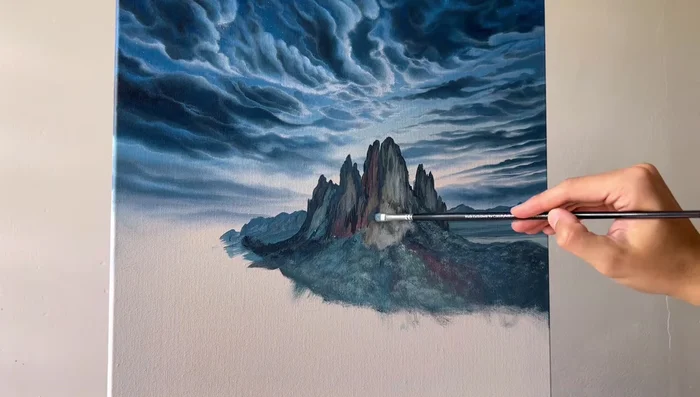
Paint Background Elements Paint Foreground Elements
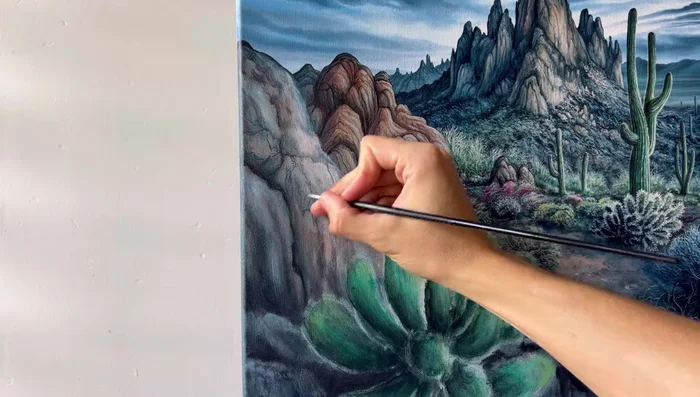
- Work in sections to avoid feeling overwhelmed. Focus on one area at a time and take breaks.
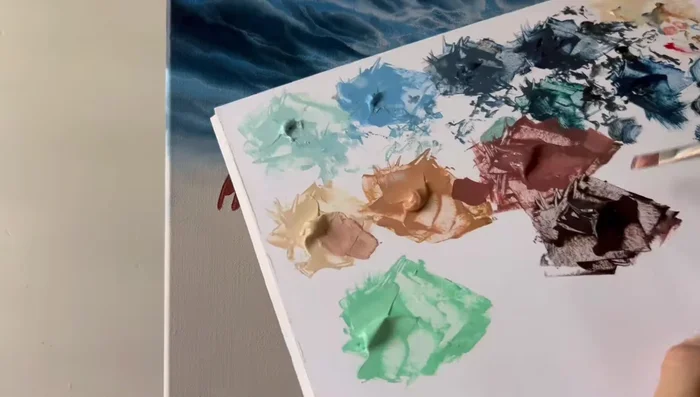
- Add details to the foreground elements (rocks, plants) using a detail brush. Start with base layers and add subsequent layers for improved detail and smoothness.
- Consider light source and shadows while painting foreground elements to add depth and realism.
Paint Foreground Elements Refine and Finalize
- Add final details and refine the painting as needed. Consider using glazes and blending techniques to achieve a smoother finish.
Refine and Finalize


Read more: 7 Top Paint Color Trends for 2024: A Complete Guide with Free Downloadable Resource
Tips
- Use water to keep acrylic paints wet and blendable for longer periods.
- Work in layers to achieve a smooth, refined look. Allow each layer to dry before applying the next.
- Don't be afraid to experiment with colors and shapes. Adding your own unique touch makes your painting more interesting.
- Take breaks and don't rush the process. Painting should be fun and relaxing.
- Focus on shapes and gradually add details to refine your painting.