Acrylics offer a vibrant and versatile medium perfectly suited to capturing the dramatic beauty of landscapes, particularly the majestic interplay of mountains and rivers. Their quick-drying nature and blendability allow for both spontaneous brushstrokes and meticulous detail, making them an ideal choice for artists of all skill levels seeking to portray the power and serenity of nature's grandest features. From the jagged peaks reflecting in tranquil waters to the rushing torrents carving their way through rocky valleys, the possibilities are endless. The texture, the light, the sheer scale – all present unique challenges and rewarding opportunities for artistic expression.
This guide will delve into the techniques necessary to master the art of painting mountains and rivers in acrylics. We will explore colour mixing for realistic skies and water, effective methods for depicting texture and depth, and strategies for composing compelling landscape scenes. Ready to embark on this creative journey? Let's begin with a step-by-step process to paint your own breathtaking mountain and river landscapes.
Preparation and Safety Guidelines
- 10in by 12in linen panel
- acrylic paints
- burnt sienna
- ultramarine blue
- alizarin crimson
- titanium white
- phthalo green
- yellow ochre
- cadmium yellow
- cadmium red light
- synthetic flat brushes
- round brush
- Always work in a well-ventilated area. Acrylic paints contain solvents that can be harmful if inhaled.
- Wear appropriate clothing and protect your work surface. Acrylic paint is difficult to remove once dried.
- Clean brushes thoroughly with soap and water immediately after use to prevent paint from hardening.
Step-by-Step Instructions
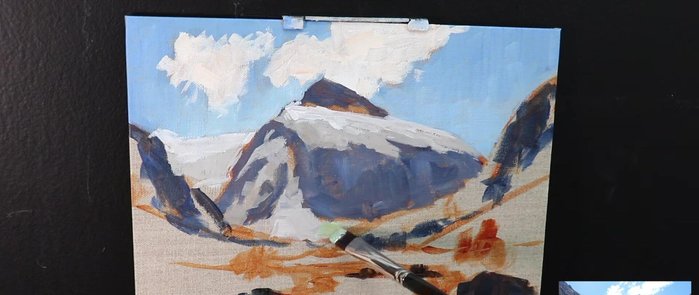
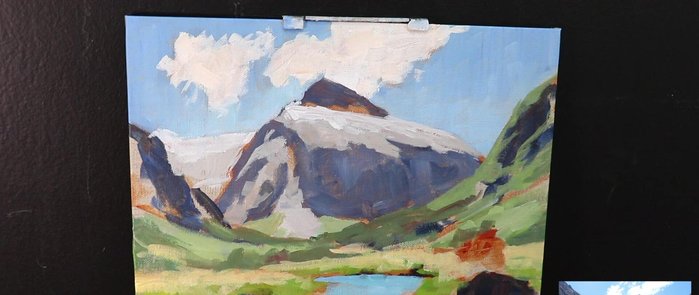
Composition and Initial Layering
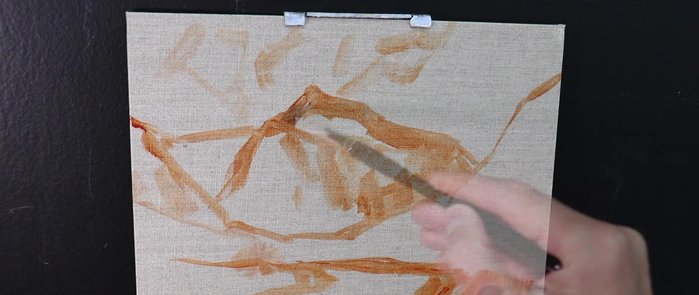
- Sketching the composition using burnt sienna mixed with water
- Painting dark values and shadows first, focusing on darkest darks and lightest lights in the foreground, narrowing the value range in the distance
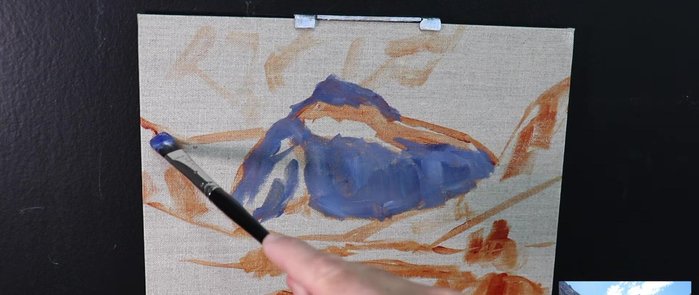
- Painting the sky using a mix of ultramarine blue, phthalo green, and titanium white
- Painting the clouds using a light mix of titanium white, burnt sienna, and a little of the mountain shadow mix

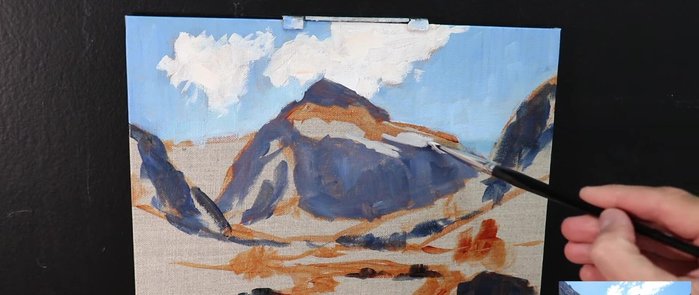
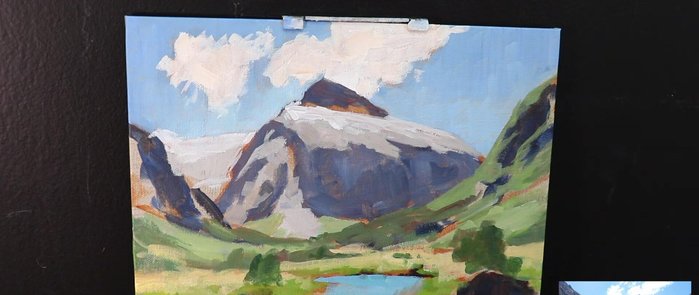
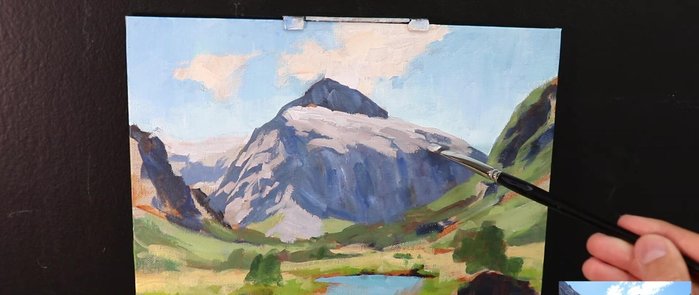
Composition and Initial Layering Mountain Painting
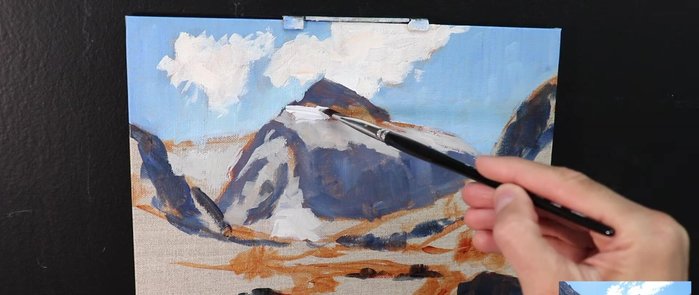
- Painting the mountain's light areas using the same colors as the shadow areas but with more titanium white and burnt sienna
- Painting the snow on the mountain top using a cloud mix with added shadow mix
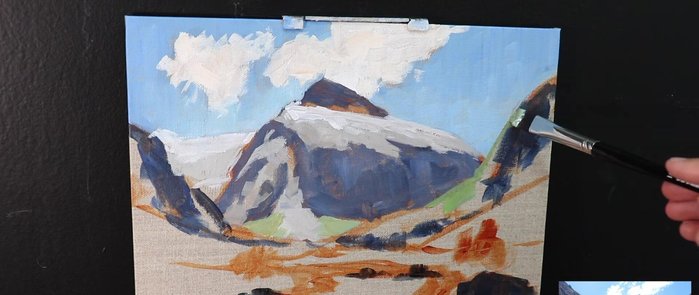
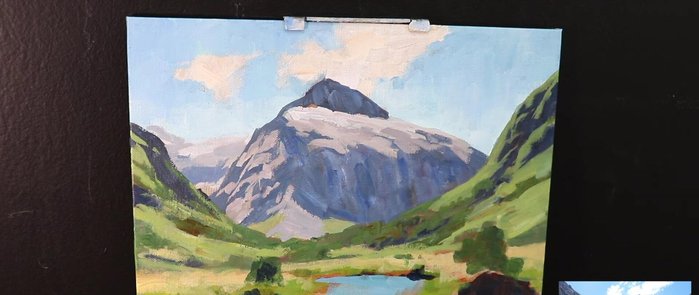
Mountain Painting Vegetation Layering
- Painting distant vegetation using desaturated greens (yellow ochre, ultramarine blue, titanium white, phthalo green, burnt sienna)
- Painting mid-ground vegetation with increased saturation by adding cadmium yellow
- Painting foreground grass using the most saturated greens (cadmium yellow, ultramarine blue, yellow ochre, phthalo green, alizarin crimson, titanium white, cadmium red light)
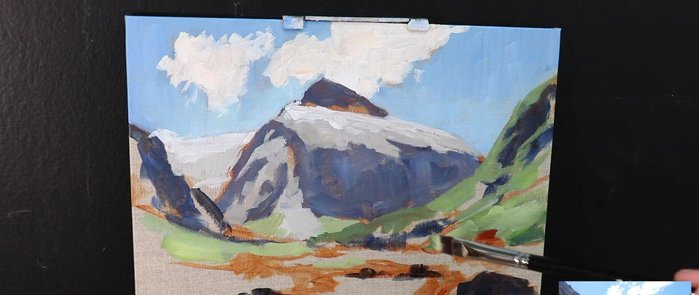
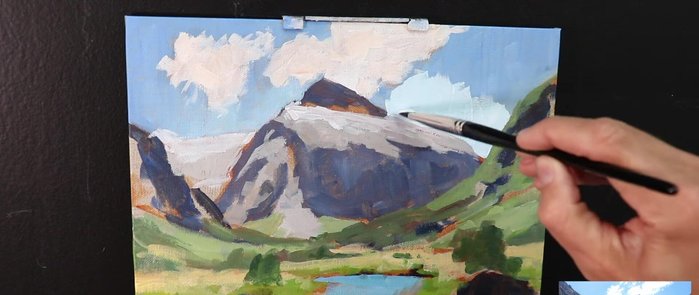
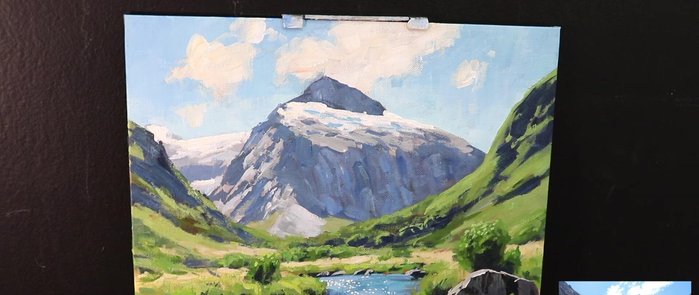
Vegetation Layering River and Reflection
- Painting the river reflecting the sky using a mix of ultramarine blue, yellow ochre, phthalo green, and titanium white; and reflecting vegetation using yellow ochre, burnt sienna, ultramarine blue, and titanium white
River and Reflection Foreground Details
- Painting bushes in the foreground using darker values of the grass colors
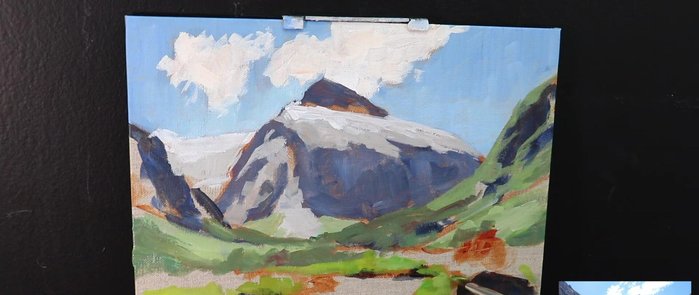
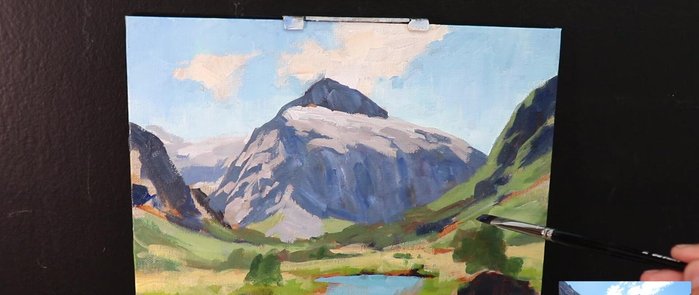
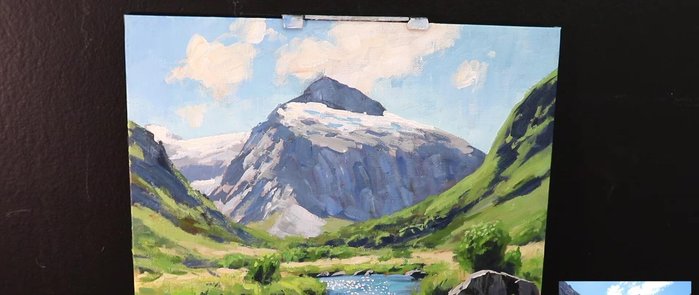
Foreground Details Refinement and Adjustments
- Making value readjustments after initial paint layers dry, lightening the sky and mountains
- Adding detail to mid-ground elements and restating dark values
- Adding lighter layers to build depth and form in the trees and mountains
- Adding details to the river and foreground elements, using broken color to create variety
Refinement and Adjustments - Adding highlights and sparkles to the water using titanium white mixed with yellow ochre
- Adding final details and highlights to various areas of the painting to create depth and texture.
Refinement and Adjustments
Read more: 7 Top Paint Color Trends for 2024: A Complete Guide with Free Downloadable Resource
Tips
- Acrylic paints dry quickly and darker than initially applied, factor this into brushstrokes and value adjustments
- Use desaturated colors for distant elements to create depth
- Keep paintings tonally darker initially and gradually add lighter layers for depth
- Use broken color (not thoroughly mixing colors) to create variety and texture
- Use common colors throughout the painting for color harmony