Escape the everyday and immerse yourself in the tranquility of a dreamy beach landscape, all from the comfort of your own home! This tutorial will guide you through creating your own breathtaking acrylic painting, capturing the essence of sun-drenched sands, shimmering turquoise waters, and the soft glow of a setting sun. Whether you're a seasoned artist or just starting your creative journey, this project is designed to be accessible and rewarding, offering a relaxing and fulfilling artistic experience. We’ll focus on achieving that ethereal, almost dreamlike quality often associated with idyllic beach scenes.
Prepare your brushes and paints, because we're about to embark on a step-by-step journey to paint your very own perfect beach paradise. From sketching the initial composition to blending vibrant colors and adding the final touches, this tutorial will provide clear instructions and helpful tips to help you master the techniques involved in creating this captivating artwork. Let's begin!
Preparation and Safety Guidelines
- 16x20 canvas board
- 3-inch chalk brush
- mop brushes (various sizes)
- number 11 flat brush
- filbert brush
- fan brush
- tweezers (optional)
- Always work in a well-ventilated area when using acrylic paints. Acrylics contain solvents that can be harmful if inhaled.
- Protect your work surface with a drop cloth or newspaper. Acrylic paint is difficult to remove from many surfaces once dried.
- Wear appropriate clothing and consider using gloves to prevent paint from staining your skin and clothes.
Step-by-Step Instructions
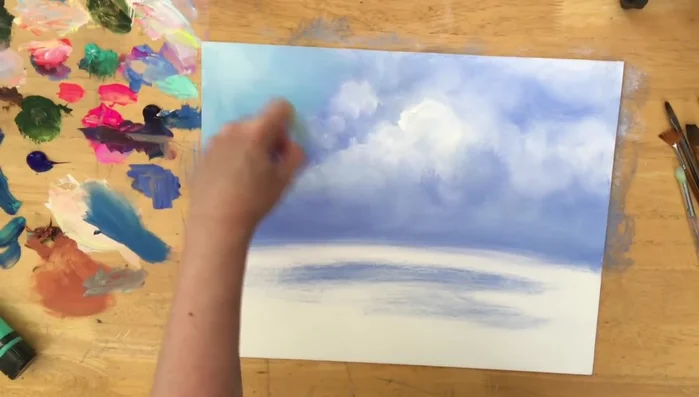
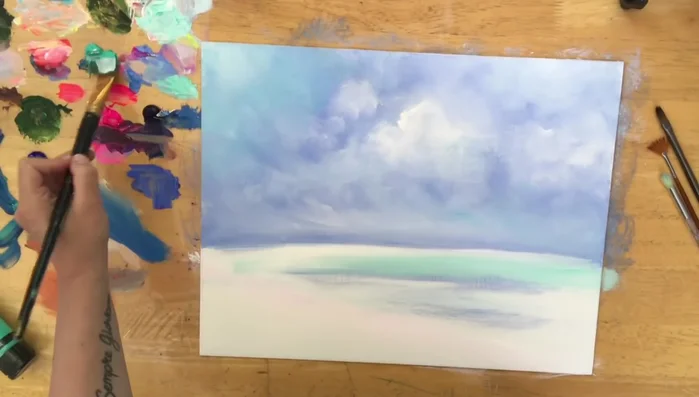
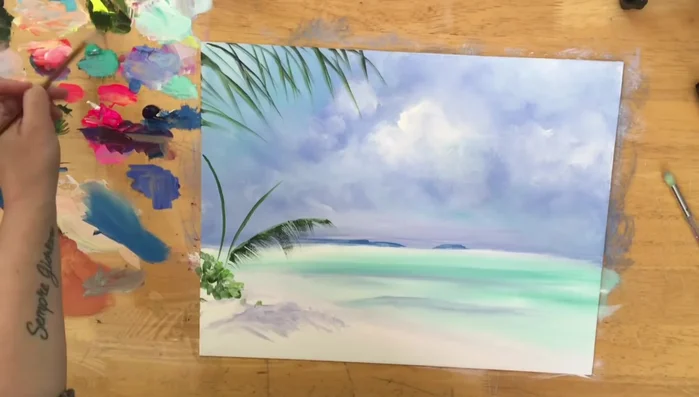
Sky and Clouds
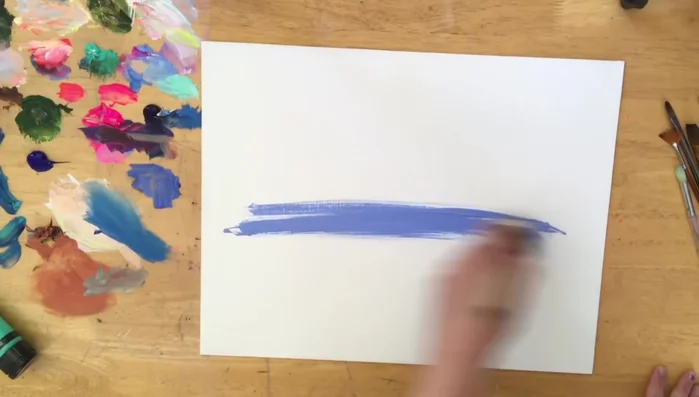
- Begin with a light blue violet on a 16x20 canvas board using a 3-inch chalk brush, creating big circles for clouds.
- Pull some blue down to the bottom for shadows and rocks.
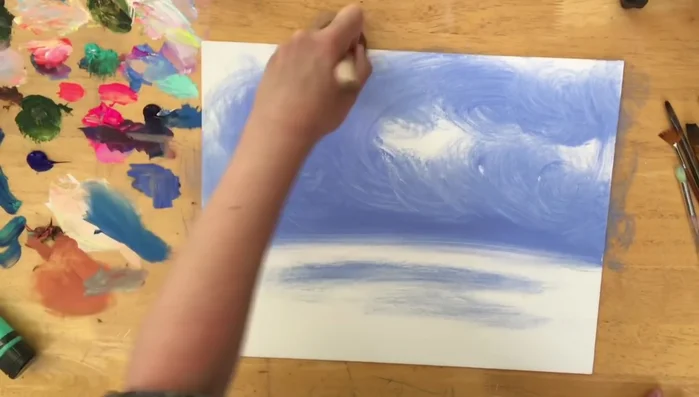
- Softly blend titanium white into the blue, leaving some areas brighter.
- Blend sky blue (light turquoise) into the wet white and blue violet.

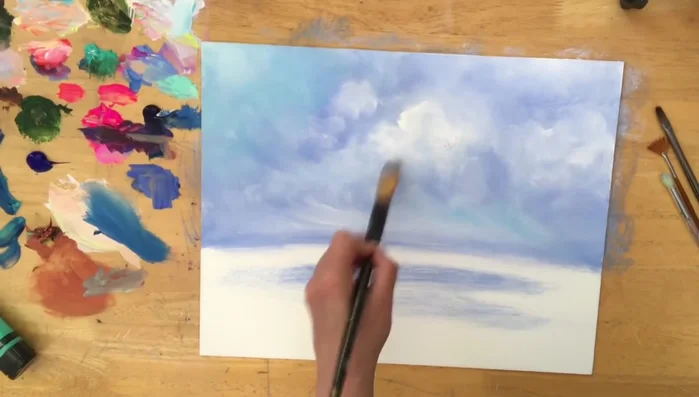
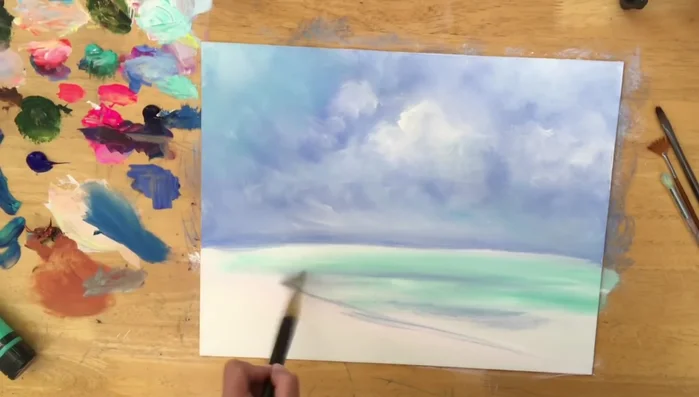
Sky and Clouds - Continue adding white to create puffy clouds, using different mop brushes as needed.
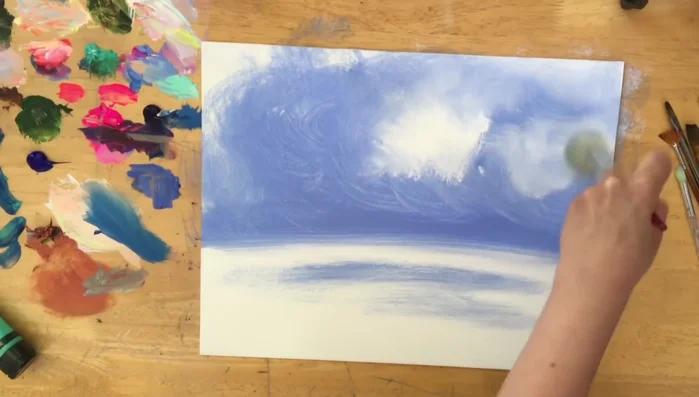
- Use a smaller mop brush to create peaks in the clouds, if desired.
- Soften the horizon with more white using a flat or filbert brush.
- Add hints of sky blue to the clouds and horizon.
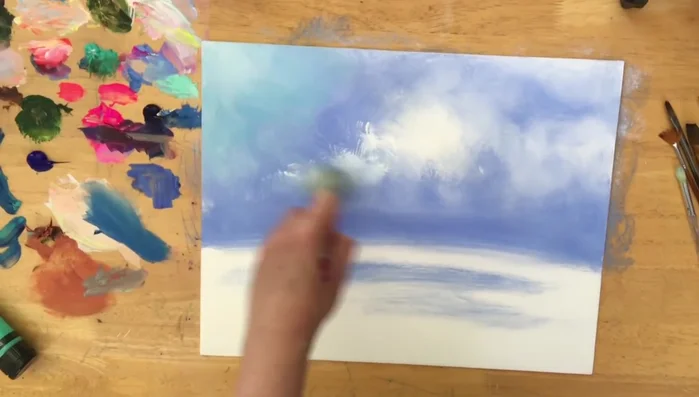
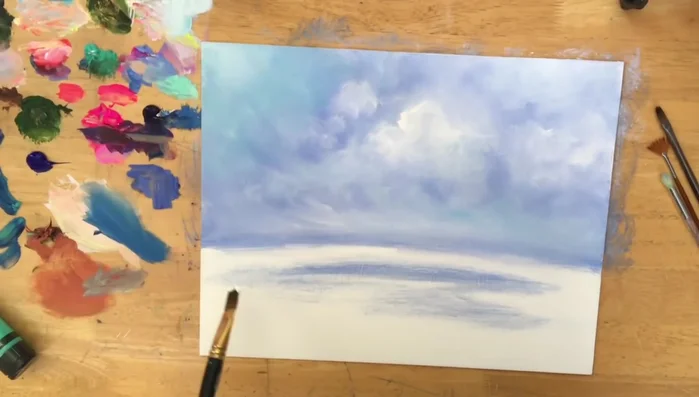
Sky and Clouds - Clean up the horizon line.
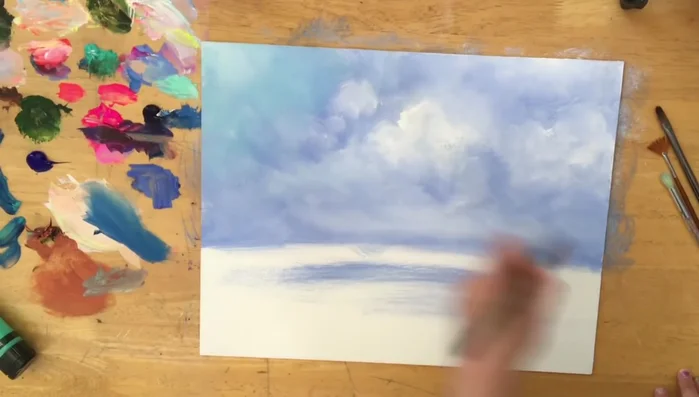
Sky and Clouds Water Base
- Paint the water with titanium white and turquoise, creating soft midtones by working wet-on-wet.
- Add a hint of light blue violet for shadows in the sand.
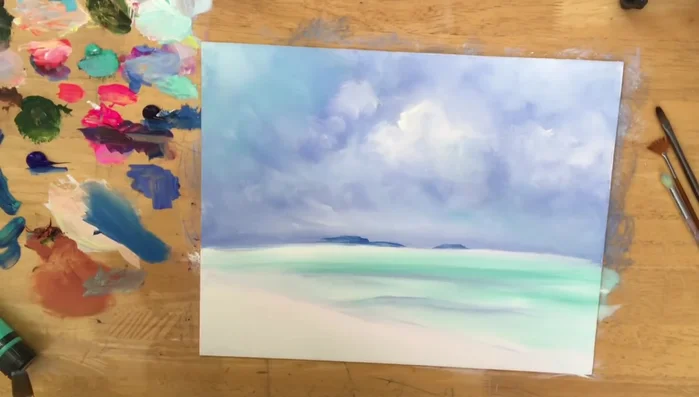
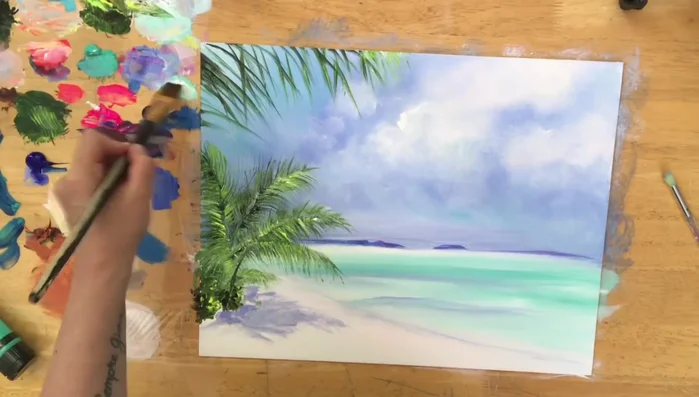
Water Base Background Elements
- Create small islands in the distance using cobalt and phthalo blue, softening them with white and light blue violet.
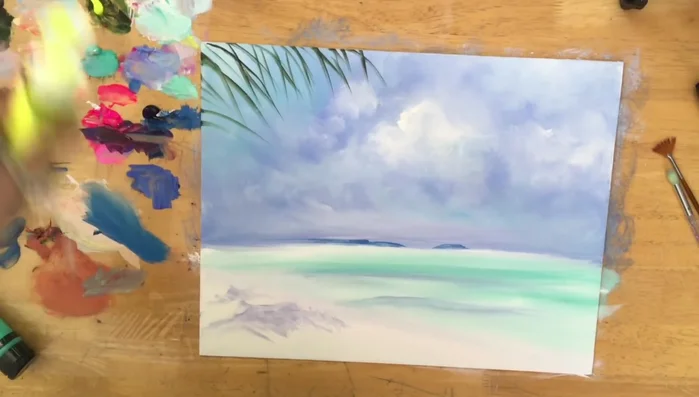
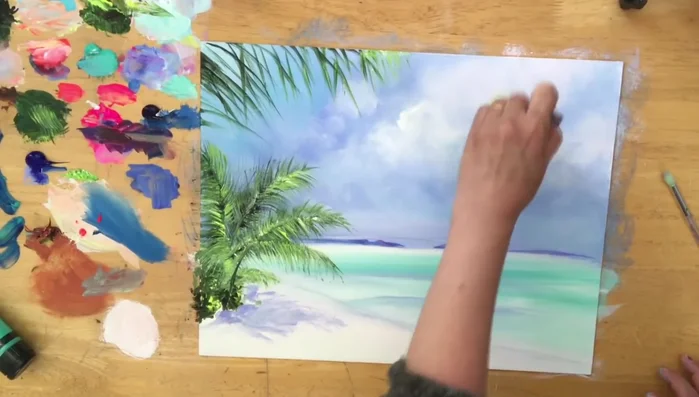
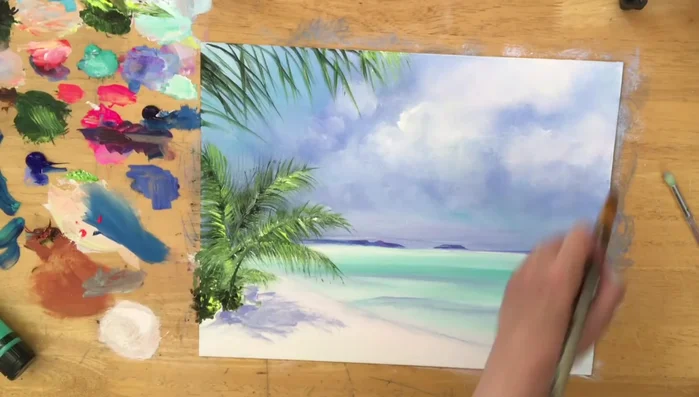
Background Elements Palm Trees and Shadows
- Paint shadows under the palm trees using light blue violet mixed with white.
- Paint palm trees using sap green, black, and neon yellow, flicking and pulling the brush to create leaves.
- Use a fan brush with the same color combination to create smaller leaves.
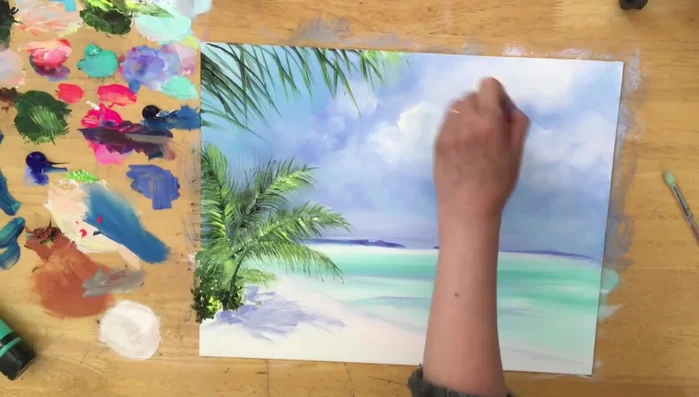
Palm Trees and Shadows Highlights and Refinements
- Add highlights to the clouds and sand with titanium white and a hint of neon red.
- Add a peachy pastel color (neon red, white, neon yellow) over the clouds.
- Add more detail to the water with turquoise.
Highlights and Refinements Additional Details
- Paint the windows using a flat brush and a combination of white and black for gray, highlighting with white.
Additional Details

Read more: 7 Top Paint Color Trends for 2024: A Complete Guide with Free Downloadable Resource
Tips
- Use tweezers to gently remove brush bristles stuck to the canvas.
- Work wet-on-wet for soft blending.
- Use neon colors to add brightness and a tropical feel to shadows.
- Mix sap green, neon yellow, and white for bright chartreuse greens.
- Dry one layer before adding highlights to prevent color mixing.