Intricate paper flowers, once the painstaking work of hours spent meticulously cutting and shaping petals, can now be crafted with stunning precision and speed using a laser cutter. This innovative tool allows for the creation of incredibly detailed, three-dimensional floral designs, unlocking a world of possibilities for both seasoned crafters and enthusiastic beginners. Imagine the vibrant bouquets you could create, the intricate layered blooms, and the personalized decorations you can design – all from the simple elegance of paper. The possibilities are as limitless as your imagination.
This guide will walk you through the exciting process of designing and creating your own DIY 3D paper flowers using a laser cutter, transforming complex designs into stunning reality. Ready to learn how to bring your floral visions to life with this remarkable technology? Let's dive into the step-by-step instructions and begin crafting your own breathtaking paper masterpieces.
Preparation and Safety Guidelines
- Laser cutter
- Cardboard
- Chipboard
- Pattern paper (12x12 size)
- Ink pad (Versacolor black pink pigment ink)
- Brads
- Always wear laser safety glasses when operating the laser cutter, even during setup and cleanup. Laser beams can cause serious eye damage.
- Ensure proper ventilation. Laser cutting can produce fumes and smoke, especially when working with paper. A well-ventilated area or exhaust system is essential.
- Never leave the laser cutter unattended while it is operating. Always monitor the cutting process to prevent fires or malfunctions.
Step-by-Step Instructions
Design and Prepare
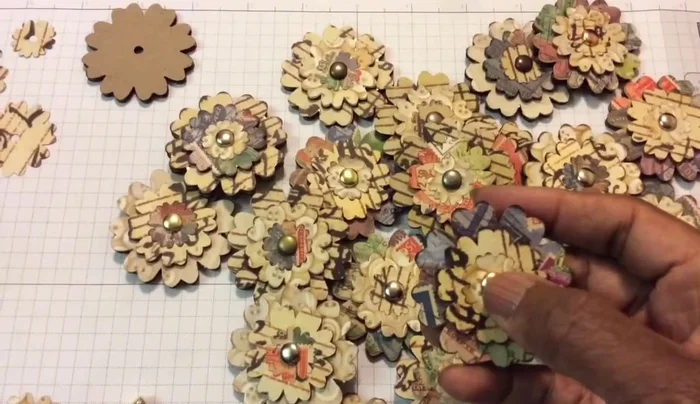
- Design and cut flower shapes:
- a large cardboard layer, a medium chipboard layer, and a small paper layer.

Design and Prepare Laser Cutting
- Use a laser cutter to precisely cut out the flower shapes from all three layers of material.
Laser Cutting Assemble the Flower
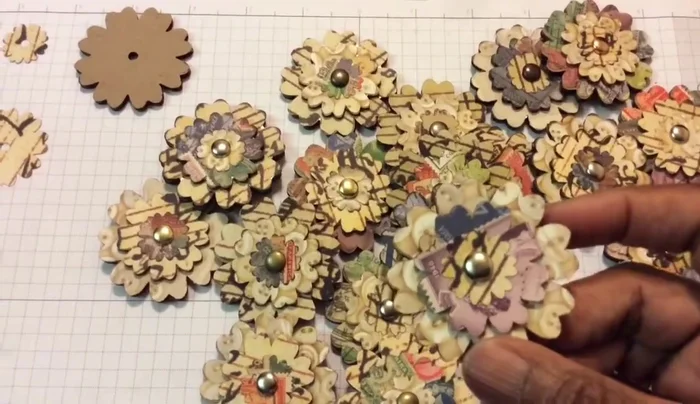
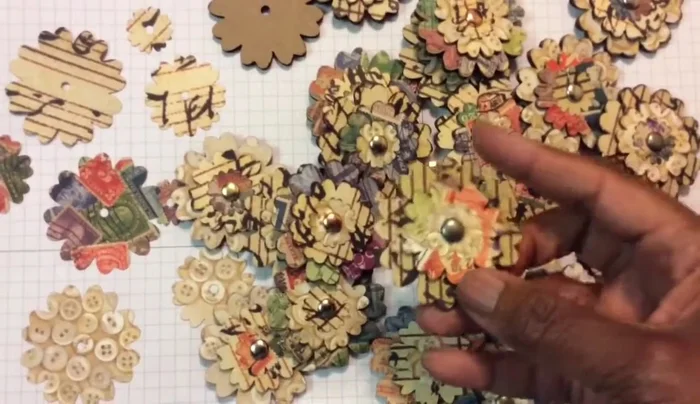
- Assemble the flower layers:
- Ink the edges of each layer using an ink pad for added dimension. This step is optional but adds depth.
- Fasten the layers together using brads in the center.
Assemble the Flower

Read more: Easy Origami Paper Box Tutorial: Step-by-Step Guide
Tips
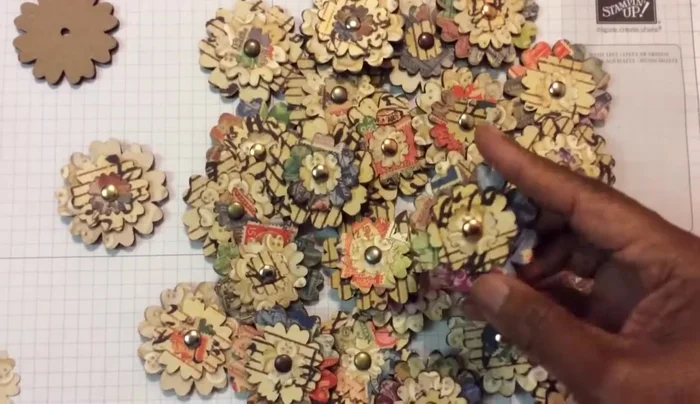
- Use different colors of brads to add visual interest.
- Experiment with different pattern papers and ink colors.