Have you always dreamed of capturing the beauty of the natural world on canvas, but felt intimidated by the complexity of landscape painting? Forget the daunting prospect of countless brushes and intricate techniques! This guide unveils a remarkably simple method for creating stunning landscapes using just three brushes. No prior experience is necessary; this accessible approach focuses on achieving impactful results with minimal fuss, allowing even beginners to experience the joy of painting vibrant scenes. We'll explore how a carefully selected trio of brushes can unlock a surprising range of textures and effects.
This straightforward 3-brush technique will empower you to paint breathtaking landscapes quickly and easily, from sun-drenched meadows to majestic mountains. Ready to transform your artistic vision into reality? Let's dive into the step-by-step process and discover the magic of creating captivating landscapes with this surprisingly simple approach.
Preparation and Safety Guidelines
- Number 10 Colorantic stippling oval mop brush
- Number 2 round brush
- Number 10 angle brush (dagger brush)
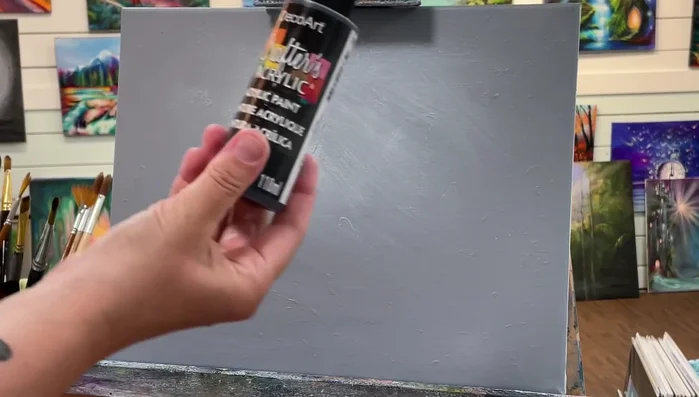
- Titanium white paint
- Cadmium yellow light hue paint
- Black paint
- Acrylic paints
- Always work in a well-ventilated area when using acrylic or oil paints. Fumes can be harmful.
- Clean brushes thoroughly with appropriate solvents (water for water-based paints, mineral spirits for oils) after each use to maintain their longevity and prevent paint build-up.
- Protect your work surface with a drop cloth or newspaper to avoid paint spills and stains.
Step-by-Step Instructions
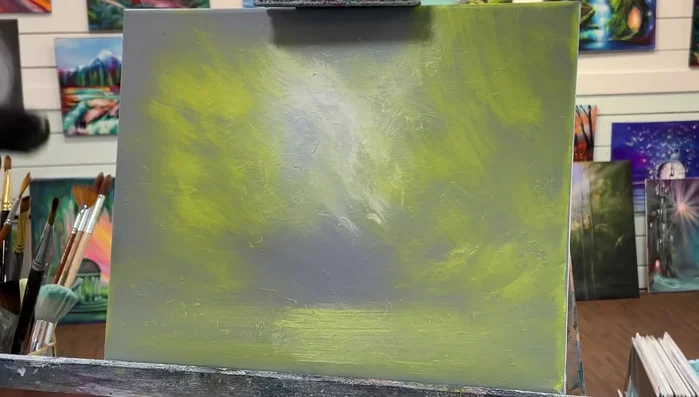
Layering Base Colors
- Apply a light layer of titanium white to the center of the canvas using the mop brush, crisscrossing for soft light.
- Without washing the brush, add cadmium yellow light hue to the outer edges, blending it into the white.

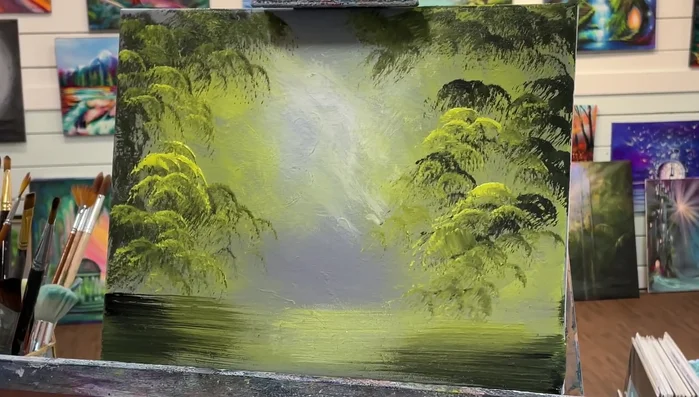
Layering Base Colors Adding Trees
- Using a mix of yellow and black, create a dark olive green and stipple in for trees, working from the outer edges inward.
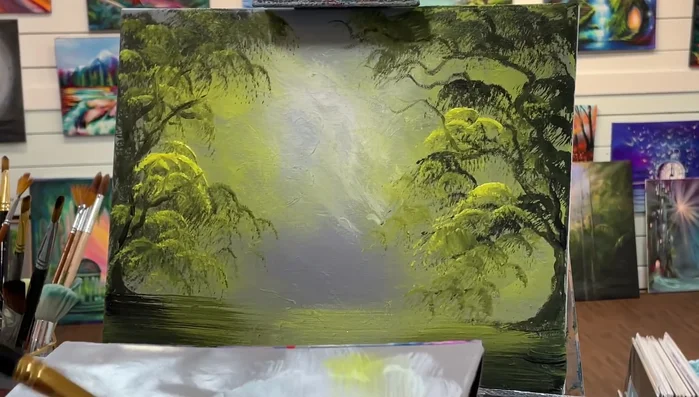
Adding Trees Defining Trees and Branches
- Use the round brush (wet with black and a touch of green) to add tree trunks and branches. Vary the thickness and create crooked branches by twisting and rolling the brush.
Defining Trees and Branches Creating Waterfalls
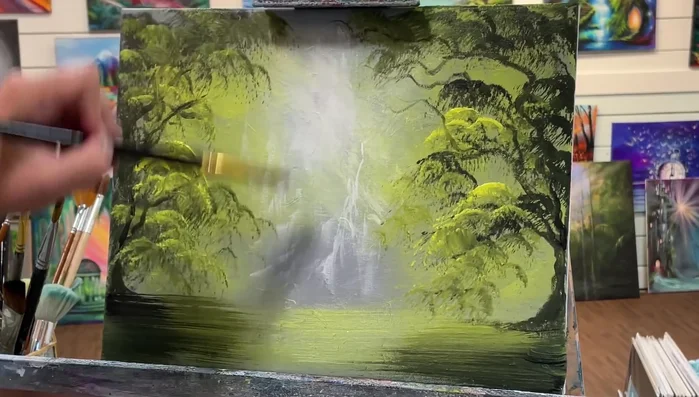
- Use the angle brush (slightly wet with white) to create hazy waterfalls in the background with subtle, scumbled strokes. Vary the width of the strokes by turning the brush.
Creating Waterfalls Refining and Blending
- Add final touches of white and gray to enhance the light and blend the elements of the painting.
Refining and Blending
Read more: 7 Top Paint Color Trends for 2024: A Complete Guide with Free Downloadable Resource
Tips
- Don't be afraid to paint over old canvases; the texture can add interesting effects.
- Use a limited palette for a simple, effective result. The video uses black, white, and cadmium yellow.
- A mop brush or stipple brush is ideal for coverage and textured effects.
- Sometimes less is more. Avoid overworking the painting to maintain a natural look.