Shut the Box, a classic game of chance and strategy, offers endless hours of family fun. But why settle for a mass-produced version when you can craft a truly stunning, personalized game? This woodworking tutorial will guide you through the process of building your own beautiful Shut the Box game, from selecting the right wood to applying the final touches. Imagine the satisfaction of creating a heirloom-quality game, perfectly tailored to your aesthetic preferences and ready to be enjoyed for generations.
This project is perfect for woodworkers of all skill levels, from beginners looking to hone their skills to experienced crafters seeking a rewarding challenge. We’ll cover every step of the build, from cutting and shaping the wood to assembling the box and numbering the tiles. Let's dive into the detailed, step-by-step instructions and begin creating your magnificent Shut the Box game!
Preparation and Safety Guidelines
- Cherry wood
- Padauk wood
- Planer
- Miter saw
- Drill press
- Router
- Straight bit
- Razor blade
- Carpet tape
- Table saw
- Shims
- Round-over bit
- Spray lacquer
- Adhesive numbers
- 8" diameter steel rod
- Washers
- 8" wood dowel
- Hinges
- Latch
- Adhesive-backed felt
- Always wear safety glasses to protect your eyes from flying wood chips and debris during cutting and sanding.
- Use clamps to secure your workpiece whenever possible, especially when using power tools. This prevents kickback and improves accuracy.
- Sharp tools are safer tools. Regularly sharpen your blades and bits to ensure clean cuts and reduce the risk of slips and accidents.
Step-by-Step Instructions
Prepare the Wood
- Plane all wood to 1/2" thickness.

Prepare the Wood Cut and Prepare Box Sides
- Cut 45° miters on the sides of the box and create 1/4" rabbet along the inside edge.
- Drill 1/2" holes on two sides for the steel rod.
Cut and Prepare Box Sides Assemble Box Base
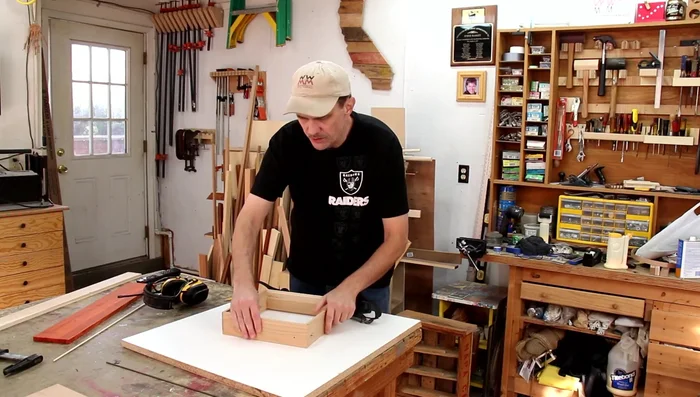
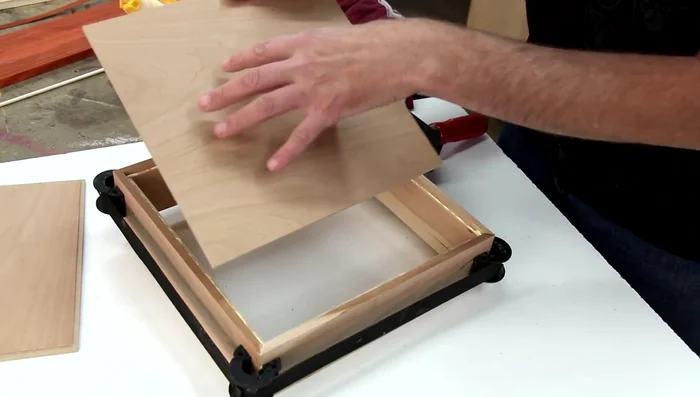
- Assemble the box sides temporarily to measure top and bottom panels.
- Glue the top and bottom panels, ensuring the cherry veneer is on the outside of the bottom.
Assemble Box Base Create and Install Inlay Strips
- Create a shallow rabbet around the top panel using a router and straight bit for inlay strips.
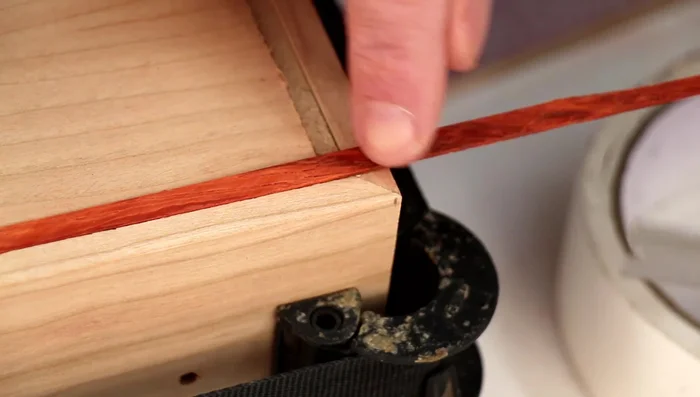
- Create thin inlay strips (about 1/16" thick) from wood and carefully cut them to fit the rabbets using a razor blade and carpet tape for stability.
- Glue and miter the inlay strips to create a seamless inlay.
Create and Install Inlay Strips Separate Lid from Box
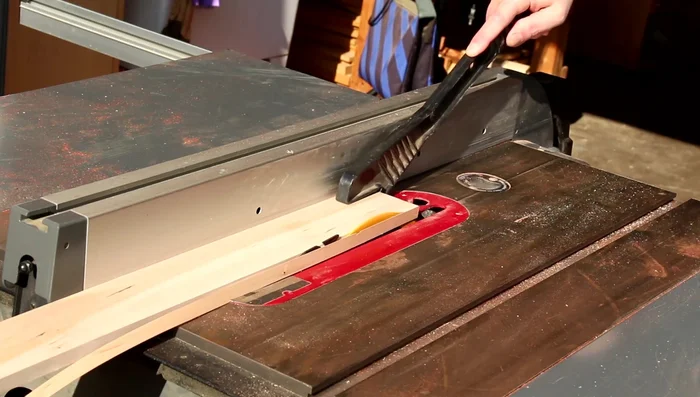
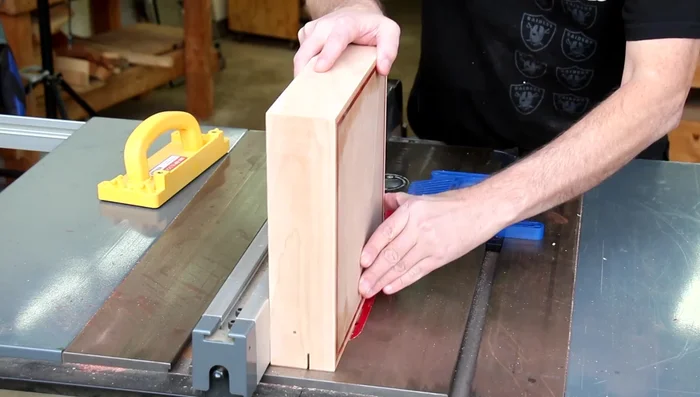
- Separate the lid from the box using a table saw and shims to prevent blade pinching.
Separate Lid from Box Prepare Flippers
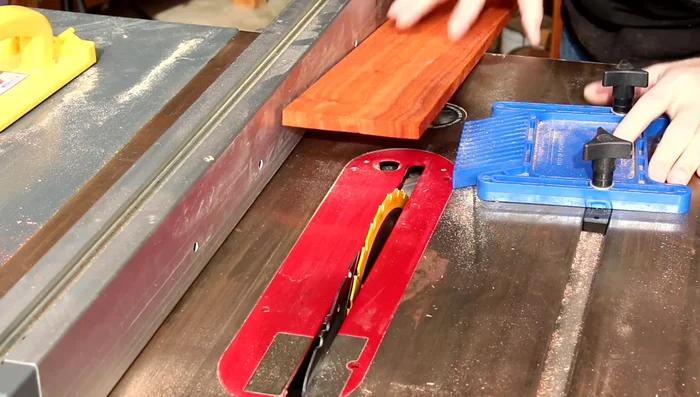
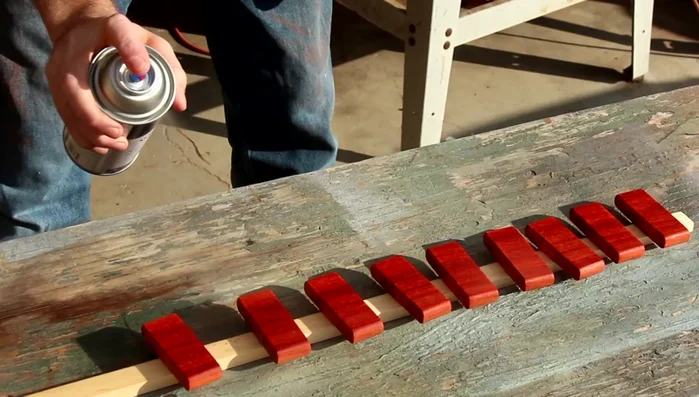
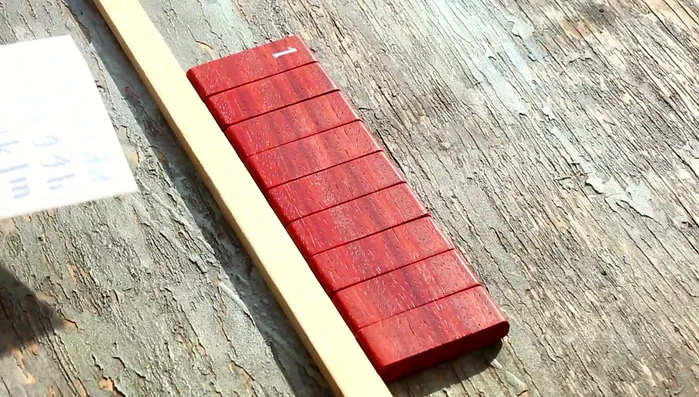
- Shape padauk pieces for the flippers, round over edges with a 1/4" round-over bit, and slice into 1" wide pieces.
- Drill 1/2" holes in each flipper piece using a drill press and stop block.
Finish Flippers and Interior
- Finish flippers with spray lacquer and glue a 1/2" x 1/2" strip inside the box.
Finish Flippers and Interior Assemble Flippers and Rod
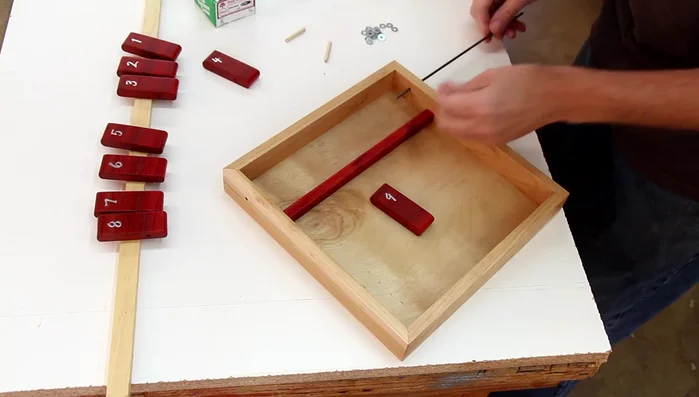
- Assemble the flippers onto the steel rod, adding washers between each piece. Glue in a wood dowel to secure the rod.
Assemble Flippers and Rod Finishing Touches
- Apply numbers and additional lacquer.
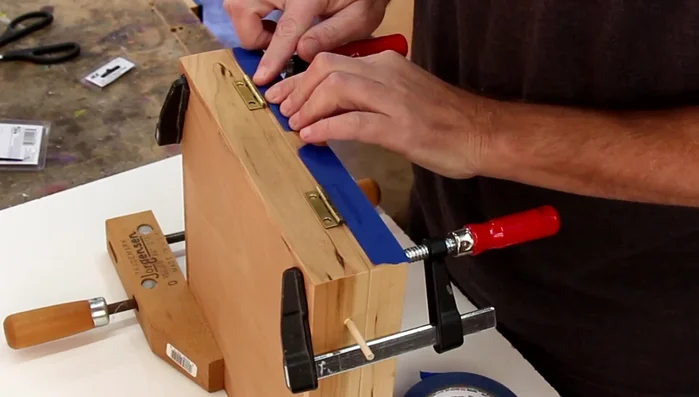
- Attach hinges and latch.
- Apply felt to the bottom of the box.
Finishing Touches


Read more: Build a Stunning Black Walnut Coaster Set: The Ultimate Furniture Protector
Tips
- Use weights to hold the box together while the glue dries, but avoid excessive pressure to prevent sagging.
- For a precise inlay, consider using miter cuts instead of butting the strips together.
- Use shims when using a table saw to prevent the box from pinching the blade.