Shaker furniture, known for its clean lines, simple elegance, and enduring quality, has captivated woodworking enthusiasts for generations. The iconic Shaker style, characterized by its functionality and minimalist aesthetic, extends beyond chairs and tables to encompass a wide range of pieces. One particularly rewarding project for woodworkers of all skill levels is the construction of a Shaker table. This guide will equip you with the knowledge and skills necessary to craft your own beautiful and functional Shaker table, from selecting the perfect wood to applying the final finishing touches.
Building a Shaker table is a rewarding journey, merging traditional techniques with modern precision. This comprehensive guide provides a step-by-step process, ensuring you can confidently tackle each stage of the build, regardless of your experience. From detailed material lists and cutting diagrams to insightful tips on joinery and finishing, we'll walk you through every aspect of creating a timeless piece that will be treasured for years to come.
Preparation and Safety Guidelines
- Jointer
- Planer
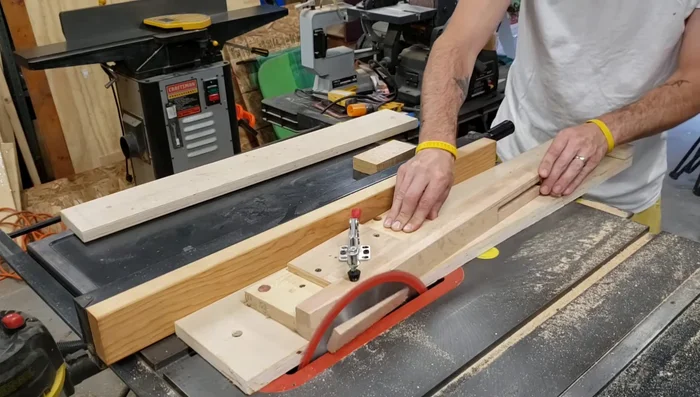
- Table Saw
- Router Table
- Spiral Bit
- Dado Stack
- Miter Gauge
- Tapering Jig
- Drill Press
- Forstner Bit
- Chisels
- Hammer
- Pocket Hole Jig
- Clamps
- Biscuit Joiner
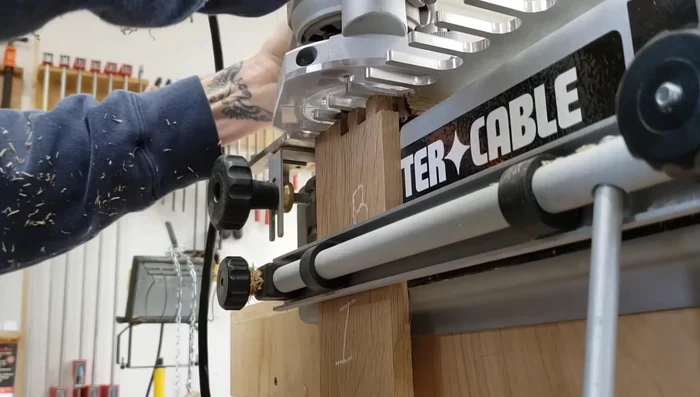
- Porter Cable Dovetail Jig
- Band Saw
- Sander
- Wood Glue
- Shellac
- Polyurethane
- Figure Eight Clips
- Drawer Pulls
- Always wear safety glasses and a dust mask when operating power tools and handling wood dust. Wood dust is a respiratory hazard.
- Secure your workpiece firmly to the table before turning on the machine. Loose or shifting wood can cause serious injury.
- Never reach into the moving mechanism of the shaker table. Always turn off and unplug the machine before making adjustments or cleaning.
Step-by-Step Instructions
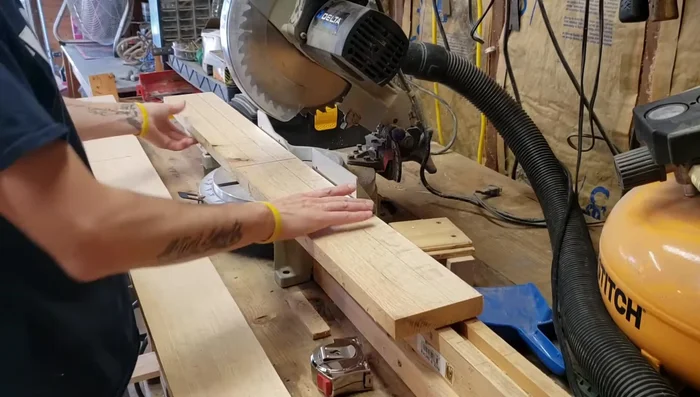
Leg Preparation
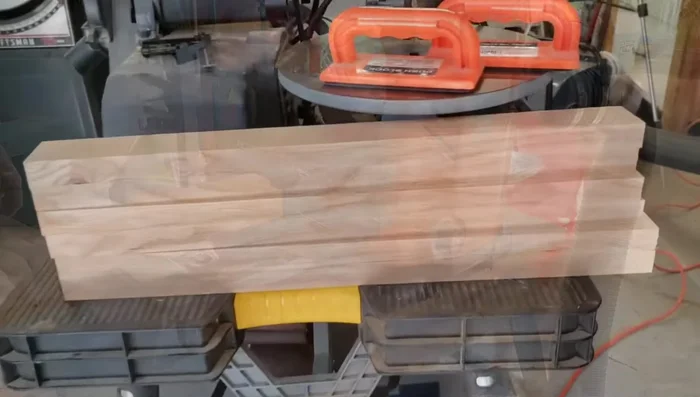
- milling lumber to the desired thickness and gluing up the pieces.
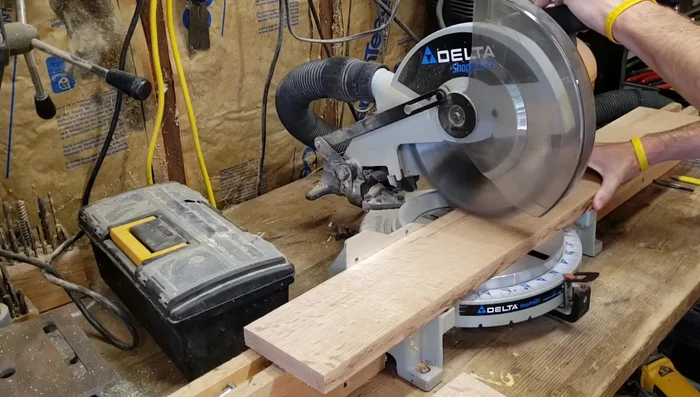
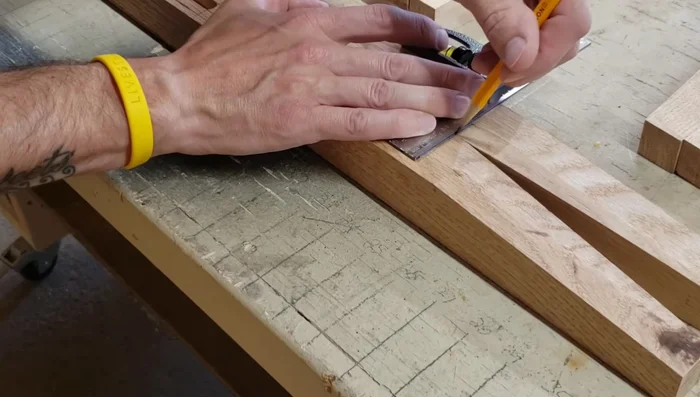
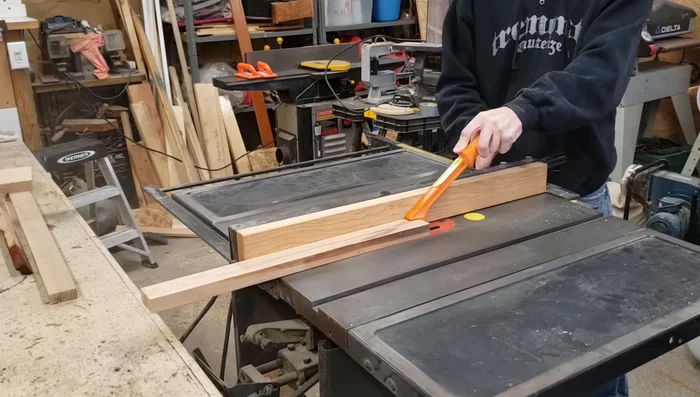
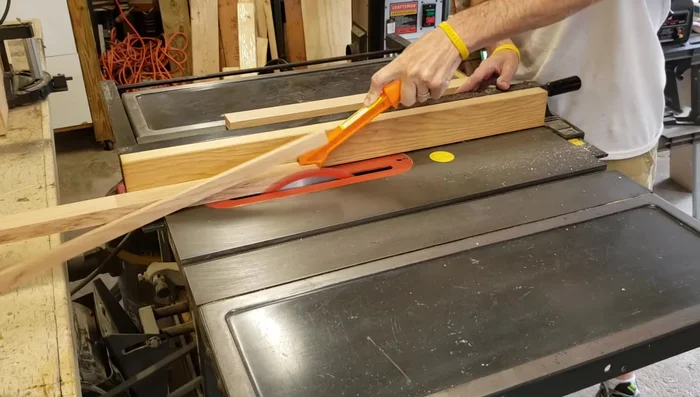
- Cutting tapers on the legs using a tapering jig.

Leg Preparation Apron Preparation and Leg Assembly
- Creating mortises and tenons for leg-to-apron joinery.
- Milling the aprons and cutting tenons.
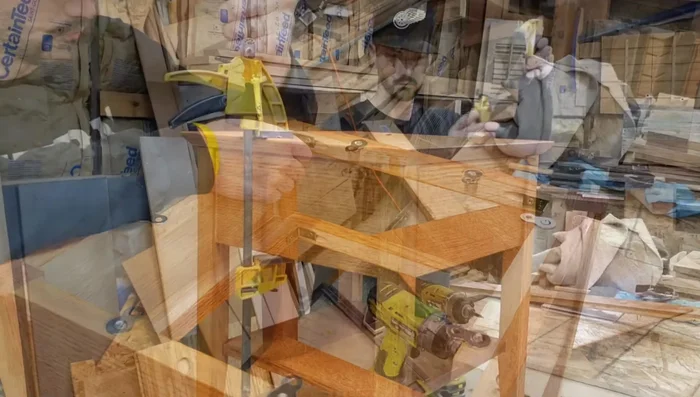
- Gluing up the table.
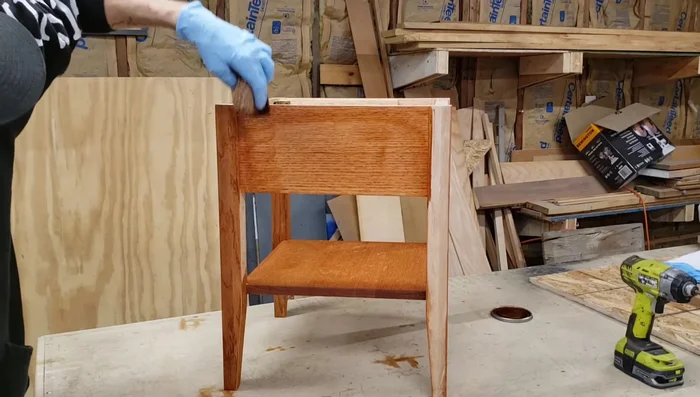
Apron Preparation and Leg Assembly Shelf Preparation and Assembly
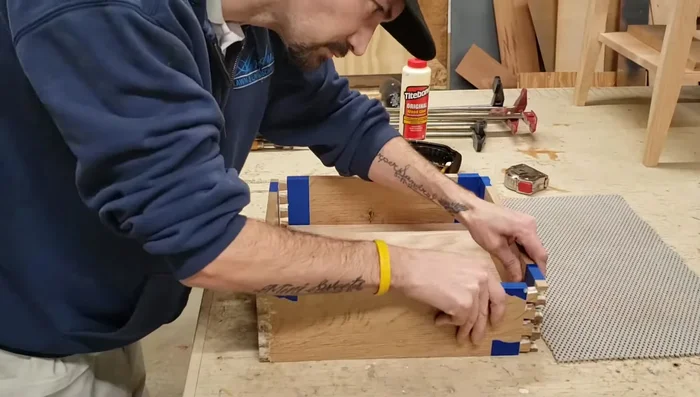
- Preparing and assembling the bottom shelf using biscuits for alignment.
- Cutting the shelf mortises (using Forstner bit and chisel).
Shelf Preparation and Assembly Drawer Construction
- Creating drawer dovetails using a dovetail jig.
- Preparing and assembling drawers.
Drawer Construction Drawer Installation
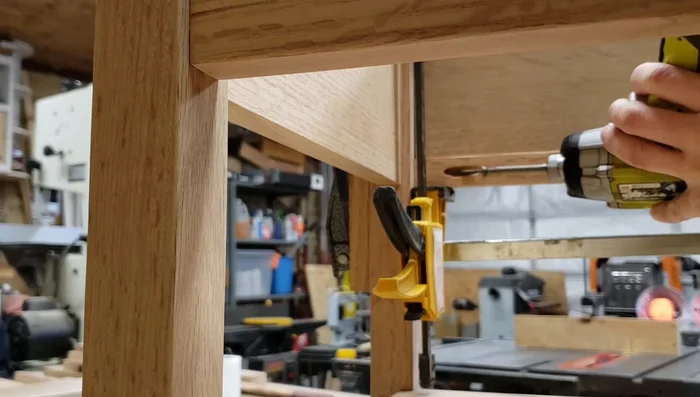
- Creating the drawer front opening using pocket holes.
- Assembling the drawer frame using pocket screws.
- Installing drawer runners.
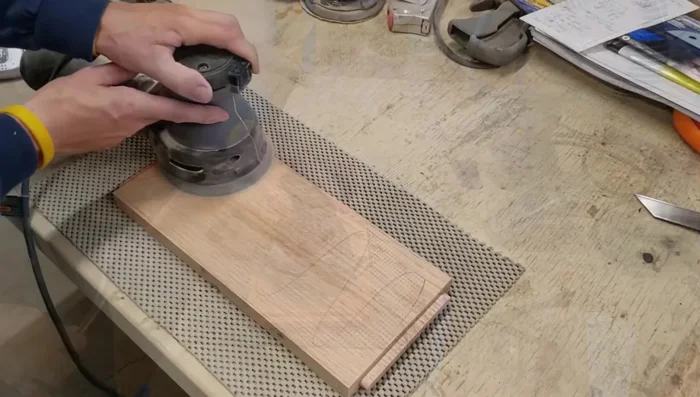
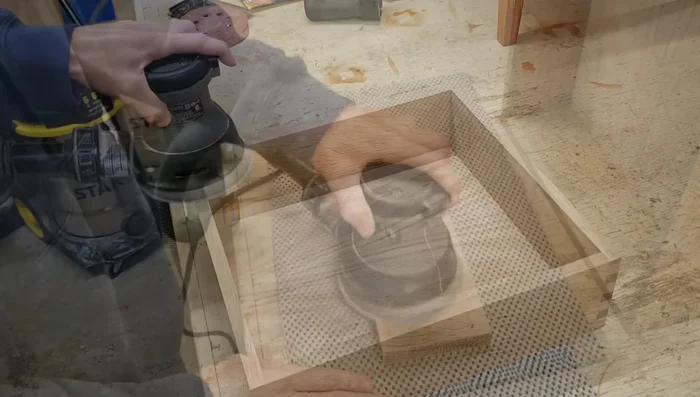
Drawer Installation Sanding and Finishing
- Sanding all components.
- Staining the table with Minwax Gunstock Oak.
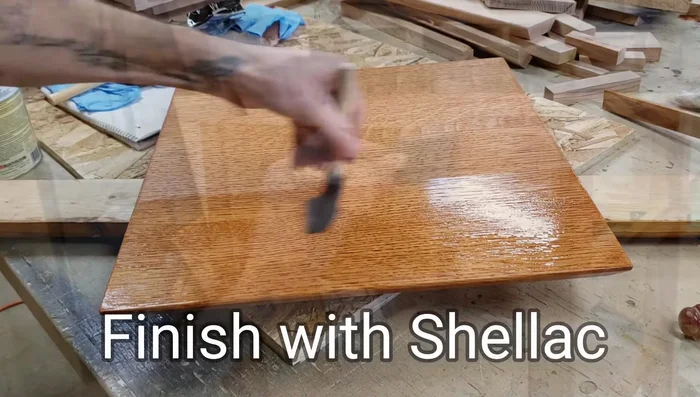
- Finishing with shellac and poly (optional).
Sanding and Finishing Top Installation and Final Touches
- Attaching the tabletop with figure eight clips.
- Final sanding and drawer front installation.
Top Installation and Final Touches


Read more: Build a Stunning Black Walnut Coaster Set: The Ultimate Furniture Protector
Tips
- Pre-surface lumber at the lumberyard if you lack surfacing tools.
- Use a jointer and planer to ensure flat and parallel surfaces.
- When cutting tapers, carefully mark the legs to ensure correct orientation.
- For accurate alignment in glue-ups, use biscuits.
- Apply even pressure during glue-up, using ample clamps.