Have you ever dreamt of crafting a beautiful, bespoke jewelry box, a testament to your creativity and skill? A handcrafted wooden jewelry box isn't just storage; it's a work of art, a cherished keepsake, and a perfect gift. This ultimate guide will walk you through the process of building your own stunning jewelry box, from selecting the perfect wood to adding those finishing touches that elevate it from functional to phenomenal. Imagine the satisfaction of creating something truly unique, something that reflects your personal style and craftsmanship.
This guide caters to both beginners and experienced woodworkers, offering clear instructions and helpful tips for each step. Whether you're envisioning a rustic, antique-inspired piece or a sleek, modern design, we'll equip you with the knowledge and techniques to bring your vision to life. Ready to transform a simple block of wood into a stunning jewelry box? Let's dive into the detailed, step-by-step process!
Preparation and Safety Guidelines
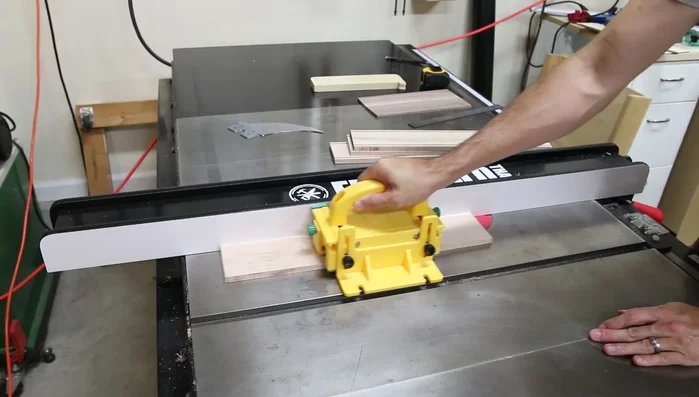
- Table Saw
- Planer
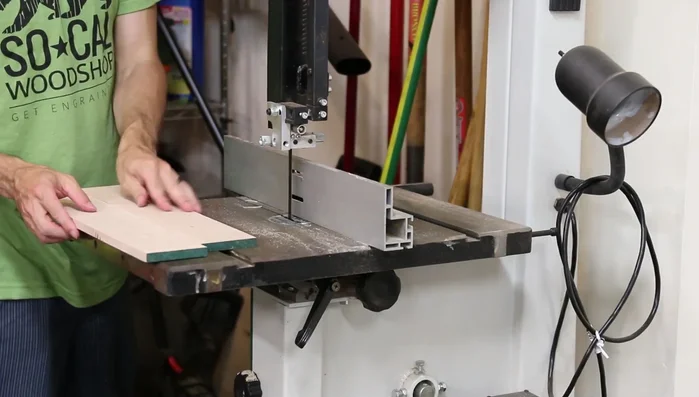
- Band Saw
- Drum Sander
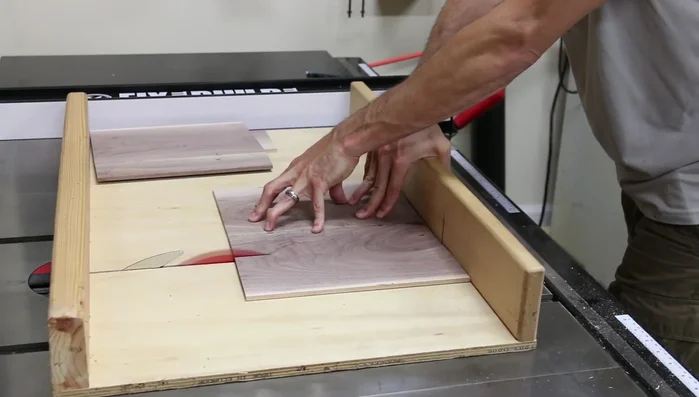
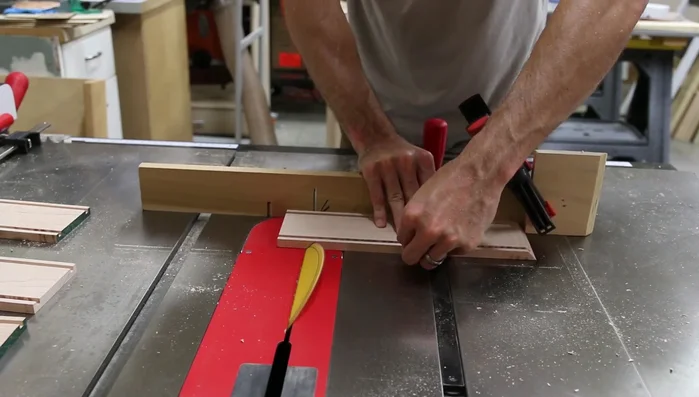
- Crosscut sled
- Clamps (various sizes)
- Glue
- Painter's Tape
- Sandpaper (220 grit)
- Shellac Finish
- Always wear safety glasses to protect your eyes from flying wood chips and dust.
- Use clamps to secure your wood pieces firmly during gluing and assembly to prevent injury and ensure a strong joint.
- Sharp tools like chisels, knives, and saws require caution and proper handling. Never rush the process and always use the correct tool for the job.
Step-by-Step Instructions
Prepare Materials
- Resaw curly Maple to 3/8" thick for the box sides and figured Walnut to 1/4" thick for the top and bottom panels. Bookmatch the Walnut for an aesthetic effect.

Prepare Materials Create Box Panels
- Glue up the Walnut panels to form the bookmatched top and bottom. Cut the inner panels to size and repeat the bookmatching process for a second set.
Create Box Panels Prepare Box Sides
- Use the table saw to precisely cut grooves into the box sides to accommodate the top and bottom panels. Use a scrap board and carefully adjust the fence for a perfect fit.
Prepare Box Sides Assemble the Box
- Cut the box sides to length with mitered ends. Glue and clamp the sides together, ensuring the grain flows smoothly across corners. Add top and bottom panels into the grooves.
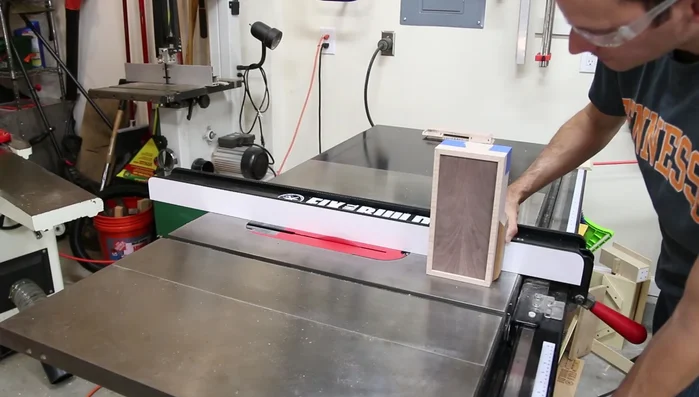
Assemble the Box Create and Cut the Lid
- Set the table saw fence to 3/4" and the blade to 1/2". Use painter's tape and scrap blocks to prevent blowout. Cut the short sides first, then add spacers to hold the lid while cutting the long sides.
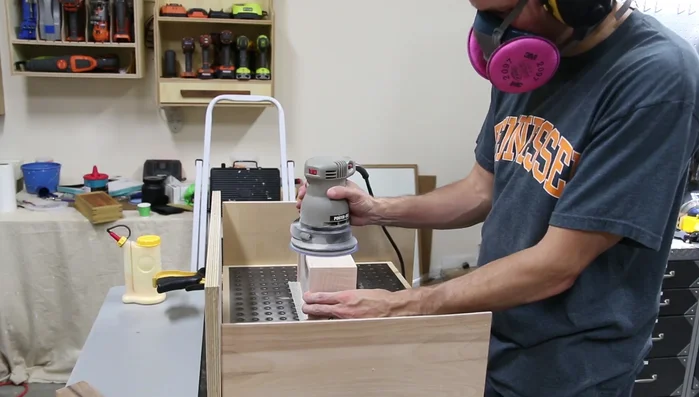
Create and Cut the Lid Sand and Finish Box and Lid
- Sand the box and lid to 220 grit. Clean up any burning from the lid cut.
Sand and Finish Box and Lid Create and Install Liners
- Resaw Walnut to 1/4" and sand to 3/16". Cut the liners to size (extending 3/16" above base). Use the crosscut sled for precise cuts. Install liners with glue and clamps.
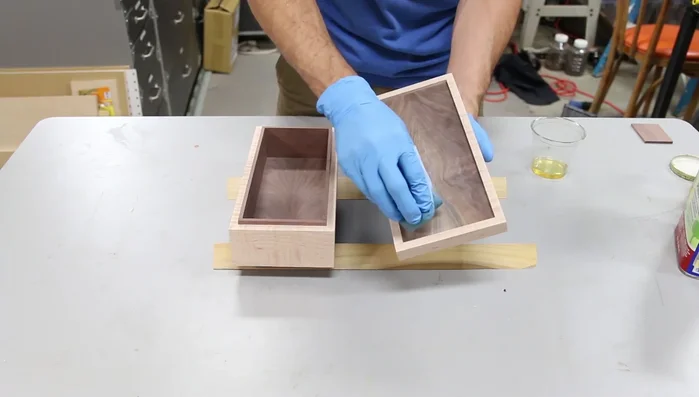
Apply Finish
- Apply six coats of 50% shellac finish with a rag. Let dry completely.
Apply Finish
Read more: Build a Stunning Black Walnut Coaster Set: The Ultimate Furniture Protector
Tips
- For precise grooves, use a scrap board and carefully adjust the table saw fence until you achieve the perfect fit. This prevents excessive work and ensures a tight joint.
- Use painter's tape to hold the box together during glue-up. This makes the process much easier and prevents slippage.
- When cutting the lid, use spacers to maintain a consistent distance from the blade. This ensures a well-fitting lid.
- Sanding before applying the finish will result in a smoother, more even finish.