Have you always admired the rustic charm of wooden boxes, but felt intimidated by the seemingly complex woodworking process? Fear not, aspiring crafters! Building a beautiful and functional wooden box is far more accessible than you might think. This beginner-friendly guide will walk you through a simple, straightforward method to construct your own personalized box, perfect for storing trinkets, showcasing small treasures, or even gifting to loved ones. No prior experience is necessary, just a willingness to learn and a little bit of patience.
We’ll cover everything from selecting the right materials and tools to mastering essential techniques like cutting, assembling, and finishing your creation. This project prioritizes simplicity and speed, making it an ideal introduction to the rewarding world of woodworking. Ready to get started and create something beautiful with your own hands? Let’s dive into the step-by-step process, outlined below.
Preparation and Safety Guidelines
- Wood (1x8 Poplar and 1x4 Poplar recommended)
- Saw
- Square
- Nails
- Hammer
- Sandpaper
- Always wear safety glasses to protect your eyes from flying wood chips and debris.
- Use caution when operating power tools. Ensure they are properly secured and you understand their operation before use. Never reach across the blade of a running saw.
- Sharp tools are safer tools. Keep your blades sharp and your work area clean to minimize the risk of accidents.
Step-by-Step Instructions
Cut the Base
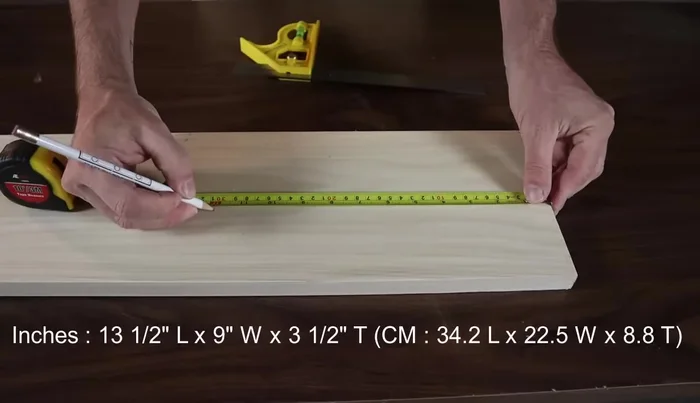
- Lay out and cut the base to size (12 inches recommended). Ensure a straight and square cut using a square for accuracy.

Cut the Base Cut the Sides
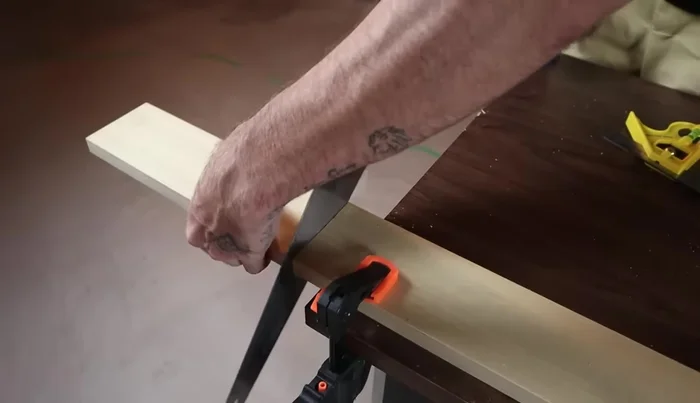
- Lay out and cut the two sides to the same length as the base. Mark each side individually to avoid errors from saw kerf.
Cut the Sides Cut the Ends
- Lay out and cut the two ends. The ends will extend past the sides when assembled.
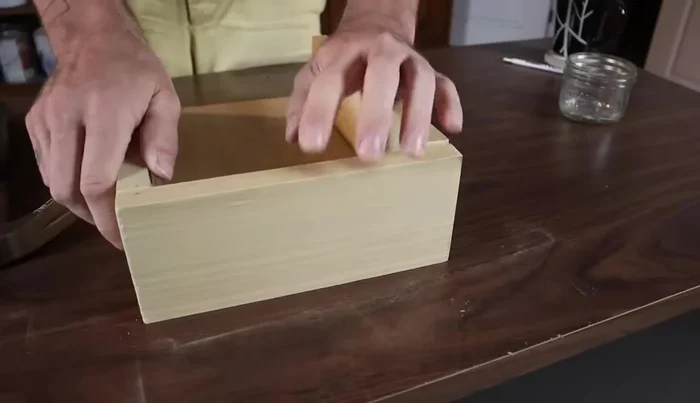
Cut the Ends Sand the Pieces
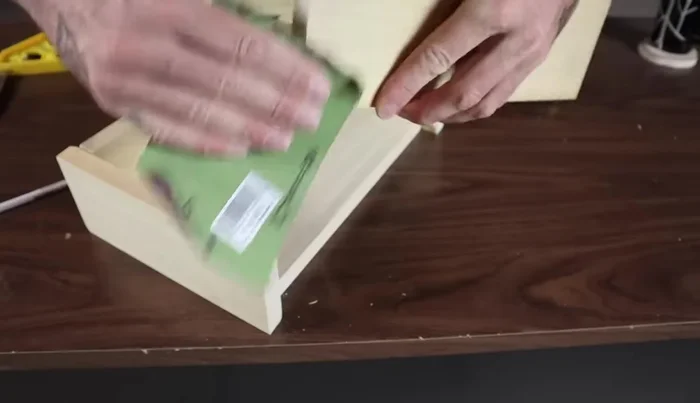
- Sand all cut ends to ensure smooth surfaces for easier assembly and a cleaner finish.
Sand the Pieces Attach Sides to Base
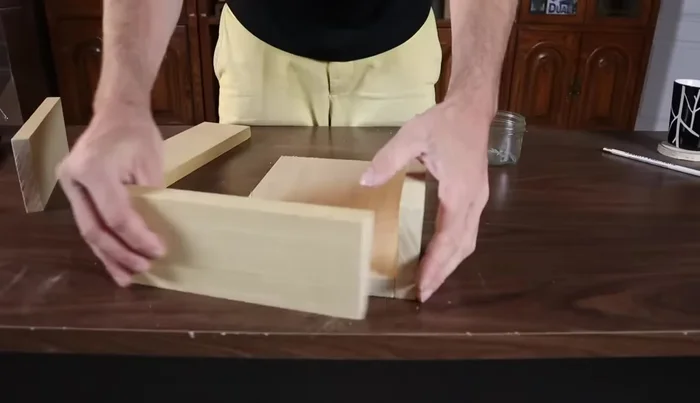
- First, attach the sides to the base using nails. Pre-set nails slightly above the bottom edge (3/8 inch) for secure attachment.
Attach Sides to Base Attach Ends to Box
- Nail the bottom of each end first, then adjust and nail the top, ensuring a flush fit with the sides.
Attach Ends to Box

Read more: Build a Stunning Black Walnut Coaster Set: The Ultimate Furniture Protector
Tips
- Use a square to ensure accuracy when cutting the base, especially since it's wider.
- Mark symmetrical pieces to indicate their correct orientation during assembly to prevent fit issues.
- Sanding the ends before assembly makes it significantly easier.
- Attaching the sides to the base first ensures perfectly flush sides before attaching the ends.
- When nailing the ends, nail the bottom first to help align the top and prevent flexing.