Wood block printing, a technique with roots stretching back centuries, offers a wonderfully tactile and rewarding way to create unique artwork. From intricate landscapes to bold, graphic designs, the possibilities are as limitless as your imagination. This ancient art form, once the cornerstone of mass communication, is now easily accessible to everyone, requiring only a few simple materials and a willingness to experiment. It's a surprisingly forgiving medium, perfect for those new to printmaking or anyone seeking a creative outlet that connects them to a rich artistic heritage.
This guide will walk you through the process of creating your very first wood block print, from designing your image to achieving a crisp, clean impression on paper. Let's delve into a step-by-step process that will empower you to unlock the captivating world of wood block printing and produce your own stunning piece of art.
Preparation and Safety Guidelines
- Ruler
- Printer paper
- Pencil
- Felt tip marker
- Nori/rice paste
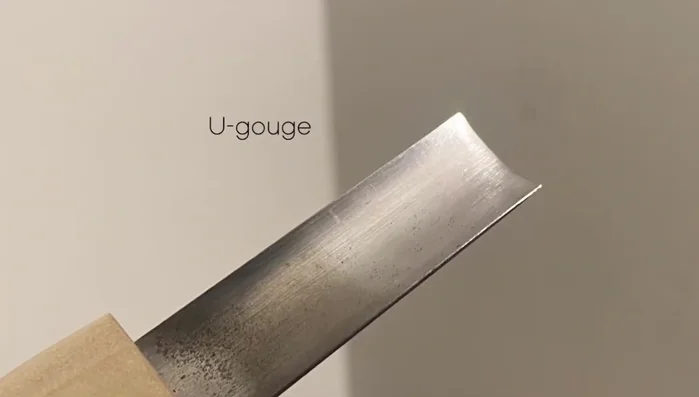
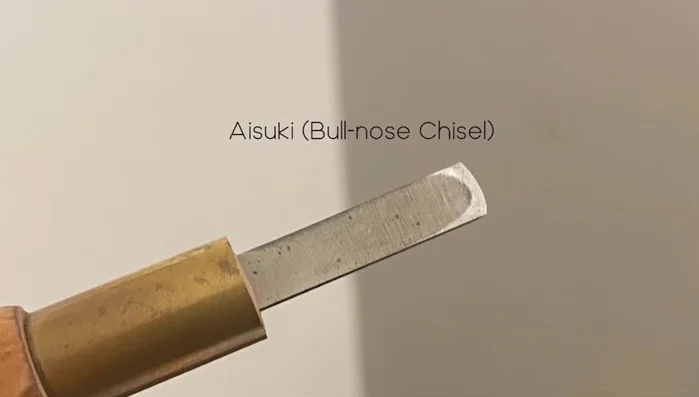
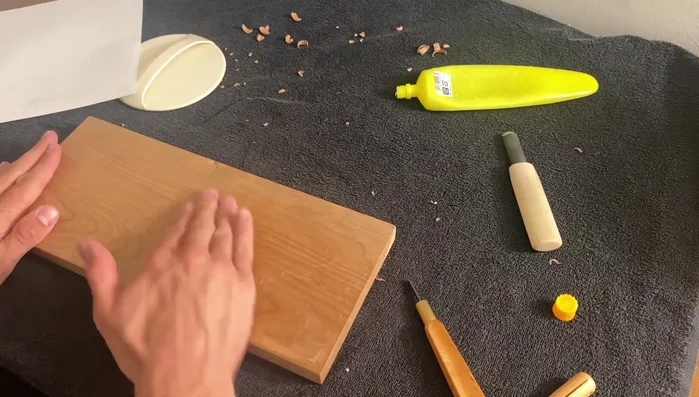
- Carving tools (hangito, gouge, chisel)
- Baren (or wooden spoon)
- Wood block
- Sandpaper (150-1000 grit)
- Always use proper ventilation when working with carving tools and inks, as they can produce fumes.
- Carving tools are sharp! Handle them with care and always cut away from yourself. Consider using a cutting mat to protect your work surface.
- Clean up spills immediately. Water-based inks are generally easier to clean, but oil-based inks require specific solvents and careful disposal.
Step-by-Step Instructions
Design and Preparation
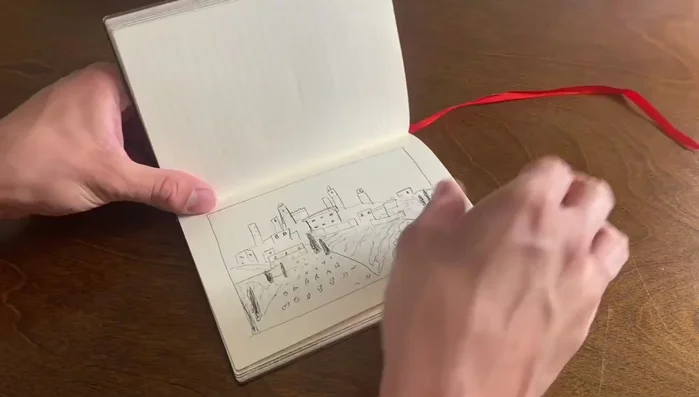
- Sketch your design in a notebook, using photographs or your own creativity as inspiration.
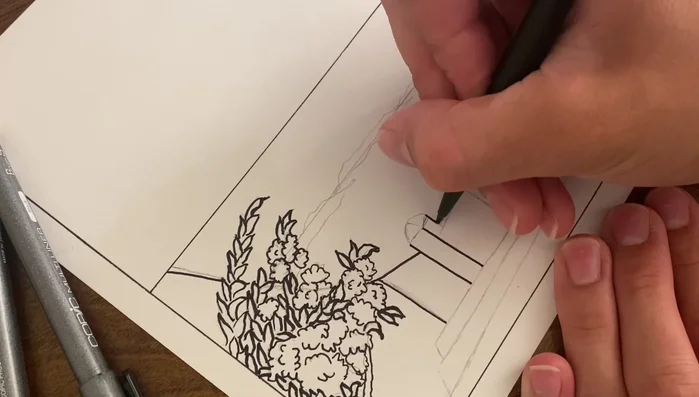
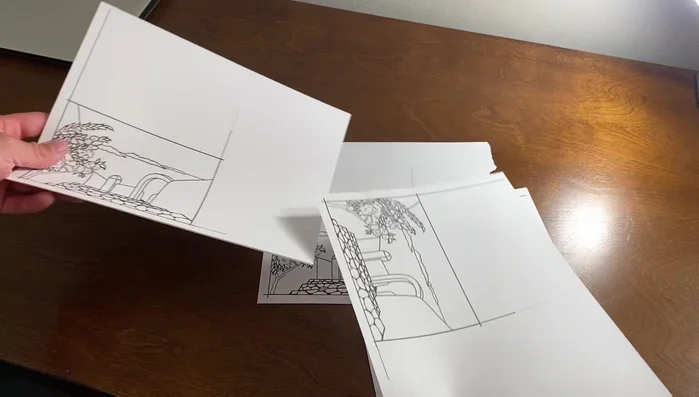
- Lay out your drawing on printer paper, planning key lines (outlines) and adding a border (recommended 1cm on X and Y axis).
- Use a photocopier to create a colored sketch for planning color separations and visualizing the final print.

Design and Preparation Prepare the Wood Block
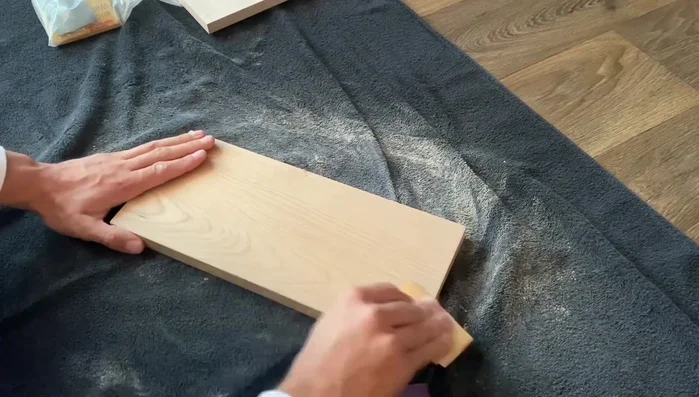
- Prepare the wood block by planing or sanding it to create a smooth surface.
- Carve registration marks (an L shape in the corner) to align the paper during pasting.
Prepare the Wood Block Carving the Design
- Carve the outlines of your design using a hangito (blade).
- Use a gouge to clear large areas of wood between the lines.
- Use a chisel to clean the wood between carved lines and cleared areas.
Carving the Design Printing Process
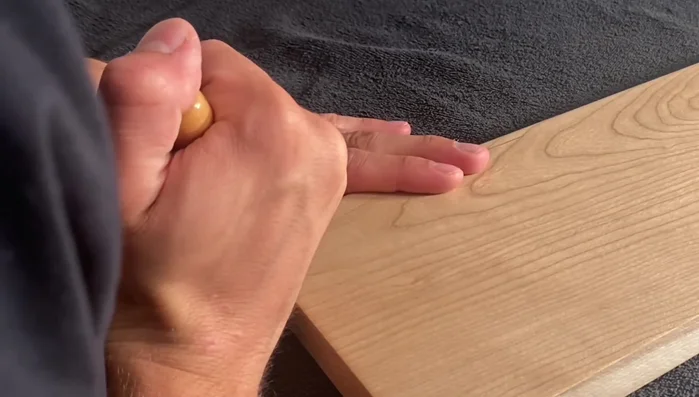
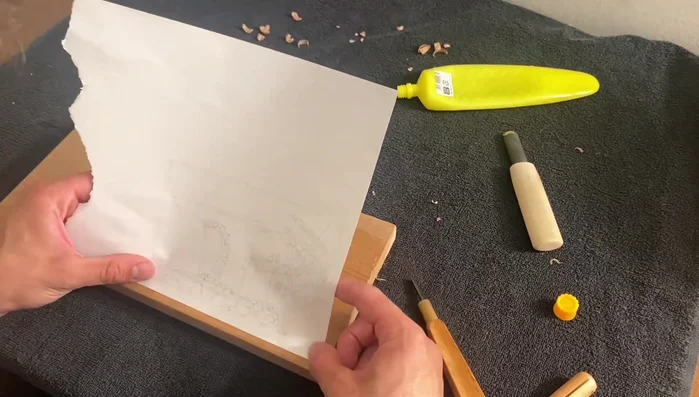
- Apply rice paste to the wood block, covering enough area for your print.
- Carefully align and lay your paper onto the paste, rubbing it gently into the wood (using a baren or your fingers).
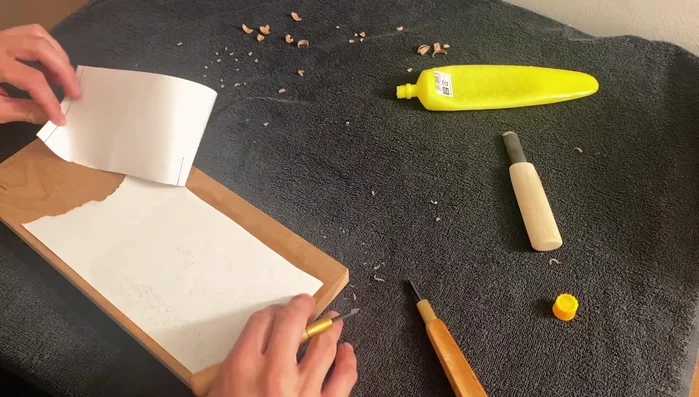
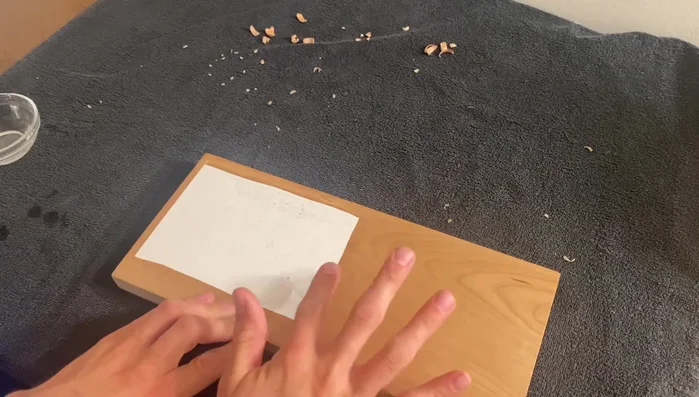
- Let the paste dry completely (about an hour).
- Gently peel the paper away, dampening your fingers to help release the paper. Work slowly and carefully to avoid tearing the paper.
Printing Process

Read more: Build a Stunning Black Walnut Coaster Set: The Ultimate Furniture Protector
Tips
- Use a photocopier to plan color separations and visualize the final print (optional but helpful).
- The smoother the wood surface, the better the print quality.
- When peeling the paper, avoid adding too much moisture and don’t try to remove too much at once.