Wire wrapping is a captivating jewelry-making technique that allows for the creation of stunning, unique pieces. This beginner-friendly tutorial will guide you through the process of crafting a beautiful Labradorite stone pendant, showcasing the mesmerizing play of light within this captivating gemstone. Labradorite, with its iridescent flashes of blue, green, and gold, makes a truly striking focal point, and this project is perfect for those new to wire wrapping, requiring only basic tools and materials readily available at most craft stores. You'll be amazed at how easily you can transform a simple stone into a wearable work of art.
Get ready to unleash your creativity and discover the joy of wire wrapping! In the following steps, we'll walk you through each stage of creating your own Labradorite pendant, from preparing your materials to securely finishing your elegant design. Let's begin transforming this beautiful stone into a cherished piece of jewelry.
Preparation and Safety Guidelines
- Labradorite Stone
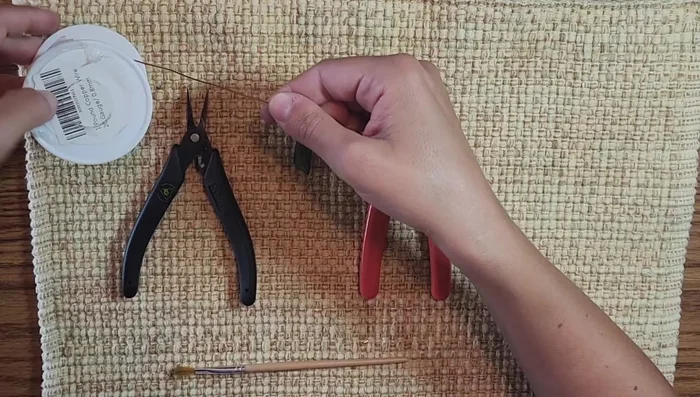
- 20 gauge round dead soft copper wire
- Pliers
- Flush Cutters
- Paintbrush
- Always wear safety glasses to protect your eyes from wire fragments.
- Use wire cutters specifically designed for jewelry making to avoid damaging the wire or injuring yourself.
- Be mindful of sharp wire ends. Keep them pointed away from you and trim them flush after cutting.
Step-by-Step Instructions
Prepare the Wire
- Cut approximately 8-10 inches of wire. Adjust length based on stone size.

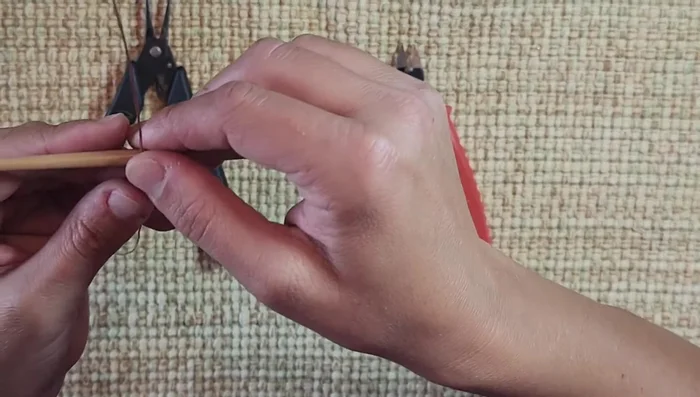
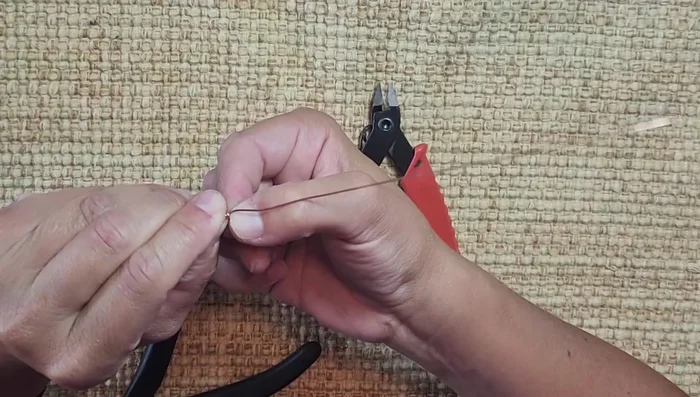
Prepare the Wire Create the Bale
- Wrap the wire around the paintbrush handle twice, tighten, and twist to secure. Reinforce with pliers.
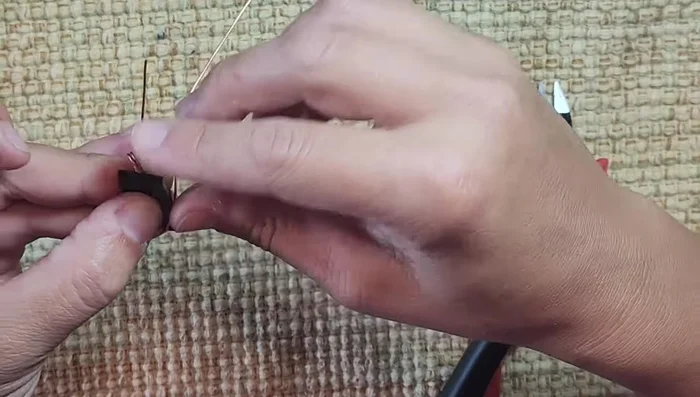
Create the Bale Position the Stone and Initial Wrapping
- Center the stone under the bale, straighten the wire, and position the bale as desired.
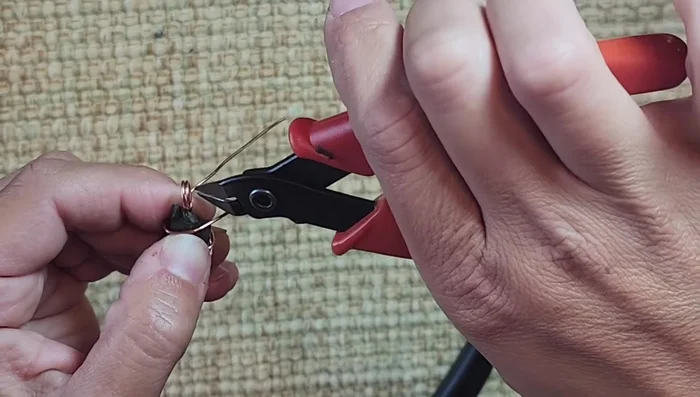
- Wrap the wire around the stone, anchoring it at the bottom corner, then around the back, keeping the bale centered and tight. Bring the wire back to the front, around the back again, and anchor it at the top corner.
Position the Stone and Initial Wrapping Secure the Stone
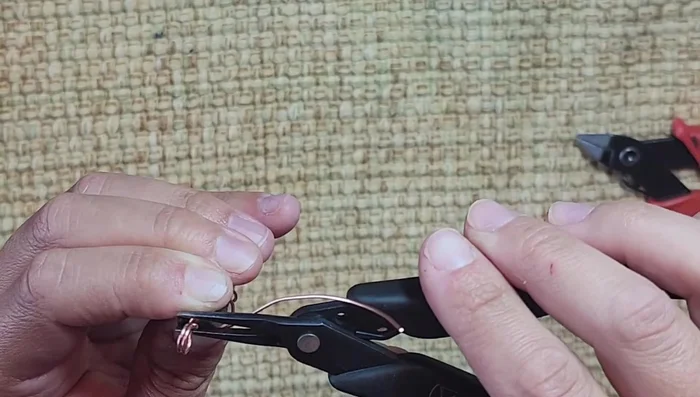
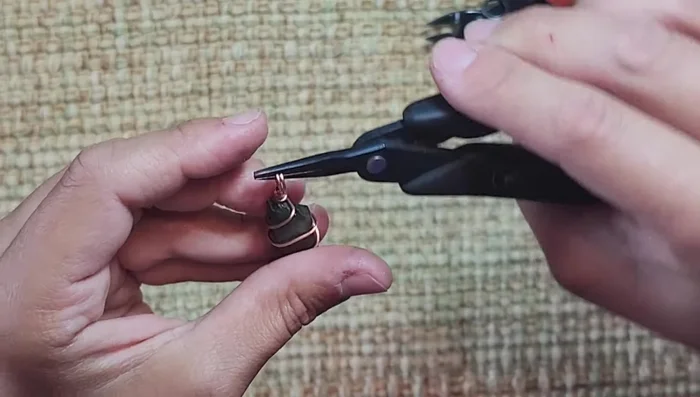
- Cut off excess wire on the back using flush cutters.
- Pinch the cut wire ends with pliers to secure and prevent sharp edges.
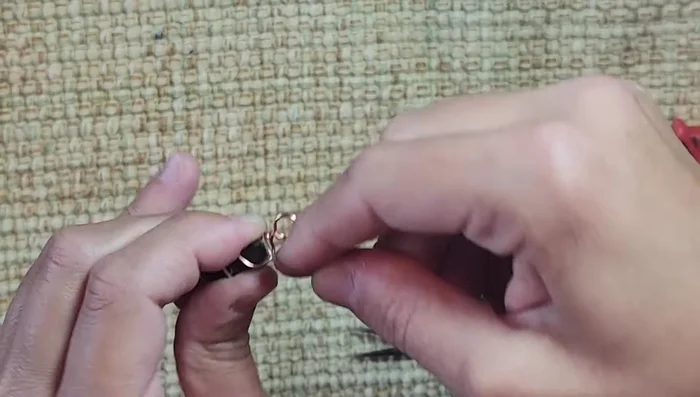
Secure the Stone Reinforce the Bale
- Wrap the wire around the bale several times to secure it further. Pinch the wraps with pliers for added stability.
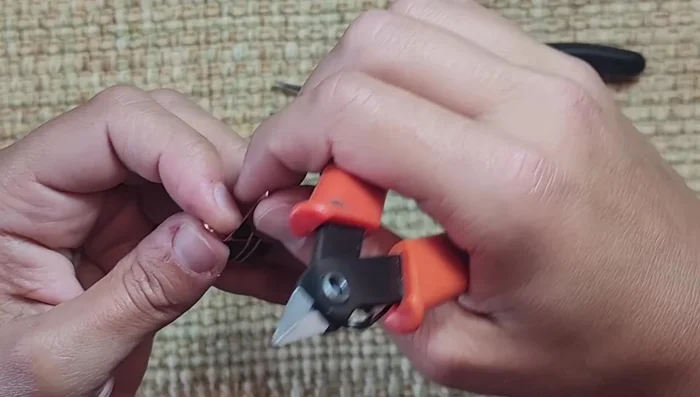
Reinforce the Bale Finish and Secure the Wire
- Finish the wrap, cut excess wire, and pinch the edges to ensure no sharp ends remain.
Finish and Secure the Wire Final Adjustments
- Adjust the wrapping with your hands to ensure everything is in place and secure.
Final Adjustments
Read more: DIY Tiered Tassel Earrings: A Quick & Easy Jewelry Tutorial
Tips
- Ensure the bale is oriented correctly for easy cord or chain insertion.
- Keep the wire tight and the bale centered throughout the wrapping process.
- It's okay if your stone is irregularly shaped; the technique will still work.