Ever wished you could craft stunning, unique jewelry without needing years of experience? Then get ready to be charmed! This tutorial will guide you through creating an adorable pendant using a modified sumac weave technique, a surprisingly simple wire wrapping method perfect for beginners. We'll transform humble wire into a captivating piece that's perfect for adding a touch of handmade elegance to your style or gifting to a loved one. This technique offers a beautiful, textured finish that elevates the overall design, allowing for considerable creative freedom in colour and bead choices.
Forget complicated knotting and intricate patterns; this modified sumac weave is incredibly intuitive and surprisingly quick to master. You'll be amazed at how easily you can create a professional-looking pendant from basic materials. Ready to get started and transform simple wire into a gorgeous piece of jewelry? Let's dive into the step-by-step process below!
Preparation and Safety Guidelines
- 20 gauge wire
- 28 gauge round wire
- 12mm round cabochon
- Chain nose pliers
- Round nose pliers
- Flush cutters
- Ruler
- Always use wire cutters designed for jewelry making; attempting to cut wire with other tools can lead to injury.
- Wear safety glasses to protect your eyes from flying wire fragments during cutting and wrapping.
- Be mindful of sharp wire ends after cutting. Use pliers to gently bend them inwards to prevent accidental scratches or pokes.
Step-by-Step Instructions
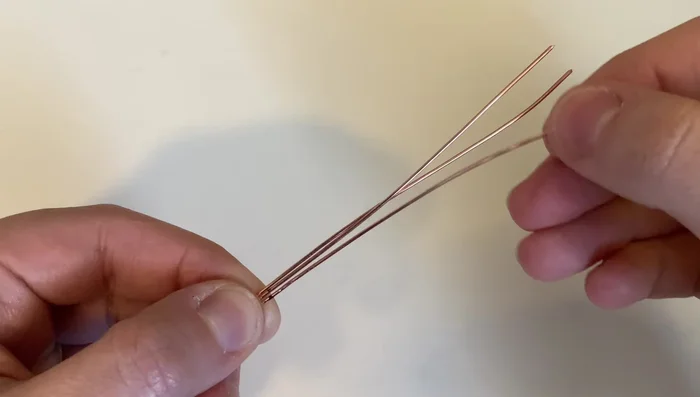
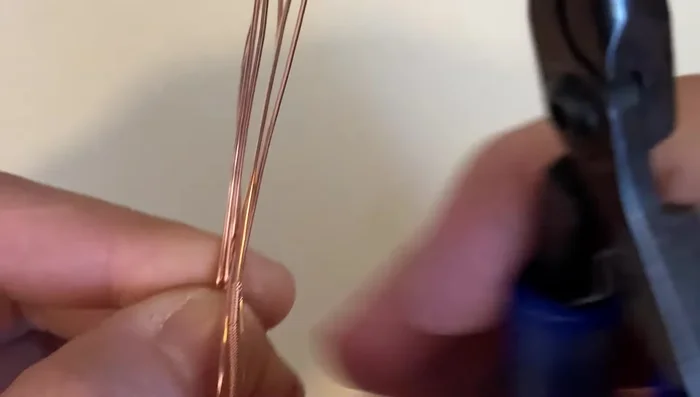
Prepare Base Wires
- Arrange three 20-gauge wires parallel to each other.

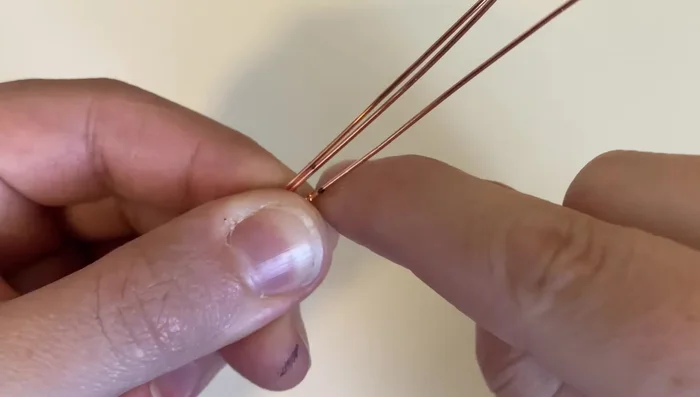
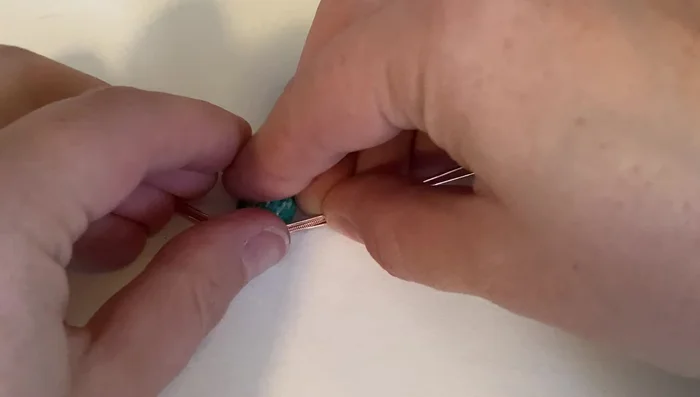
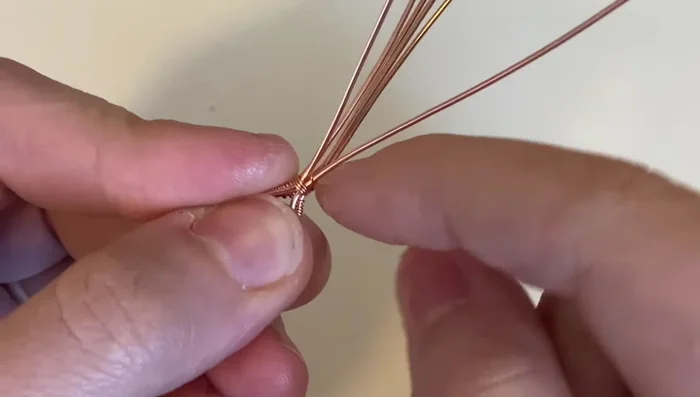
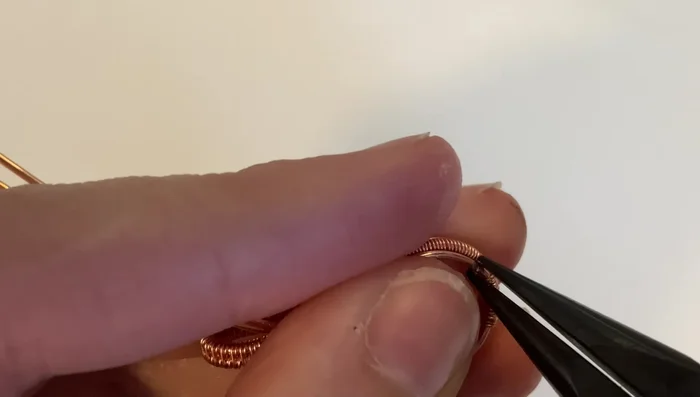
Prepare Base Wires Initial Sumac Weave
- Begin the modified sumac weave using 28-gauge wire, wrapping it around the base wires.
- Weave the 28-gauge wire around the base wires five times using the modified sumac weave pattern.
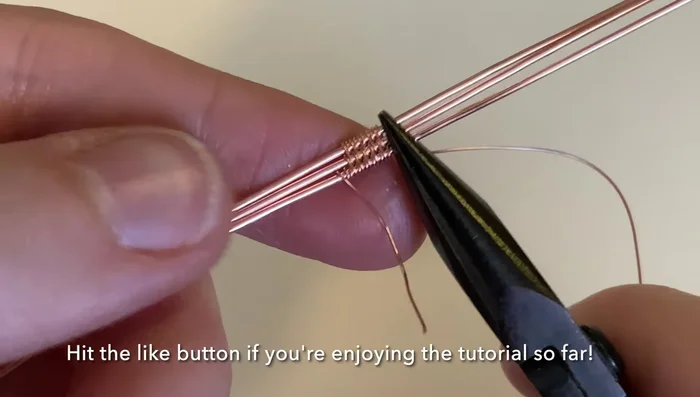
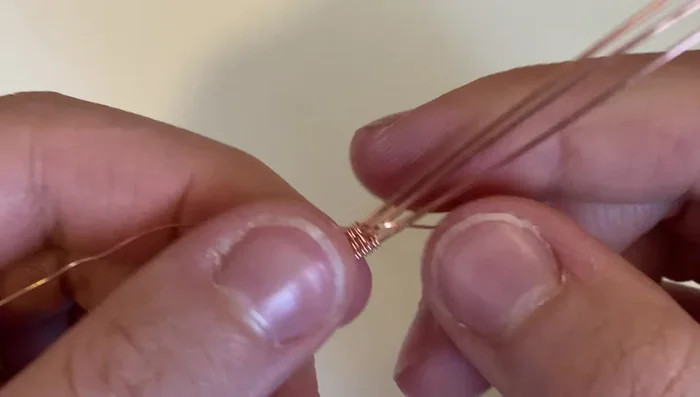
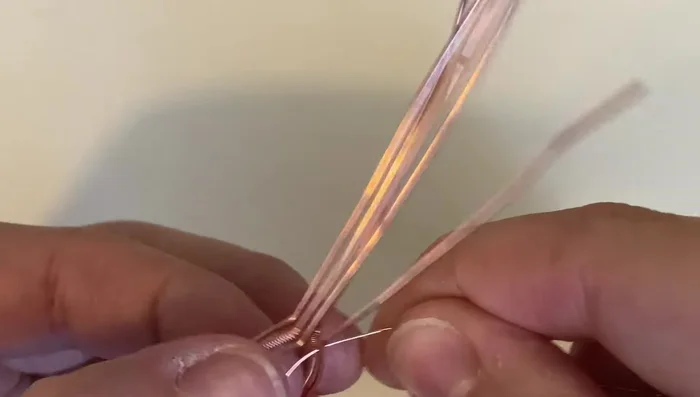
- Compress the weave and wrap the weaving wire around the bottom base wire three more times to secure it. Trim excess wire.
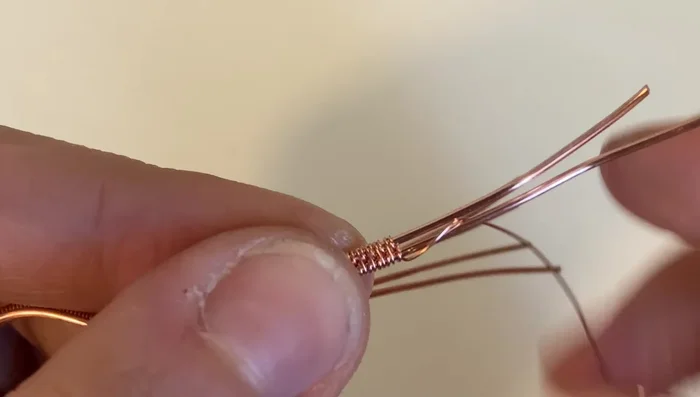
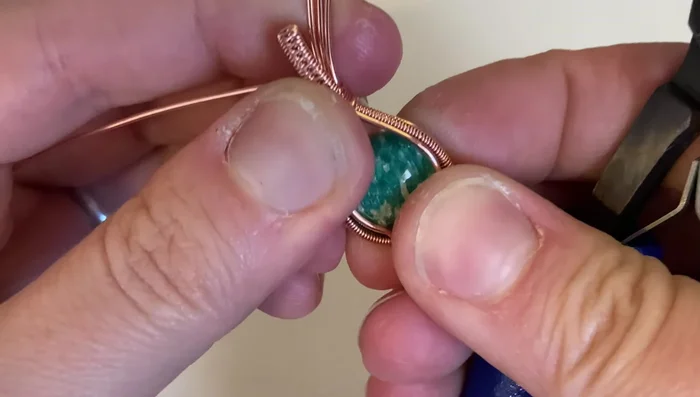
Initial Sumac Weave Form the Pendant Frame
- Coil the weaving wire around the middle base wire for about 3/4 of an inch on each side.
- Use your fingers to gently wrap the coiled wire around the cabochon to create a frame.
- Bend the wires straight up and parallel to each other at the point where the coil ends.
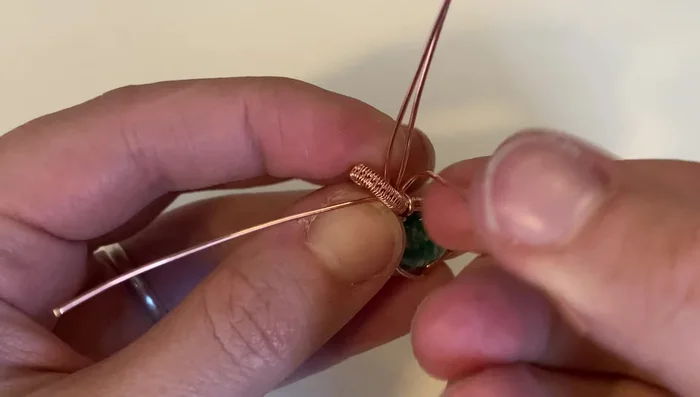
Form the Pendant Frame Secure the Frame (Right Side)
- Wrap the weaving wire around the back base wire on the right side three times.
- Wrap the weaving wire around all wires three times to bind them together.
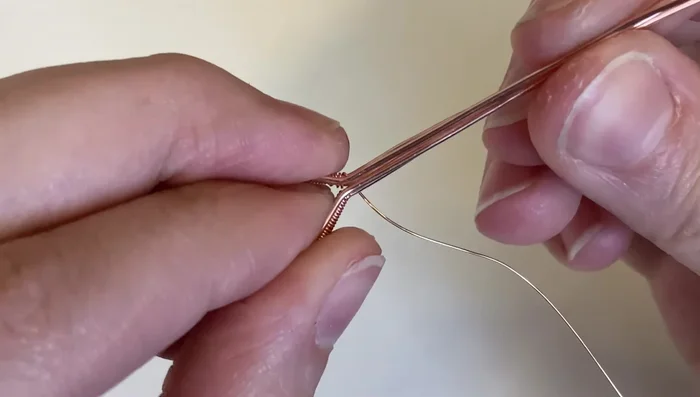
Secure the Frame (Right Side) Second Sumac Weave
- Create another modified sumac weave using the front two wires, wrapping for about 3/4 inch to an inch.
- Complete the sumac weave, wrapping around the bottom base wire three times. Trim excess wire.
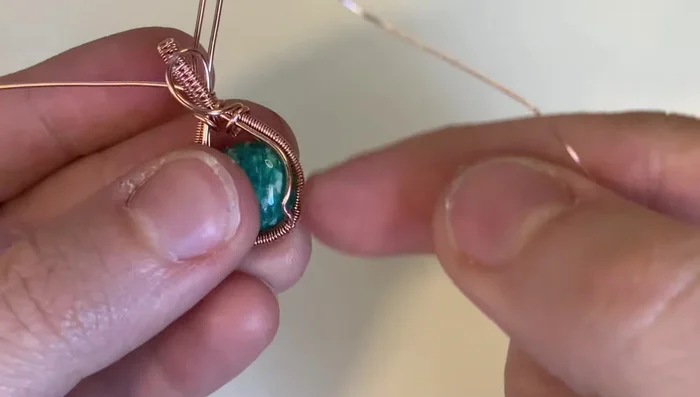
Second Sumac Weave Attach Bail and Secure Base Wires
- Pull apart the wires, bending the bail portion over the top. Direct the remaining base wires through the frame to secure it.
- Curve the bottom base wire on the right side and secure it to the frame.
- Create another coil around the base wire, slide it down and secure it to the frame.
- Secure the remaining base wires to the frame.
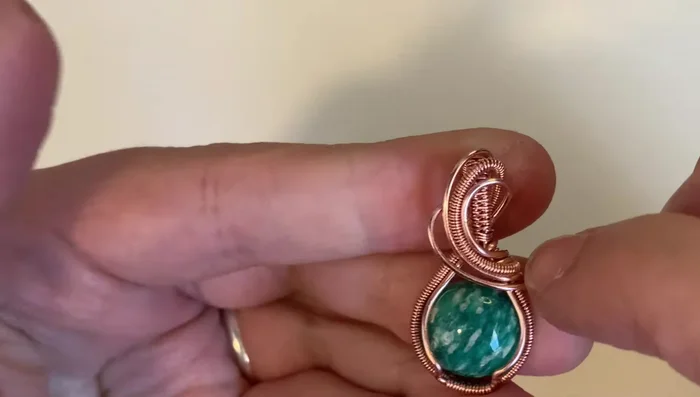
Attach Bail and Secure Base Wires Stone Setting
- Bend the front of the frame to create prongs for the stone.
- Insert the stone, ensuring sufficient surface area.
Stone Setting


Read more: DIY Tiered Tassel Earrings: A Quick & Easy Jewelry Tutorial
Tips
- Take your time, especially when creating the frame around the stone.
- Use a dowel if wrapping the wire around the stone is difficult.
- Ensure wires are parallel and neatly arranged for a clean finish.
- A pull-and-twist method is a efficient way to trim excess wire.