Delicate, shimmering, and uniquely yours – wire-wrapped flower earrings are the perfect blend of elegance and handmade charm. These enchanting pieces, crafted from simple materials, offer a rewarding DIY project for jewelry enthusiasts of all levels. Whether you prefer the classic symmetry of a five-petal bloom or the slightly more complex allure of a six-petal design, this guide will empower you to create stunning earrings that reflect your personal style. The possibilities are endless, from subtle pastel shades to vibrant jewel tones, allowing you to customize your creations to match any outfit or occasion.
This tutorial provides comprehensive, step-by-step instructions for crafting both five-petal and six-petal wire-wrapped flower earrings, guiding you through each stage with clear explanations and accompanying visuals. Prepare to be amazed by how easily you can transform simple wire and beads into exquisite, wearable works of art; let's dive into the process and begin crafting your beautiful floral earrings!
Preparation and Safety Guidelines
- 20 gauge dead soft wire
- chain nose pliers
- round nose pliers
- flush cutters
- Always use pliers with cushioned grips to avoid scratching or damaging your wire. Firm but gentle pressure is key.
- Be mindful of sharp wire ends. Trim them carefully with wire cutters and immediately file or round any sharp points to prevent injury.
- If you are a beginner, practice wrapping on scrap wire before working with your chosen jewelry wire and beads to get comfortable with the technique.
Step-by-Step Instructions
Prepare the Wires
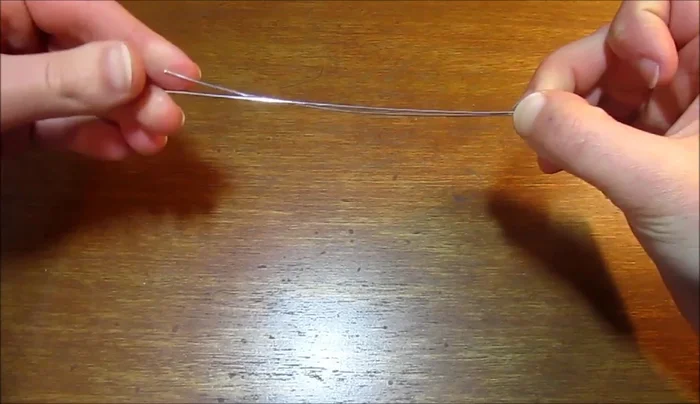
- Prepare two 5 1/2 inch long pieces of 20 gauge dead soft wire.
- Repeat steps 2-4 with the second wire piece, matching the first one's dimensions for consistency.

Prepare the Wires Shape the 5-Petal Flower (Part 1)
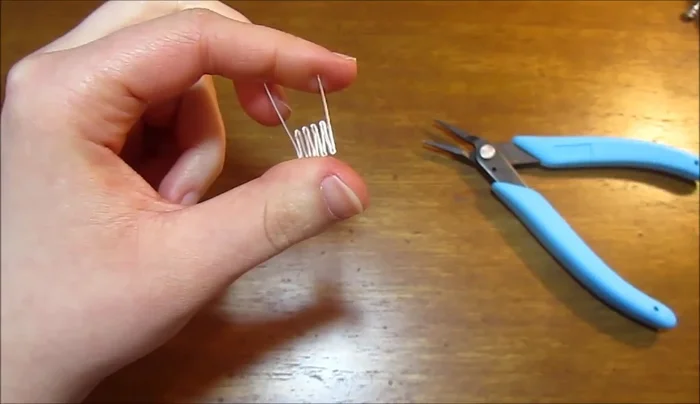
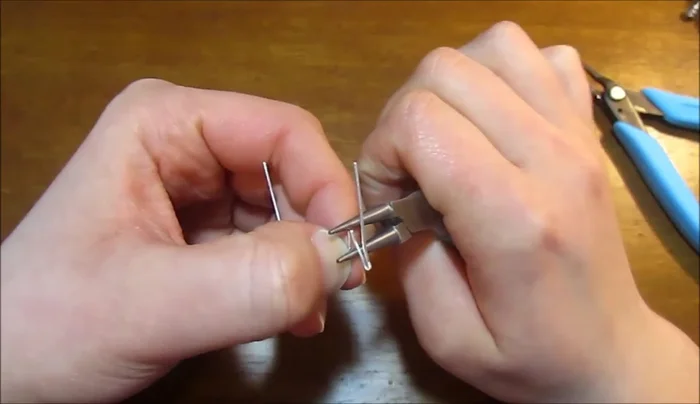
- Create a sharp bend about an inch from the end of one wire piece using chain nose pliers. Make the bend tight.
- Repeat step 2, making another bend about a cm from the first bend, ensuring all points are the same length.
- Create four more points in the same way, maintaining consistent point lengths. This will form the base of your flower.
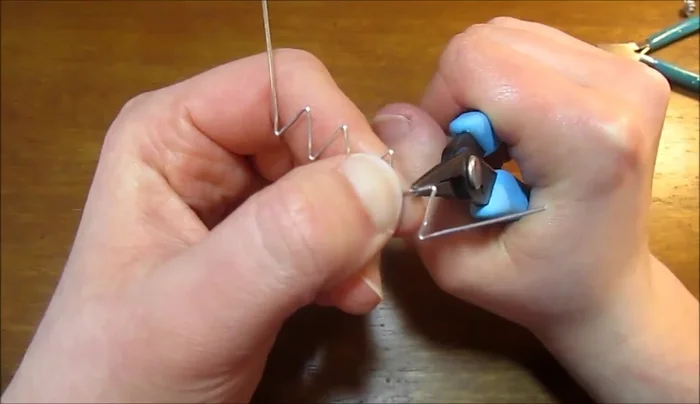
- Gently widen the points using round nose pliers to create petal shapes.
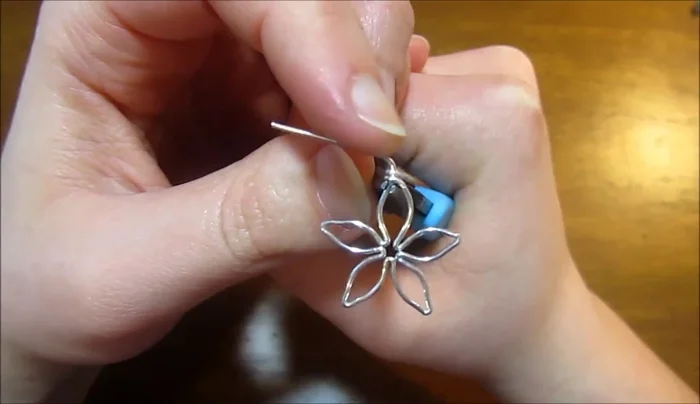
Shape the 5-Petal Flower (Part 1) - Curve each petal using pliers until adjacent points meet.
- Curve the two remaining tails of each wire piece to form the fifth petal, ensuring consistent petal size.
Shape the 5-Petal Flower (Part 1) Secure the 5-Petal Flower
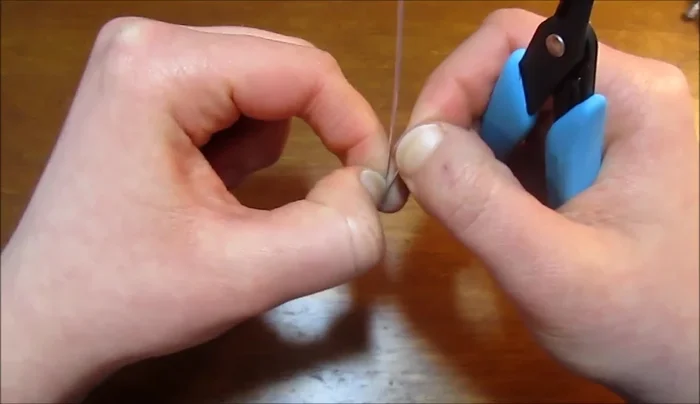
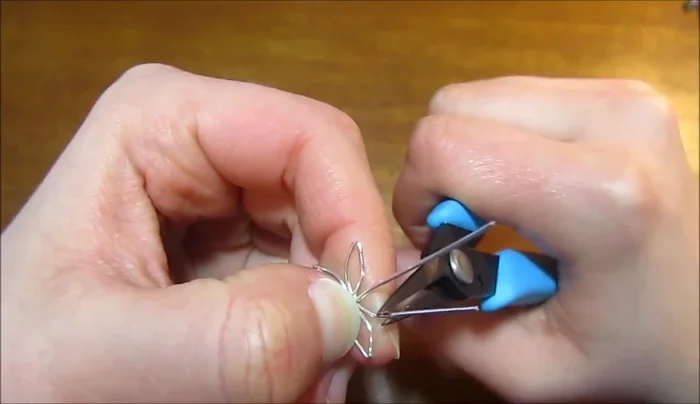
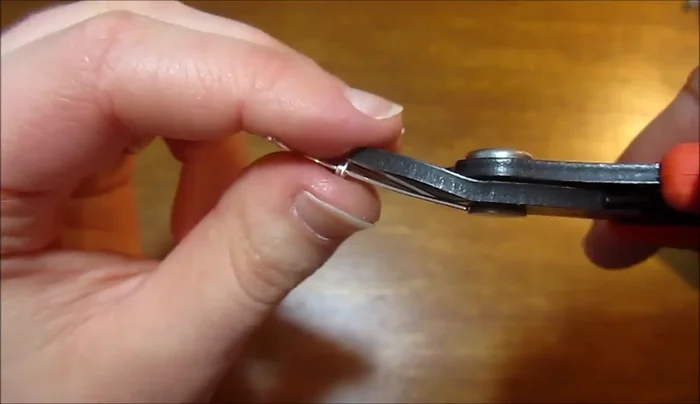
- Wrap the shorter tail around the longer tail, securing it with pliers.
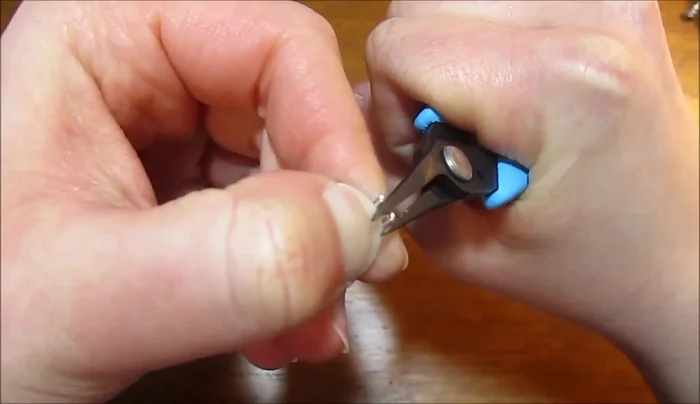
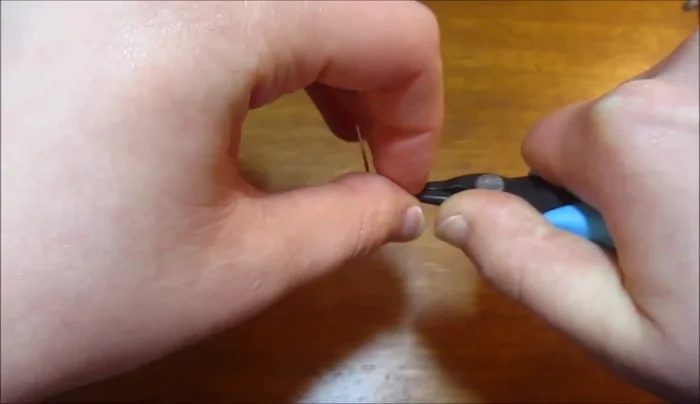
- Trim excess wire with flush cutters and use chain nose pliers to secure the ends.
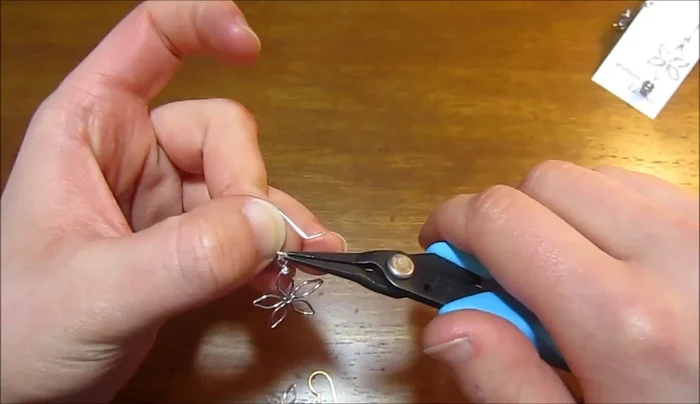
- Bend the long tail to create a curve, then trim and secure the end.
Secure the 5-Petal Flower Attach to Earring Wires
- Attach the finished flower to earring wires.
Attach to Earring Wires

Read more: DIY Tiered Tassel Earrings: A Quick & Easy Jewelry Tutorial
Tips
- Maintain consistent petal lengths for a uniform flower shape.
- Use the first flower as a guide to ensure the second one is identical in size and shape.