Embrace your inner free spirit and add a touch of bohemian flair to your style with these stunning, handcrafted wire-wrapped earrings! Boho style is all about effortless elegance and natural beauty, and these DIY earrings perfectly capture that essence. Using readily available materials and simple techniques, you can create unique, personalized jewelry that reflects your individual style. Forget expensive boutique finds; this tutorial empowers you to design your own statement pieces, perfect for adding a touch of whimsy to any outfit. Imagine the compliments you'll receive when you're sporting these gorgeous, handcrafted earrings – all created by you!
This step-by-step guide will walk you through the process of making your own boho-inspired wire-wrapped earrings, from selecting your materials to adding the final touches. Get ready to unleash your creativity and transform simple wire and beads into beautiful, wearable art. Let's begin!
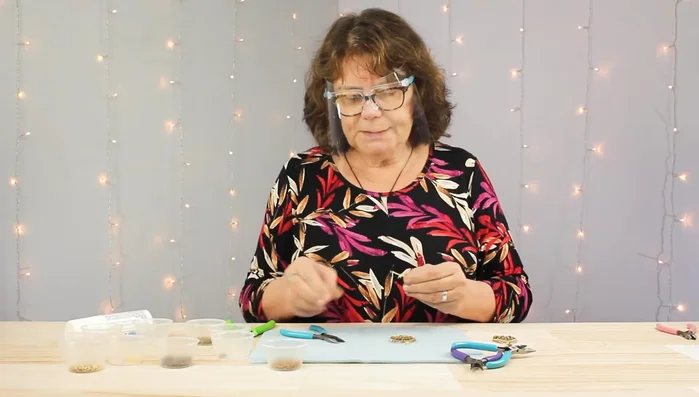
Preparation and Safety Guidelines
- 20 gauge gold colored copper wire
- 28 gauge gold copper wire
- Needle nose pliers
- Flush cutters
- Wire cutters
- Round nose pliers
- Small beads (various colors and sizes)
- Eye pin
- Always wear safety glasses when working with wire. Small pieces can easily fly off and cause eye injuries.
- Use appropriate wire cutters to prevent bending or damaging the wire. Using dull cutters can lead to slips and cuts.
- Be mindful of sharp wire ends. Trim and file any rough edges to avoid scratches or cuts.
Step-by-Step Instructions
Prepare Materials
- Cut a 10-inch length of 20-gauge wire and 2 feet of 28-gauge wire. Organize beads into separate containers.
Create Earring Hoop
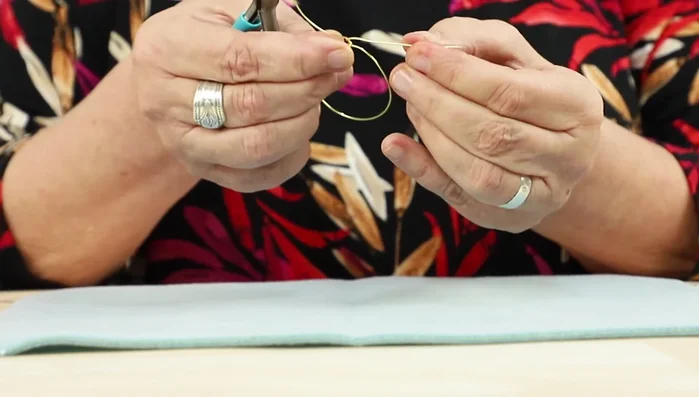
- Use a bottle to shape the 20-gauge wire into a hoop. Twist the ends together and flatten.

Create Earring Hoop Secure the Hoop
- Wrap one wire tail around the twist and cut off the excess. Pinch the end to prevent sharpness.
Secure the Hoop Refine Hoop Shape
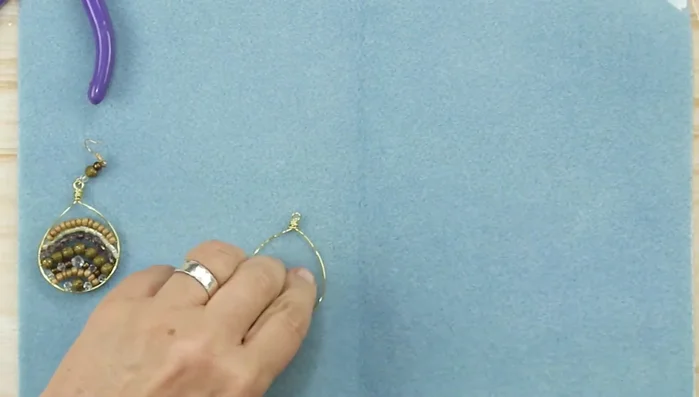
- Adjust the hoop shape, ensuring it's flat and slightly elongated (teardrop shape).
Add First Row of Beads
- Wrap one end of the 28-gauge wire around the hoop base several times. Add the first row of beads, ensuring they are centered below the loop.
Add First Row of Beads Add Subsequent Rows of Beads
- Continue adding rows of different beads, ensuring each row sits above the previous one. Maintain consistent spacing and wire wrapping to secure each row.
Secure Beading Wire
- Wrap the beading wire around the hoop base several times on both sides to secure it. Trim and pinch the wire ends.
Secure Beading Wire Create Beaded Link
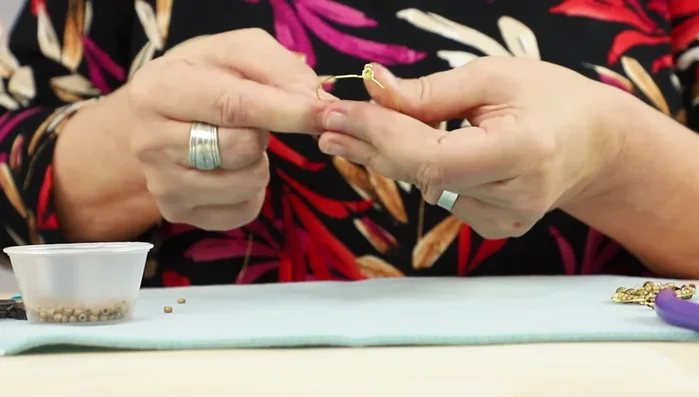
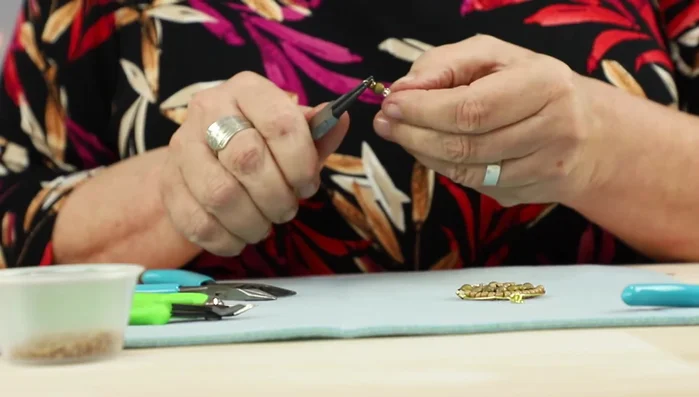
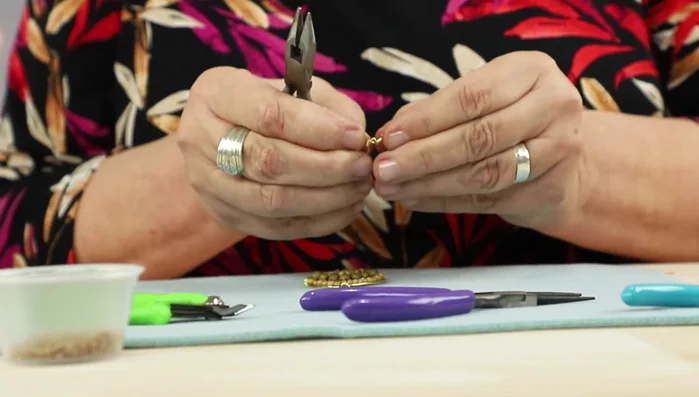
- Straighten an eye pin and add beads to it. Form a loop at the end using round nose pliers.
Create Beaded Link Attach Link and Ear Wire
- Open the loop on the eye pin and attach it to the top of the earring hoop. Attach the ear wires.
Attach Link and Ear Wire Adjust Earring Orientation
- If necessary, twist the bottom loop to adjust the earring's hanging direction.
Adjust Earring Orientation

Read more: DIY Tiered Tassel Earrings: A Quick & Easy Jewelry Tutorial
Tips
- Warm the wire by running your fingers over it to make it more pliable.
- Use a bottle to help shape the hoop and ensure a consistent curve.
- Pinch wire ends with pliers to ensure there are no sharp edges.
- Avoid kinks in the thin 28-gauge wire while adding beads.
- Maintain consistent spacing between bead rows. Adjust the amount of wire wrapping to achieve this.