Wire wrapping is a versatile and rewarding jewelry-making technique, allowing for the creation of unique and stylish pieces. Today, we're diving into the elegant world of wire-wrapped beaded earrings, focusing on a simple yet chic design perfect for beginners and experienced crafters alike. These earrings offer a perfect balance of minimalist aesthetics and intricate detail, making them ideal for everyday wear or a special occasion. You'll be amazed at how easily you can transform simple beads and wire into stunning, handcrafted accessories. The process is surprisingly straightforward, requiring only basic tools and materials.
This tutorial will guide you through each step, from preparing your materials to finishing your beautiful, new earrings. Whether you're looking to add a touch of handmade charm to your wardrobe or create thoughtful gifts, this project is a fantastic opportunity to explore the art of wire wrapping. Get ready to unleash your creativity and learn how to craft these eye-catching earrings with our easy-to-follow, step-by-step instructions!
Preparation and Safety Guidelines
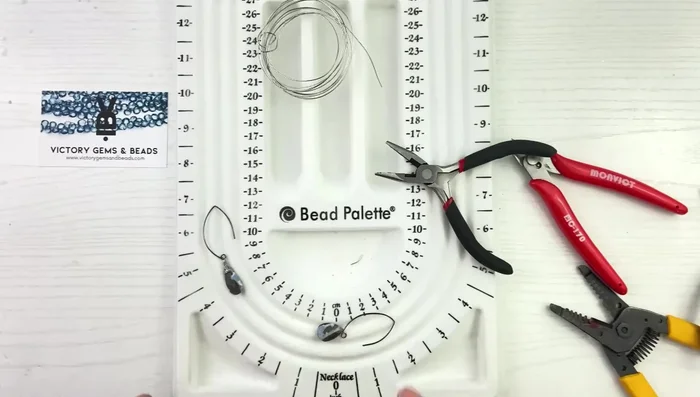
- Boulder opal beads
- Marquis hanging brass-plated black earring findings
- Wire (craft wire)
- Long nose pliers
- Wire cutters
- Round nose pliers
- Always use wire cutters to cut wire. Avoid breaking the wire with your teeth or hands, as this can cause injury.
- Be mindful of sharp wire ends. Always tuck or flatten them securely to prevent scratches or snags.
- If you are using a particularly stiff wire, consider using wire-wrapping pliers to assist with shaping and prevent hand fatigue or injury.
Step-by-Step Instructions
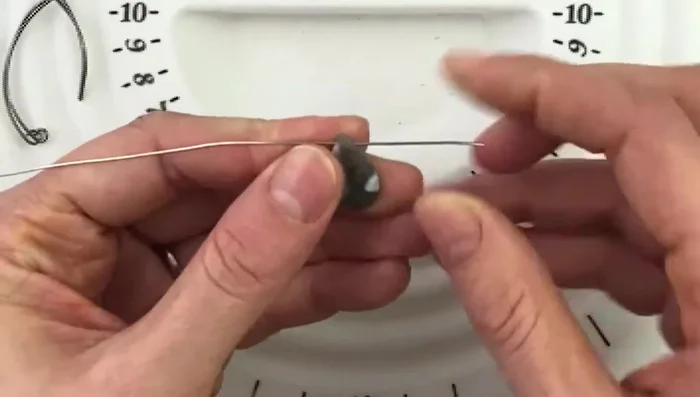
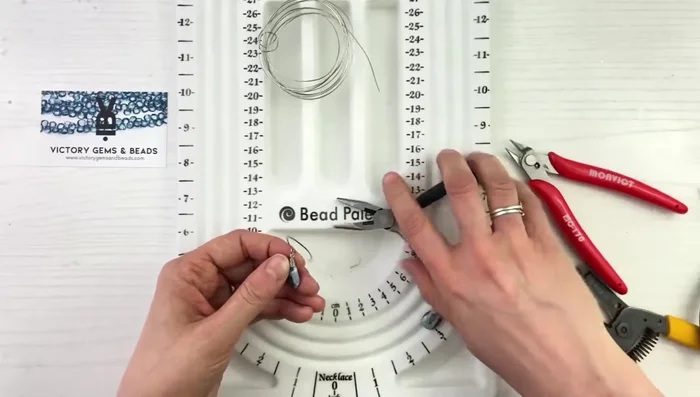
Prepare the Wire and Bead
- Thread the wire through the bead, leaving significantly more wire on one side than the other.

Prepare the Wire and Bead Secure the Wire Base
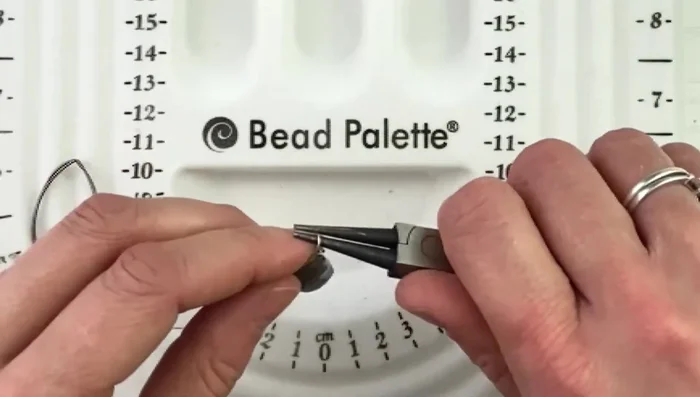
- Pinch the two wire ends together using long nose pliers to create a straight, even base.
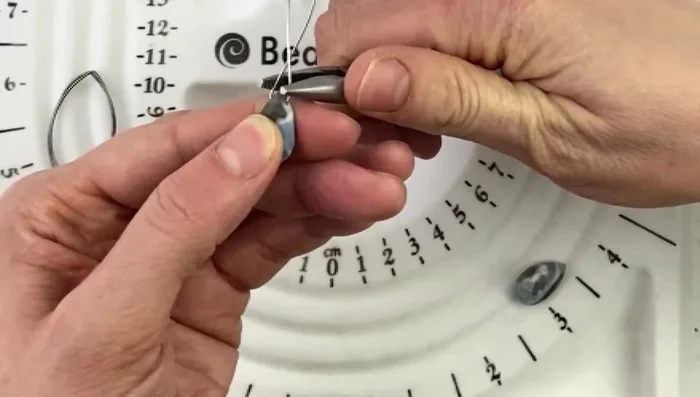
Secure the Wire Base Initial Wire Wrap
- Bring one wire end forward and wrap it around the other wire end twice, keeping it close to the bead.
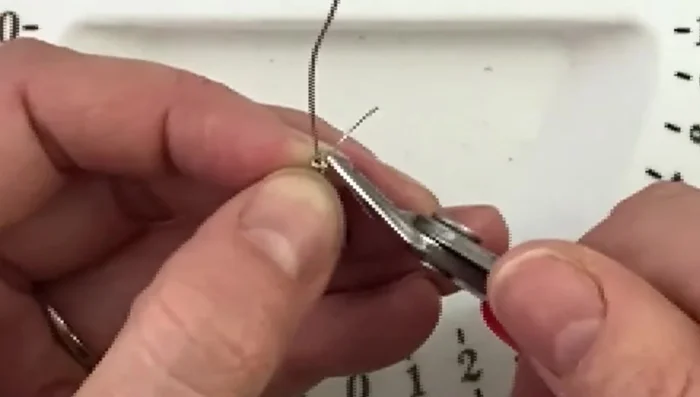
Initial Wire Wrap Trim and Bend the Wire
- Cut the excess wire close to the wrapping, using wire cutters.
- Use round nose pliers to bend the end of the wire at a 90-degree angle.
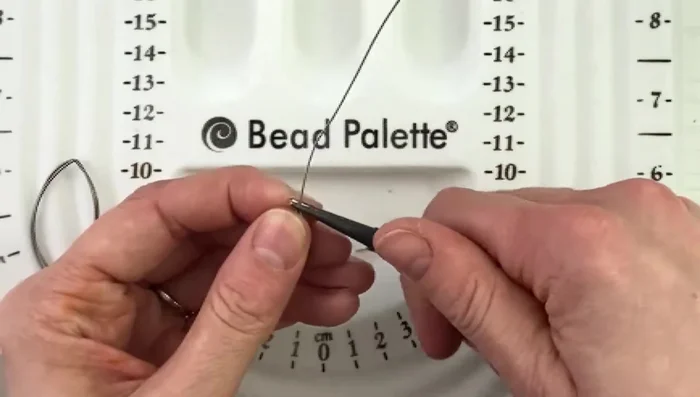
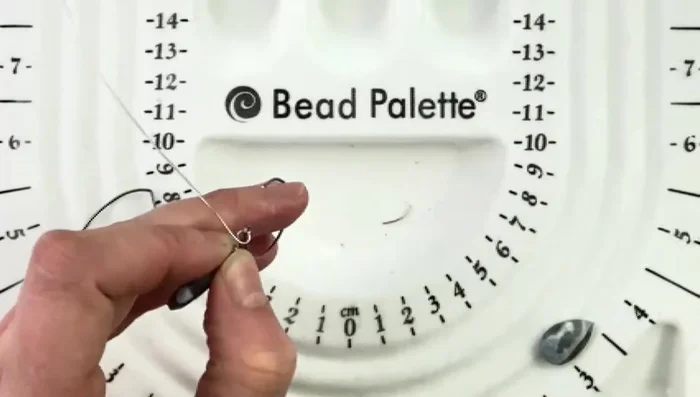
Trim and Bend the Wire Attach Earring Finding
- Wrap this bent wire around the base of the bead, creating a small loop to secure the earring finding.
- Attach the earring finding to the wire loop.
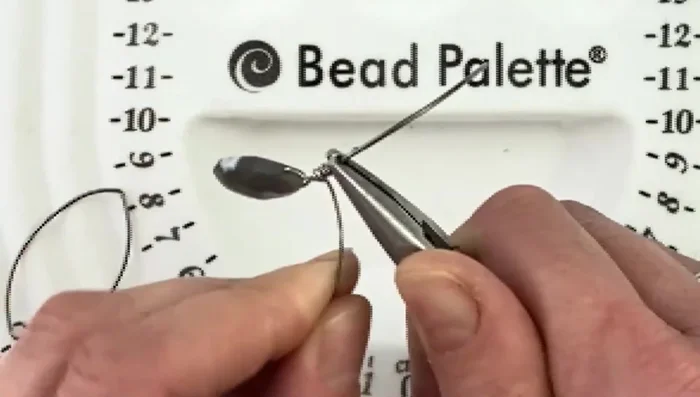
Attach Earring Finding Complete the Wrap
- Wrap the remaining wire tightly around the base of the bead, continuing until you achieve a neat, covered look.
Complete the Wrap Finalize and Trim
- Cut any excess wire and gently tuck the end under the wraps.
Finalize and Trim Make the Second Earring
- Repeat steps 1-9 for the second earring. Adjust the bead orientation by carefully twisting the wire loop.
Make the Second Earring

Read more: DIY Tiered Tassel Earrings: A Quick & Easy Jewelry Tutorial
Tips
- Use a sufficient amount of wire to allow for multiple wraps.
- Keep the wraps tight and close together for a professional finish.
- Gently twist the wire loop to position the bead as desired.