Giving wine as a gift is a classic gesture, but presenting it in a truly memorable way elevates the experience from simple to spectacular. A handcrafted walnut wine bottle gift box is the perfect solution, showcasing both your thoughtfulness and a touch of sophisticated artistry. Imagine the recipient's delight as they unwrap a beautifully finished box, crafted from the rich, warm tones of walnut wood, revealing their prized bottle within. The unique character of the wood, its subtle grain patterns and luxurious feel, transforms a simple present into a keepsake they'll cherish.
This detailed guide will walk you through each step of building your own stunning walnut wine bottle gift box, from selecting the right materials to applying the finishing touches. We'll cover everything from precise measurements and cutting techniques to assembling the box and achieving a professional-looking finish. Ready to get started? Let's delve into the step-by-step process and create a truly unforgettable gift.
Preparation and Safety Guidelines
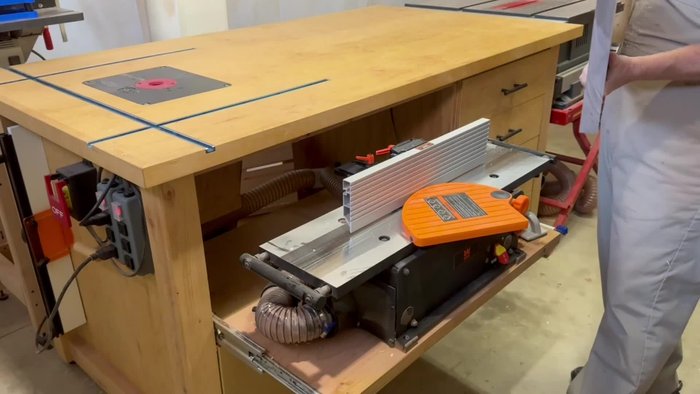
- Joiner
- Table saw
- Miter saw
- Bandsaw
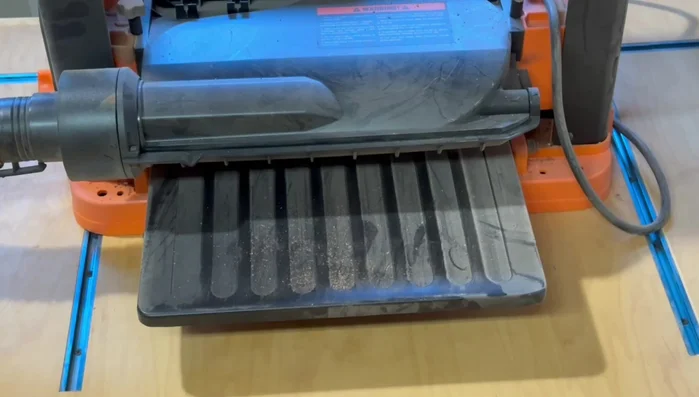
- Planer
- Dado stack
- Crosscut sled
- Clamps
- Strap clamp
- Sandpaper (220 grit)
- Wax oil
- CA glue (gel and thin)
- Always use appropriate safety glasses when using power tools like saws, drills, or sanders. Woodworking can create flying debris that can cause serious eye injuries.
- Ensure adequate ventilation when using stains, finishes, or glues. Many contain volatile organic compounds (VOCs) that can be harmful if inhaled.
- Handle sharp tools like chisels and knives with extreme caution. Keep them away from children and always cut away from yourself.
Step-by-Step Instructions
Preparing the Walnut Board
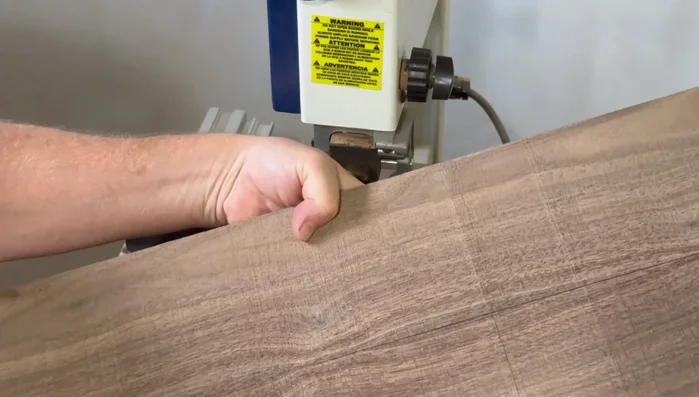
- Straighten one edge of the walnut board using the joiner.
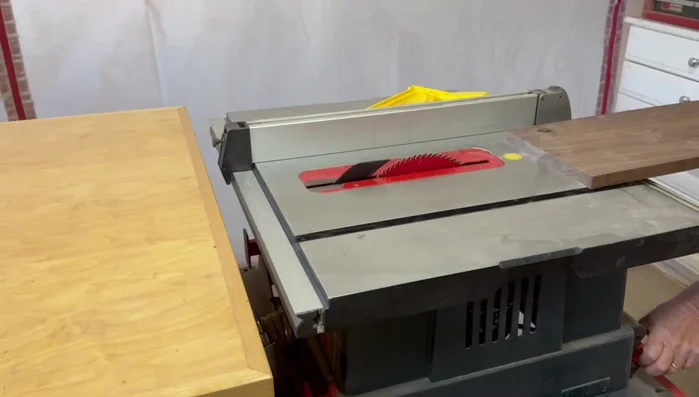
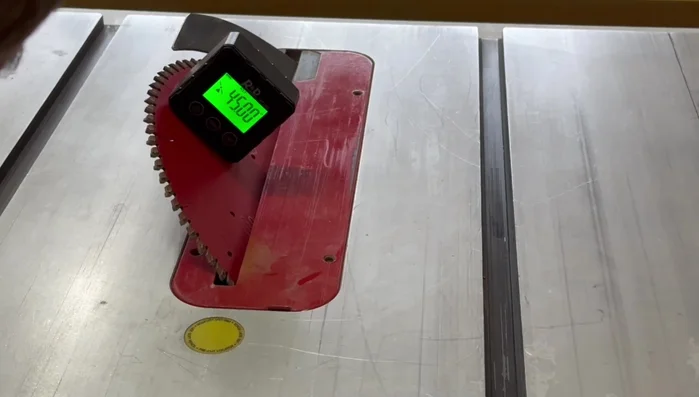
- Cut the board to the rough width for the top and bottom on the table saw. Aim for roughly half the box's length.
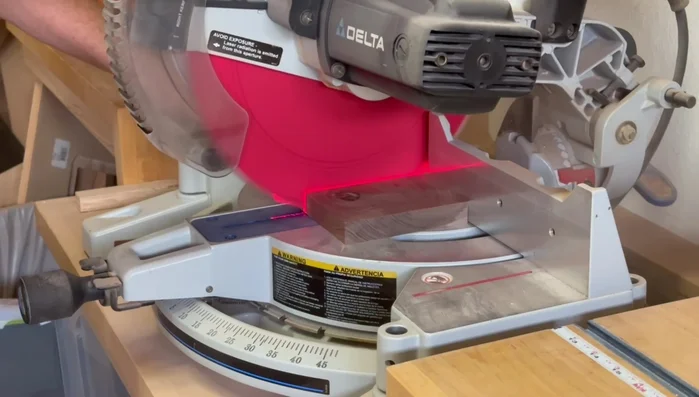
- Cut the rough length on the miter saw.
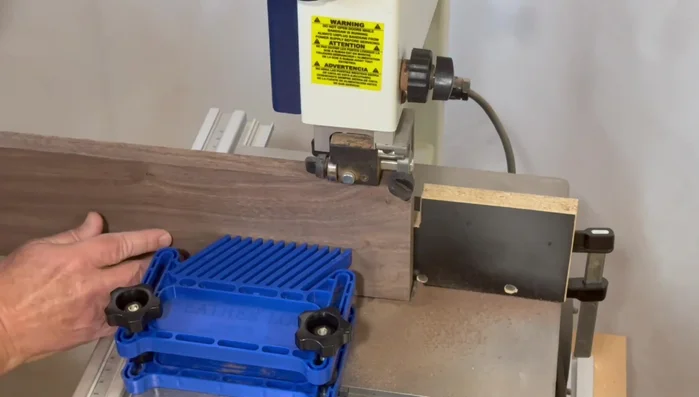
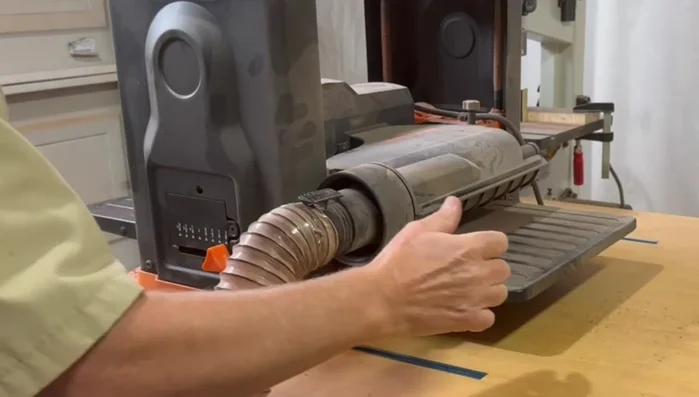
- Resaw the board down the middle using the bandsaw to create two 3/8-inch thick pieces for the top and bottom.

Preparing the Walnut Board Creating Top and Bottom Pieces
- Glue the two pieces together to achieve book-matched grain for the top and bottom.
- Cut the glued-up piece into thirds; one-third for the bottom and the remaining two-thirds for the lid.
- Glue the pieces for the bottom and lid, ensuring they remain flat.
Creating Top and Bottom Pieces Preparing the Side Pieces
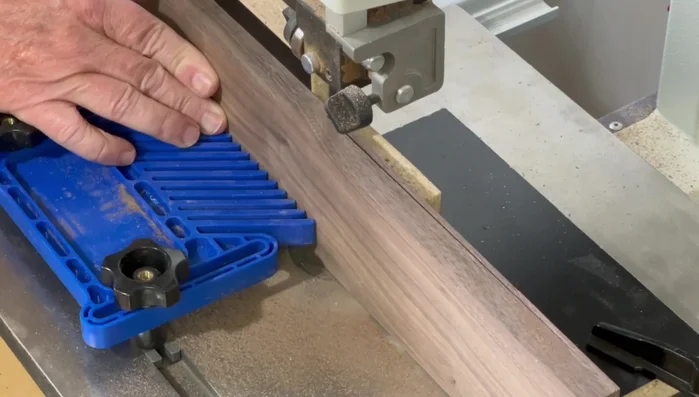
- Cut the sides of the box. The width should account for the final height of the box plus the saw blade kerf. Make a second cut later to refine the width.
- Reduce the thickness of the side pieces to 1/2 inch using the planer (or by slicing off a thin piece on the bandsaw and then planing).
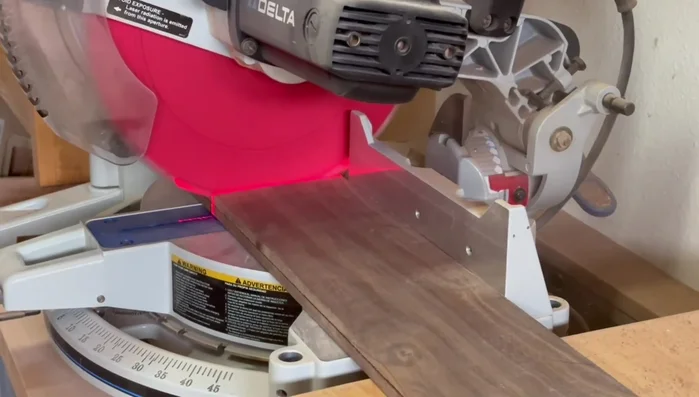
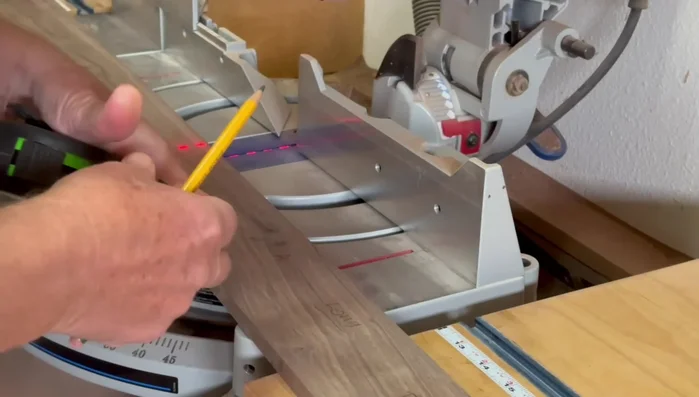
- Cut the side pieces on the miter saw to a length slightly longer than needed.
- Cut 45-degree angles on the ends of the side pieces using the table saw and a crosscut slot, ensuring accuracy with a stop block.
Preparing the Side Pieces - Cut one saw blade kerf off three sides of the box pieces (excluding the front and lid side).
Preparing the Side Pieces Cutting Dados and Handle
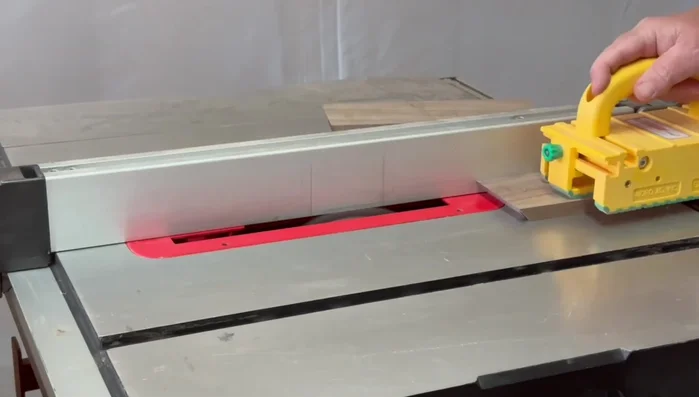
- Cut the dados for the bottom and lid using a dado stack on the table saw.
- Cut the handle for the lid using the crosscut sled and a stop block (to prevent damage from the saw blade guard gap).
Cutting Dados and Handle Assembling the Box
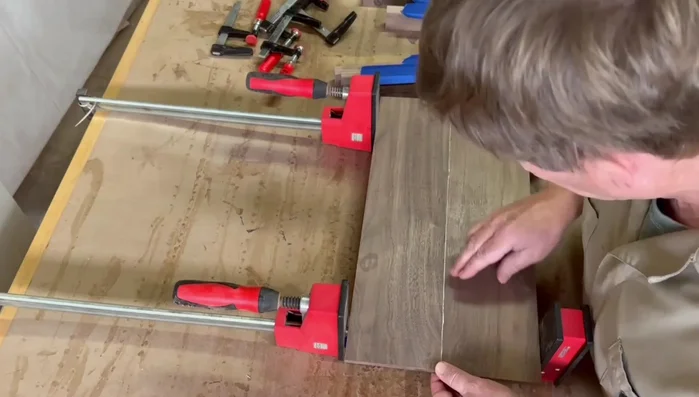
- Plane the bottom piece to the correct thickness and width.
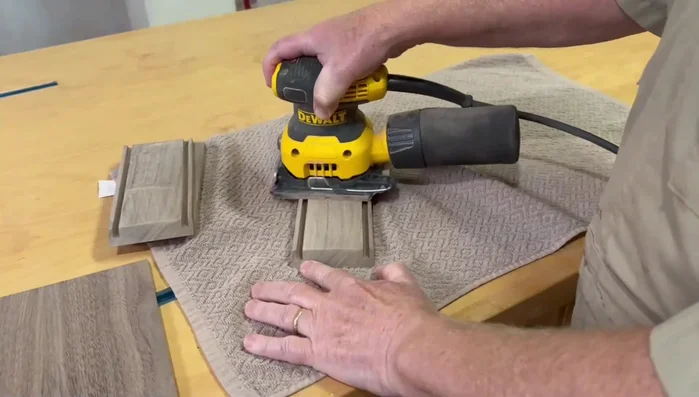
- Sand the inside of the box pieces.
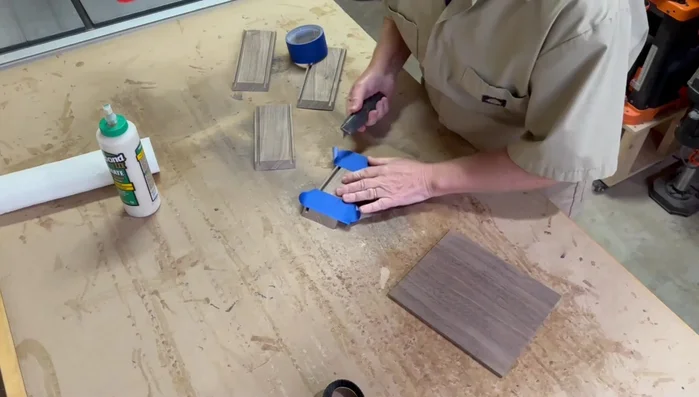
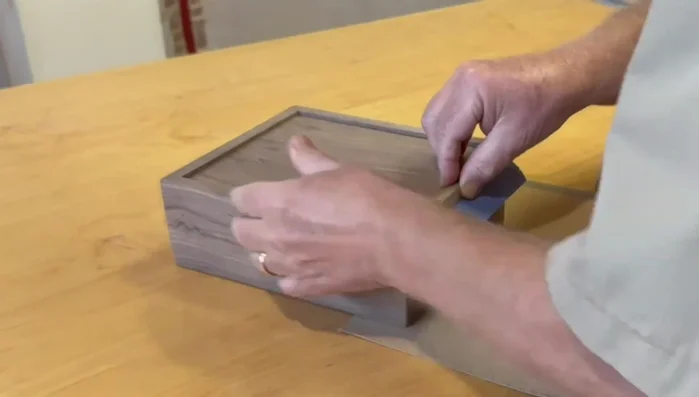
- Glue up the box, using painter's tape to help with cleanup, and clamp securely.
Assembling the Box Creating the Lid
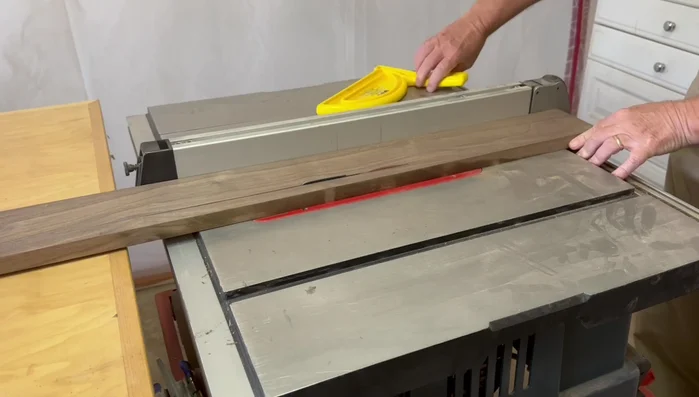
- Rough cut the lid piece into two pieces, then laminate them together with perpendicular grain using glue and clamps.
- Plane the lid to the correct thickness and cut it to the proper width and length using the table saw.
Creating the Lid Attaching the Lid Handle
- Attach the handle to the lid using CA glue (gel CA is recommended for a better bond).
Attaching the Lid Handle Finishing the Box
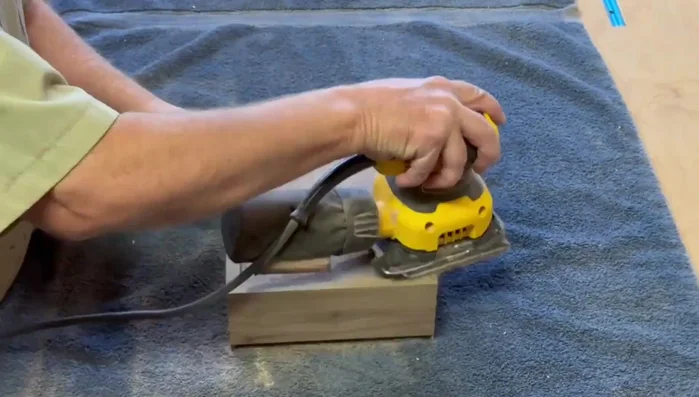
- Sand the entire box and lid to 220 grit.
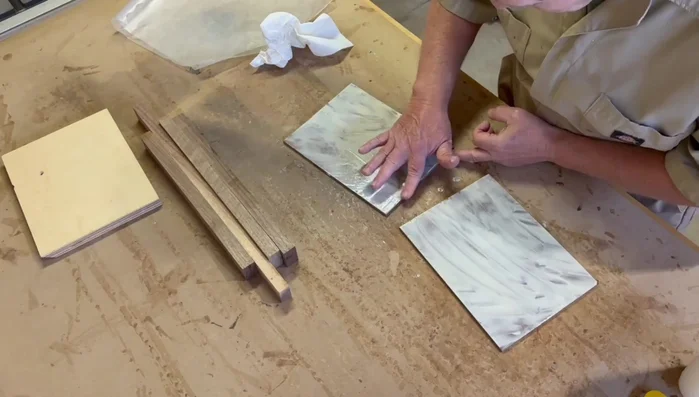
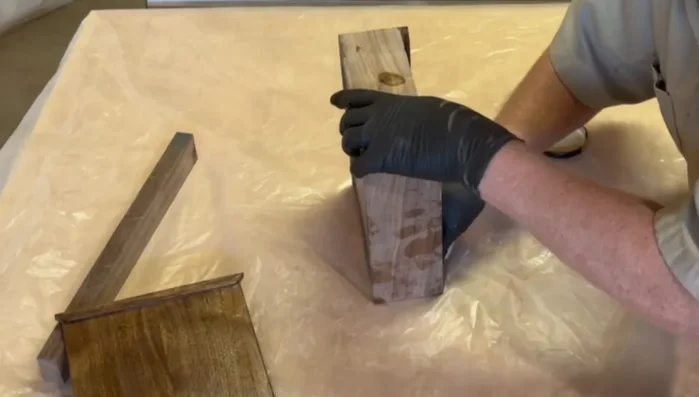
- Apply wax oil finish, let it dry for an hour, and buff off the excess.
Finishing the Box


Read more: Build a Stunning Black Walnut Coaster Set: The Ultimate Furniture Protector
Tips
- To avoid warping, consider cutting the board for the bottom and lid into shorter lengths before gluing.
- Laminating the lid pieces with perpendicular grain helps prevent warping.
- Use gel CA glue for better control and bonding when attaching the handle to the lid.
- Painter's tape helps with glue cleanup during box assembly.