Tired of cluttered countertops and disorganized drawers? A simple, handcrafted utensil holder can be the perfect solution to add both functionality and a touch of rustic charm to your kitchen. This project utilizes the rich beauty of walnut wood to create a stylish and practical addition to your home, perfect for holding your favorite cooking utensils within easy reach. The warm tones and natural grain of walnut make this a piece you'll be proud to display. It’s surprisingly easy to build, even for beginners with limited woodworking experience.
This guide will walk you through the process of building your own walnut utensil holder, from selecting your materials to the final sanding and finishing touches. With clear instructions and helpful images, you'll be able to craft this beautiful and useful piece with confidence. Let's dive into the step-by-step process and begin creating your own stunning walnut utensil holder!
Preparation and Safety Guidelines
- hand plane
- saw
- measuring tools
- 45-degree angle guide
- sanding block
- plywood
- router table (optional)
- strap clamps
- wood glue
- clear packing tape
- disposable brushes
- 220 grit sandpaper
- salad bowl finish
- chisel (optional)
- Always wear safety glasses when using power tools like saws and drills. Wood dust and flying debris can cause serious eye injuries.
- Use clamps to secure your workpiece, especially when using hand tools or power tools. This will prevent the wood from moving unexpectedly and causing injury.
- Be mindful of sharp edges and points on your tools and the unfinished wood. Handle with care to avoid cuts and splinters.
Step-by-Step Instructions
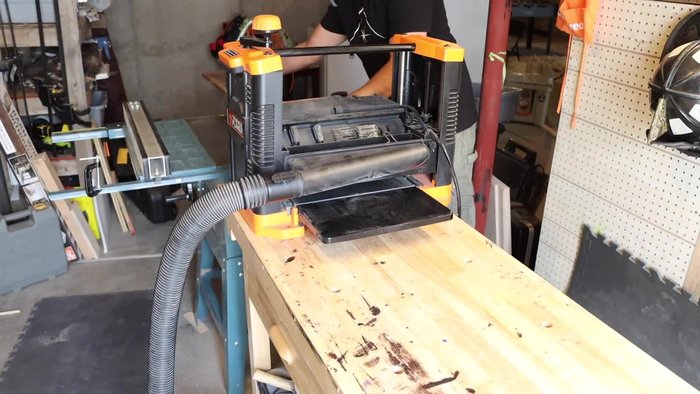
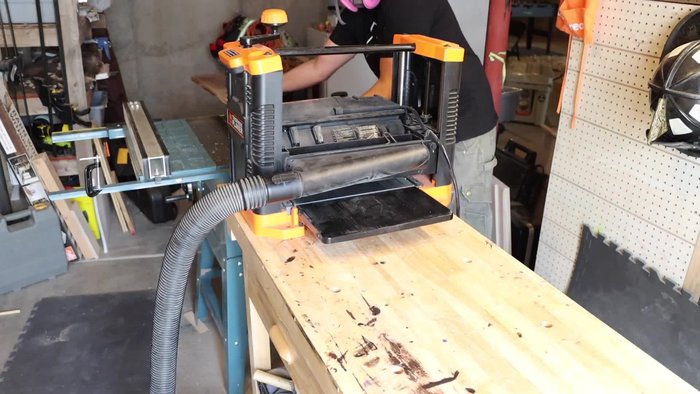
Preparing the Walnut Board
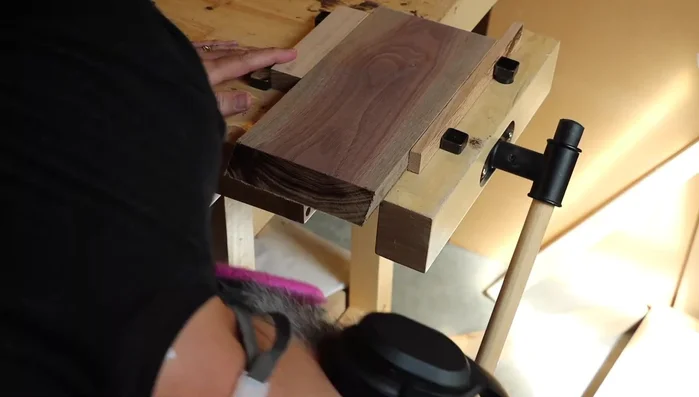
- Plane down the walnut wood to a uniform thickness, preserving imperfections.
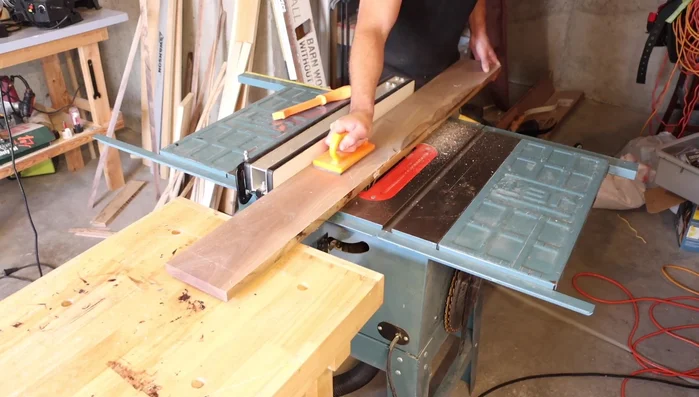
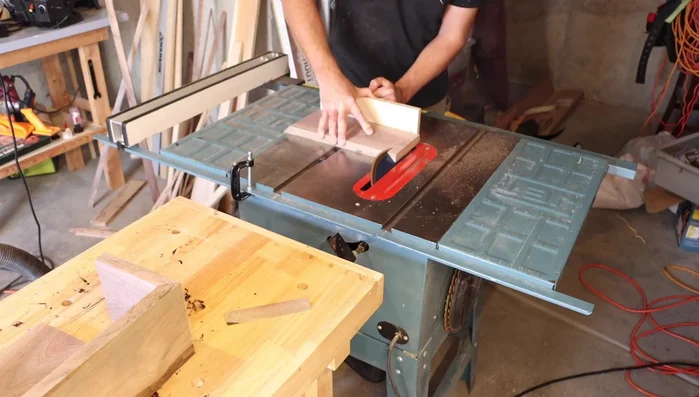
- Cut one side of the board to ensure it's flat, then repeat on the other side.
- Cut the board to a rough length.
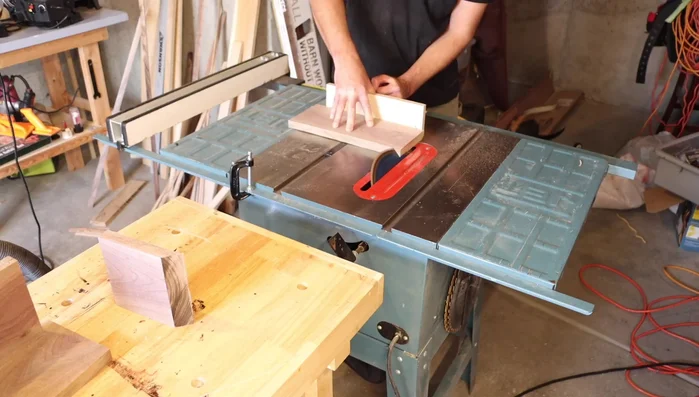
- Mark 45-degree angles on all four corners.

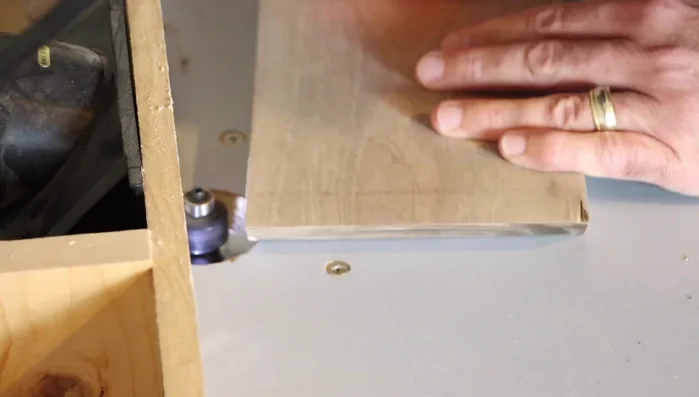
Preparing the Walnut Board - Mark and cut one shorter side using a plywood guide for consistent length.
- Sand the cut edges to remove any burrs.
- Plane the sides again to ensure they are even (optional, but recommended).
Preparing the Walnut Board Creating the Rabbet (Optional)
- Create a 1/4 inch rabbet on the bottom of the box using a router table (optional).
Creating the Rabbet (Optional) Preparing and Fitting the Bottom
- Cut and measure the plywood for the bottom of the box. Perform a dry run before glue-up.
- Apply packing tape to the bottom's cleats to prevent glue adhesion during the glue-up.
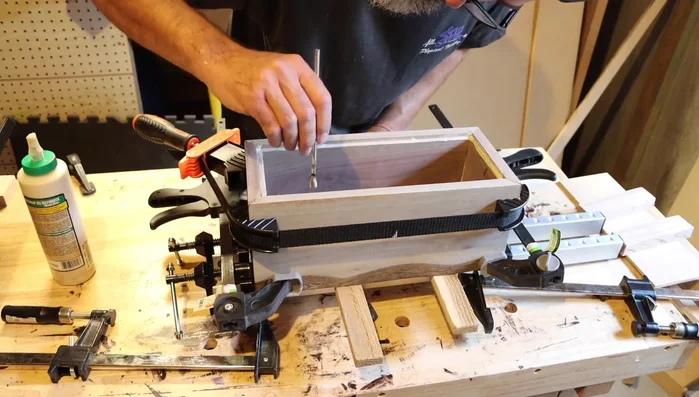
Preparing and Fitting the Bottom Assembling the Box
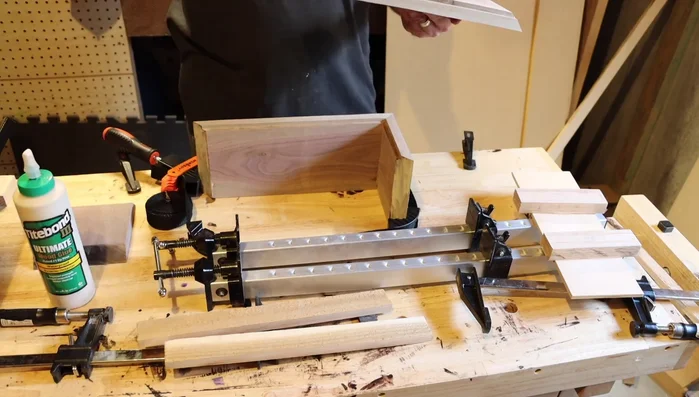
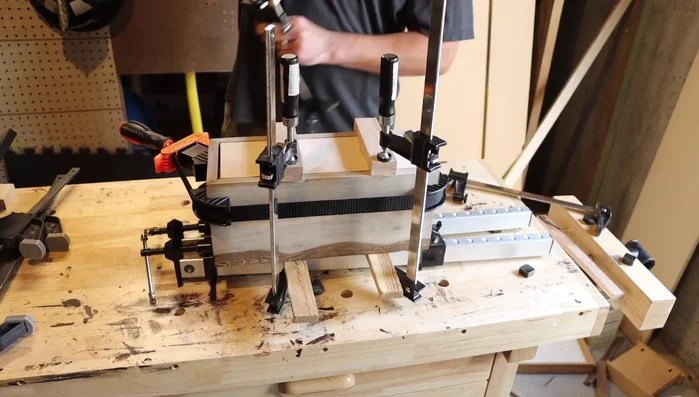
- Apply glue to the sides, spreading evenly with disposable brushes. Clamp the box together, ensuring proper alignment.
- Glue and clamp the bottom piece securely.
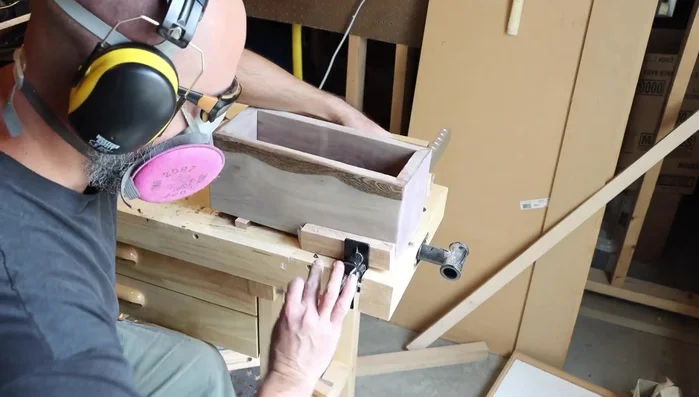
Assembling the Box Curing and Finishing
- Let the glue dry overnight.
- Plane or chisel the edges for smoothing and to remove any sharp edges.
- Sand the entire box with 220-grit sandpaper for a smooth finish. Sand the interior first.
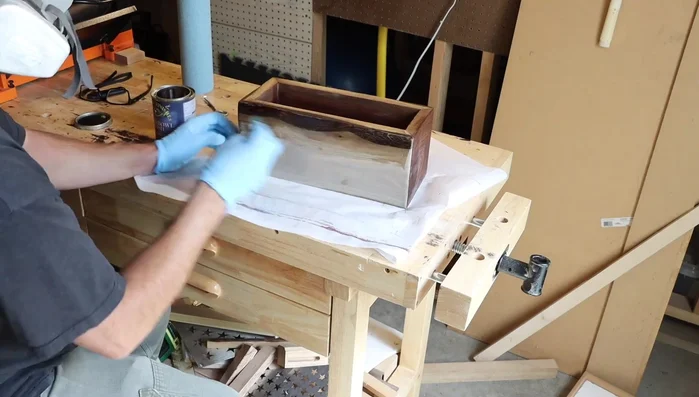
- Apply finish (salad bowl finish used in this example).
Curing and Finishing


Read more: Build a Stunning Black Walnut Coaster Set: The Ultimate Furniture Protector
Tips
- Preserve the natural imperfections in the wood for character.
- Using a plywood guide helps ensure consistent length and accuracy in cutting.
- Applying packing tape to the cleats prevents them from sticking to the bottom during glue-up.
- Do a dry run before applying glue to ensure proper alignment and fit.
- Sand the interior of the box before glue-up for easier access.