V-neck sweaters are a timeless classic, effortlessly chic and endlessly versatile. But achieving a truly clean, professional-looking V-neck finish can sometimes feel like a knitter's Everest. That frustrating gap, the slightly wonky shaping…we’ve all been there. This tutorial is designed to conquer those common V-neck challenges and guide you towards a flawlessly finished neckline, leaving you with a garment you’ll be proud to wear. Forget those awkward gaps and uneven edges that detract from your beautiful handiwork.
This guide will walk you through a step-by-step process, ensuring a neat and perfectly shaped V-neck on your next knitting project, no matter your skill level. We'll cover everything from choosing the right yarn and needles to mastering essential techniques for a professional result, culminating in a neckline that's as pleasing to the eye as it is comfortable to wear. Let's dive into the details!
Preparation and Safety Guidelines
- knitting needles
- yarn
- stitch markers
- Use sharp scissors to prevent fraying and ensure a clean cut. Dull scissors can cause the yarn to split, ruining the neat finish.
- Weave in your ends securely. Loose ends can pull out and unravel your neckline, undoing your hard work. Use a yarn needle and weave them in several times, then trim closely.
- Match your yarn tension when weaving in ends. If the tension is too tight, it will pucker the fabric. Too loose, and the ends might still show.
Step-by-Step Instructions
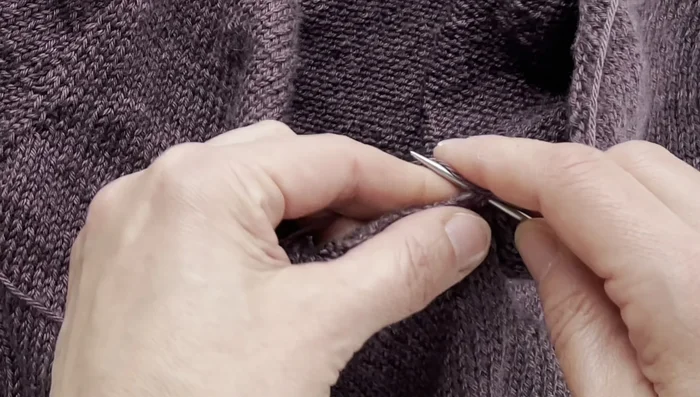
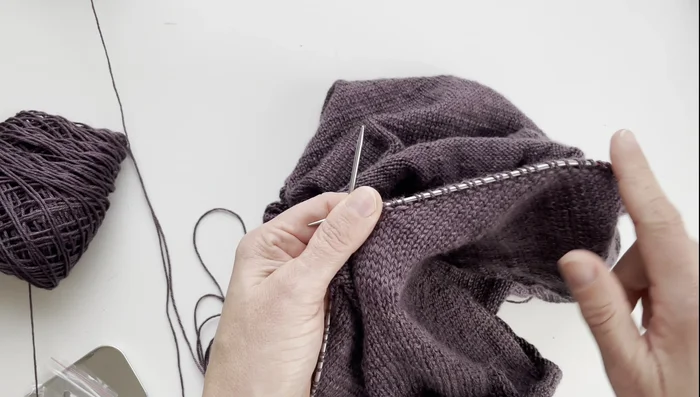
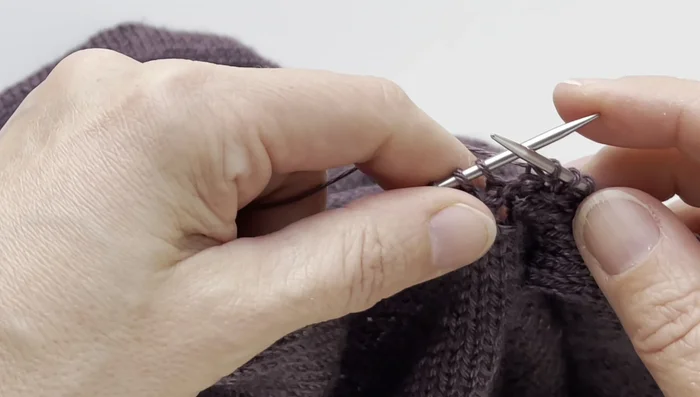
Picking up Neck Stitches
- Pick up stitches from the middle front, ensuring an even number of stitches on each side for symmetry.
- Pick up one center stitch, then four stitches on every four rows (or adjust based on your pattern).
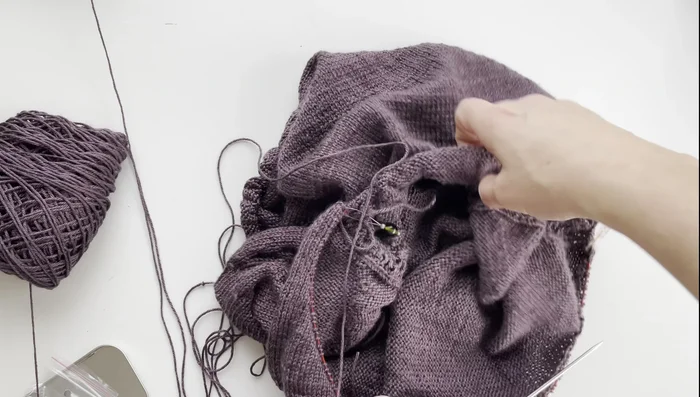
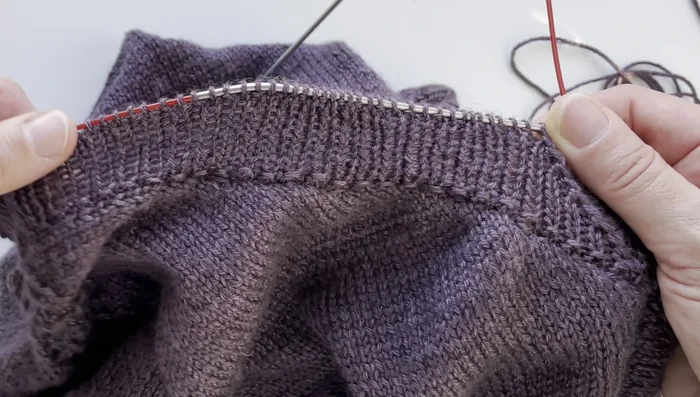
- Pick up stitches around the entire neck opening, using markers to track stitch counts from each section.
- Place a marker at the beginning of the round (center stitch).

Picking up Neck Stitches Initial Round and Ribbing Setup
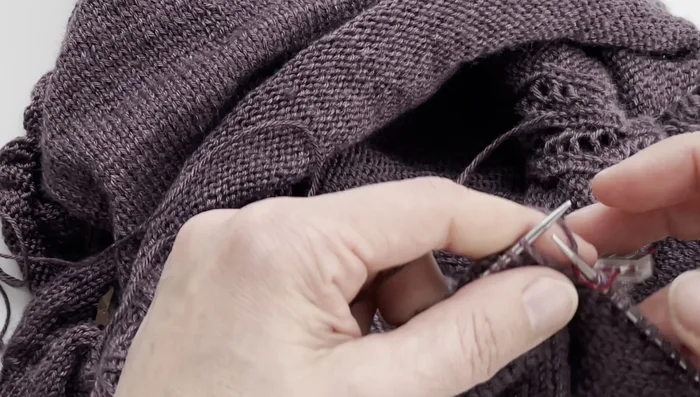
- Purl the next round to create a cleaner pickup seam.
- Begin ribbing (knit one, purl one).
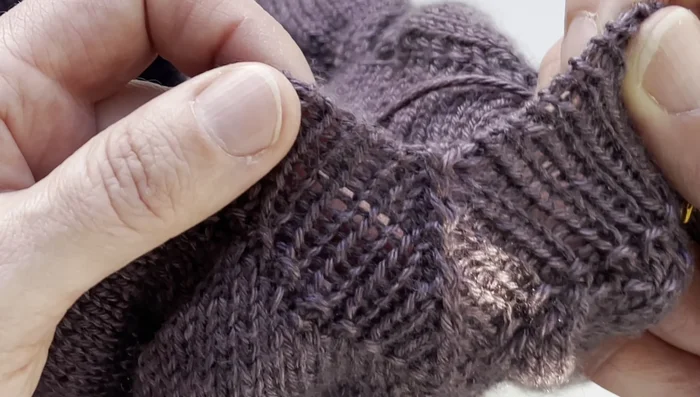
Initial Round and Ribbing Setup V-Neck Shaping
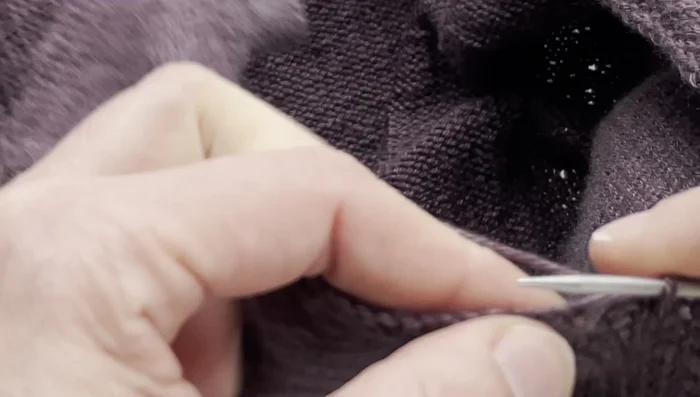
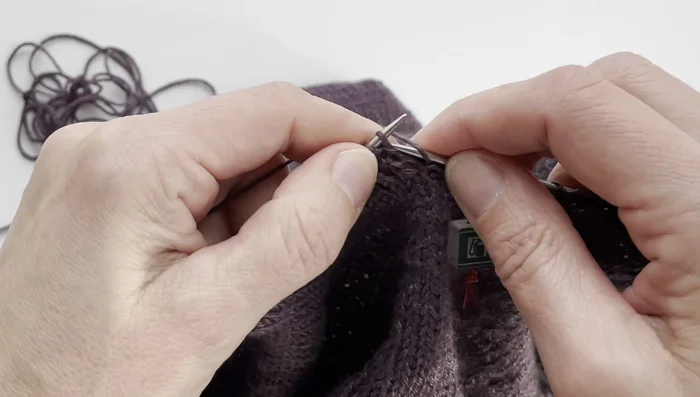
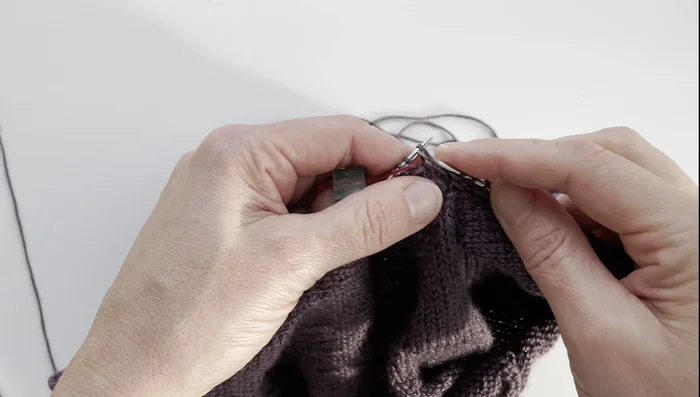
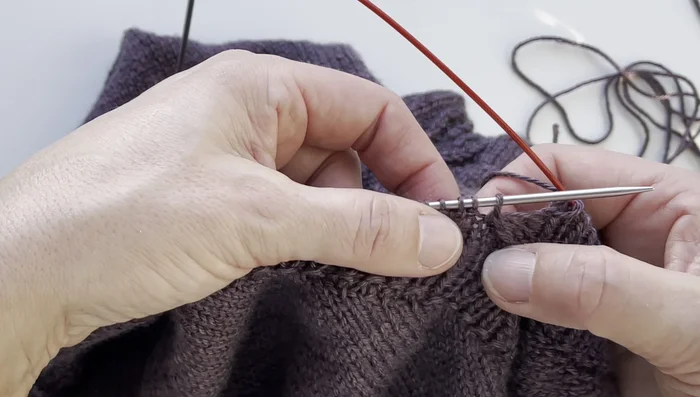
- On the next round, begin decreasing at the center stitch. Remove the marker.
- Perform a centered decrease over three stitches (sl1, k2tog, psso).
- Continue ribbing, performing the centered decrease at the end of each round until the desired v-neck depth is achieved.
V-Neck Shaping Ribbing Completion
- Work the ribbing to the desired length (approximately 1 inch or 2.5 cm).
Ribbing Completion Italian Bind-off Preparation
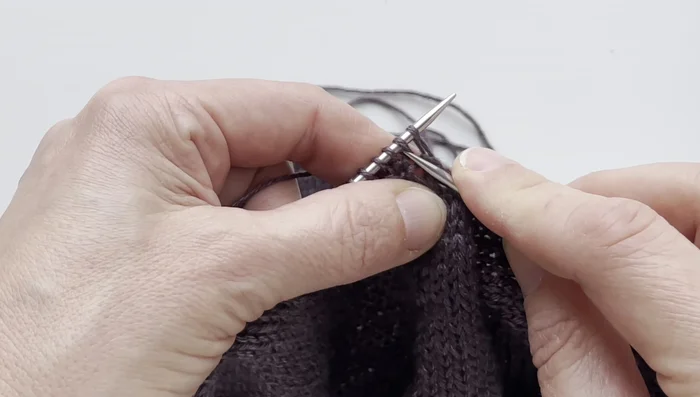
- Prepare for the Italian bind-off by ensuring the last row before binding off has a purl stitch next to the center stitch.
Italian Bind-off Preparation Binding Off and Finishing
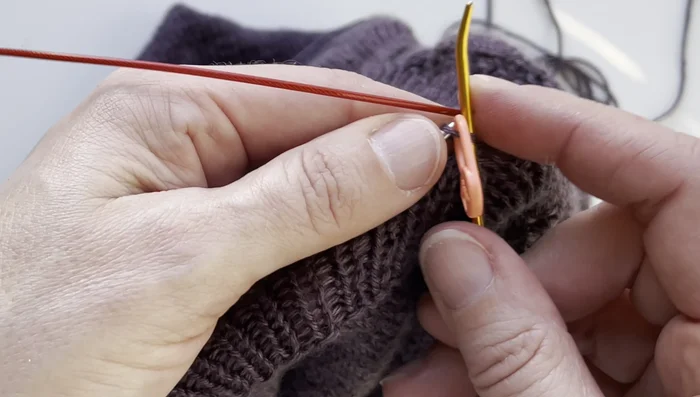
- Perform the Italian bind-off (tubular bind-off).
- Weave in the ends for a clean finish.
Binding Off and Finishing
Read more: Knitting a Reversible Basketweave Blanket: A Customizable Guide
Tips
- Using a purl round after picking up stitches creates a cleaner seam.
- Tighten the short end slightly while purling and again when weaving in the ends for a secure finish.
- Use a blunt needle for easier threading during the Italian bind-off.
- Pull the yarn tight during the Italian bind-off to close any gaps.