A sturdy utility stool is an invaluable addition to any home, workshop, or garage. Whether you need extra height for reaching high shelves, a stable platform for painting, or simply a convenient place to sit while working, a well-built stool offers unmatched versatility and practicality. Unlike flimsy store-bought options, a homemade stool allows for customization to your exact needs, ensuring durability and a perfect fit for your specific tasks. You can choose your preferred wood type, stain, and even add personalized touches like a comfortable padded seat. Building your own is surprisingly easier than you might think.
This comprehensive guide provides a clear and concise step-by-step process for constructing a robust utility stool from readily available materials. From selecting the right lumber to applying the finishing touches, we'll walk you through each stage, ensuring you end up with a durable and aesthetically pleasing piece that will last for years to come. Let's get started!
Preparation and Safety Guidelines
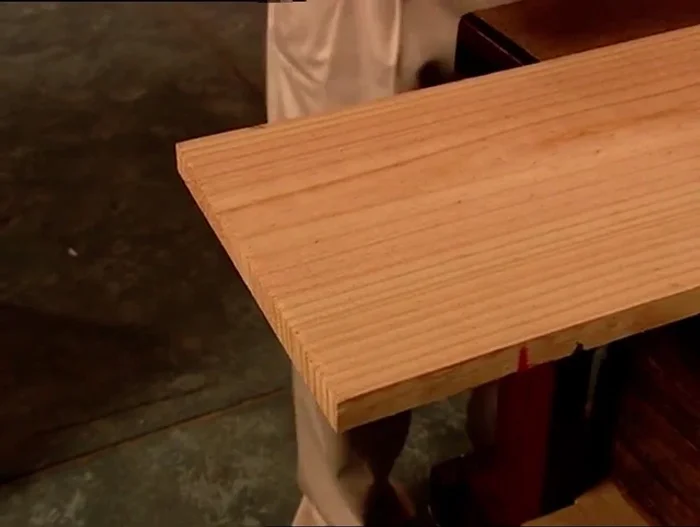
- Pine wood (70x30 dressed, 240x9 dressed)
- Drill bits (3mm, 4mm)
- Tape measure
- Sanding equipment
- 45mm & 55mm chipboard screws
- Set square
- Drill
- Screwdriver
- Wood glue
- Mitre saw
- Hand saw
- Always wear safety glasses to protect your eyes from flying debris during cutting and sanding.
- Use clamps to secure wood pieces firmly before drilling or screwing to prevent injury and ensure accurate joinery.
- Ensure the stool is stable and balanced before using it by testing it with your weight before applying significant load.
Step-by-Step Instructions
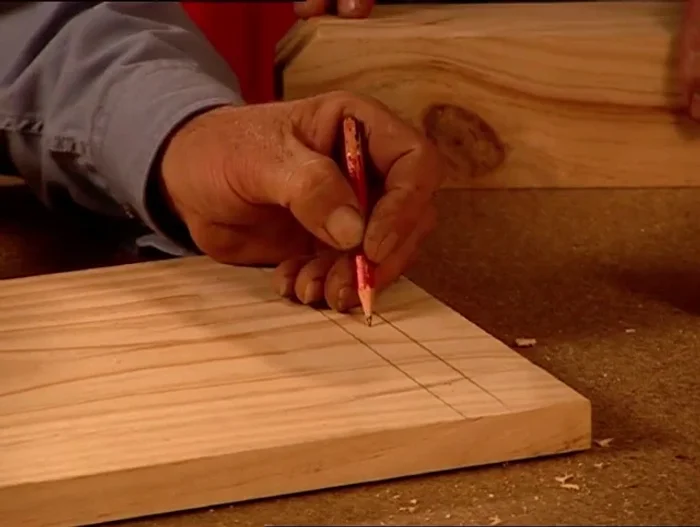
Prepare the Seat
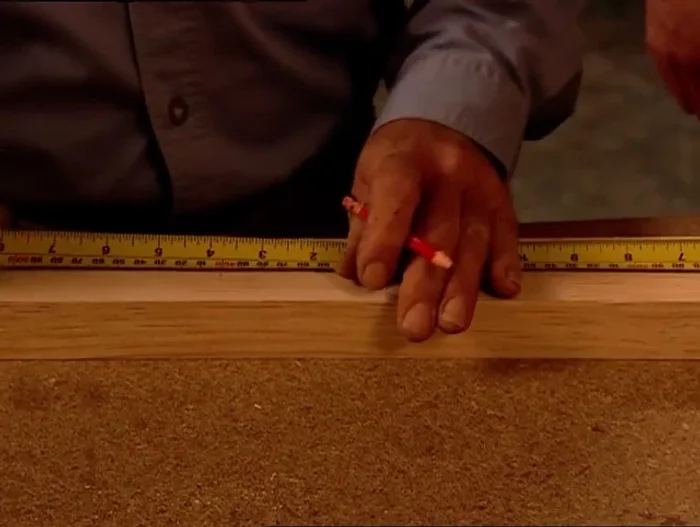
- Measure and mark the top of the seat at 400mm using a set square to ensure square ends.
- Cut the seat using a hand saw (or power saw if preferred).

Prepare the Seat Prepare the Legs and Overriders
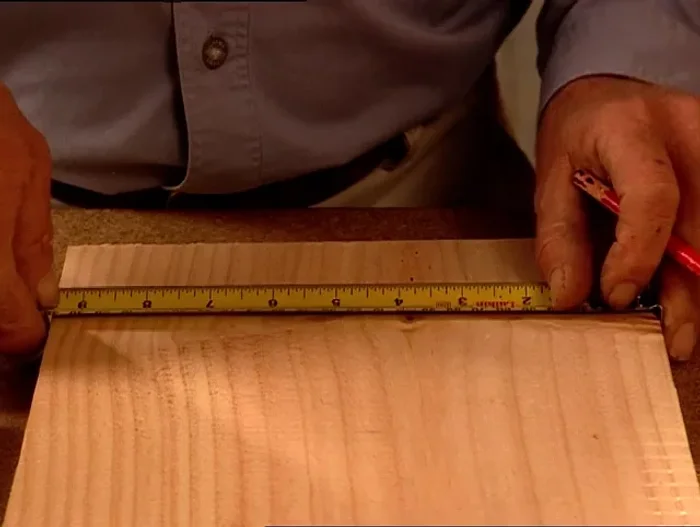
- Measure, mark, and cut the legs and overriders.
Prepare the Legs and Overriders Drill Leg Holes
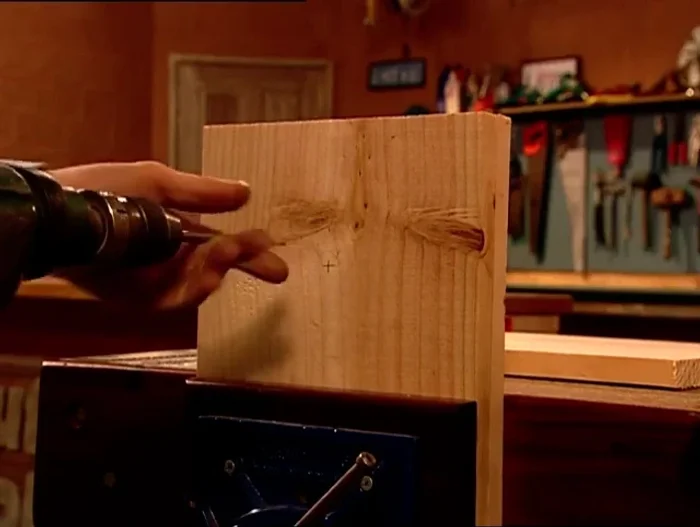
- Mark the position for the center hole on the legs.
- Drill a 15mm hole using a spade bit, ensuring the drill is square to the workpiece.
Drill Leg Holes Shape the Legs
- Cut out the keyhole patterns for the legs using a hand saw.
Shape the Legs Prepare for Assembly
- Mark and pre-drill all fixing holes using a 4mm bit for outer holes and a 3mm bit for inner holes.
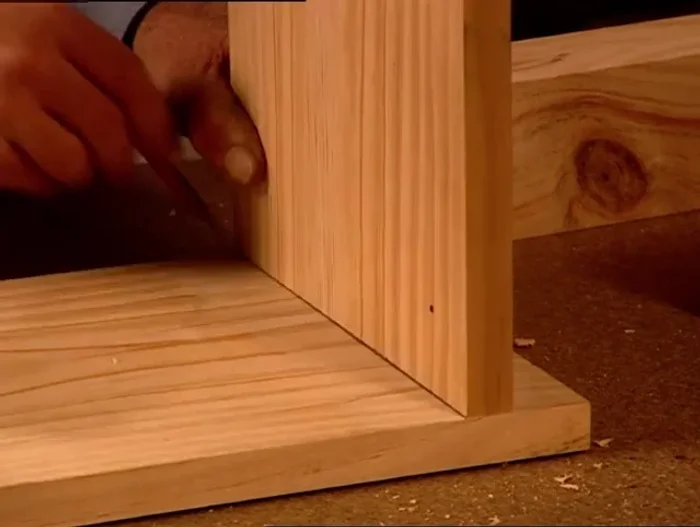
Prepare for Assembly Assemble the Stool
- Assemble the stool using wood glue and screws.
Assemble the Stool

Read more: Build a Stunning Black Walnut Coaster Set: The Ultimate Furniture Protector
Tips
- Use a sharp hand saw or power saw for cleaner, quicker cuts.
- Always check that your drill is square to the workpiece to ensure straight holes.
- Use chunky pine for strength and durability.
- Use Craftwood glue for a fast-setting, strong bond.
- Overriders add stability and safety to the stool.