The enduring symbol of commitment, the wedding ring, deserves to be as unique and lasting as the love it represents. A two-tone design, skillfully crafted, offers a captivating blend of metals, personality, and style, elevating this cherished piece beyond the ordinary. Imagine a ring that perfectly reflects your individual tastes, a harmonious fusion of golds, perhaps, or a striking contrast between silver and rose gold – a testament to your shared journey and a beautiful reflection of your combined personalities. The possibilities are endless, allowing for a truly personalized and unforgettable piece of jewelry.
This comprehensive guide will walk you through the process of creating a durable, stunning two-tone wedding ring, from selecting the perfect metals and designing your unique pattern to mastering the intricate techniques of metal joining and finishing. Let's delve into the step-by-step process, equipping you with the knowledge and confidence to forge a symbol of your enduring love that will stand the test of time.
Preparation and Safety Guidelines
- Pulse Arc Orion welder
- Pepe ring stretcher
- Sandblaster with 20 Micron glass beads
- Files
- Polishing tools
- Paracity Killer Burr
- Nanoceramic coating equipment
- Avoid ultrasonic cleaners: The different metal types in your two-tone ring may react differently to ultrasonic cleaning, potentially damaging the bond or causing discoloration. Hand-wash gently with mild soap and water.
- Regular inspection is key: Check your ring periodically for loose stones or signs of wear, particularly at the junction of the two metals. Address any issues promptly to prevent further damage.
- Consider professional maintenance: Schedule professional cleaning and inspection every 6-12 months to ensure the longevity and beauty of your two-tone wedding ring. They can also identify and address potential issues before they become serious.
Step-by-Step Instructions
Casting and Shaping
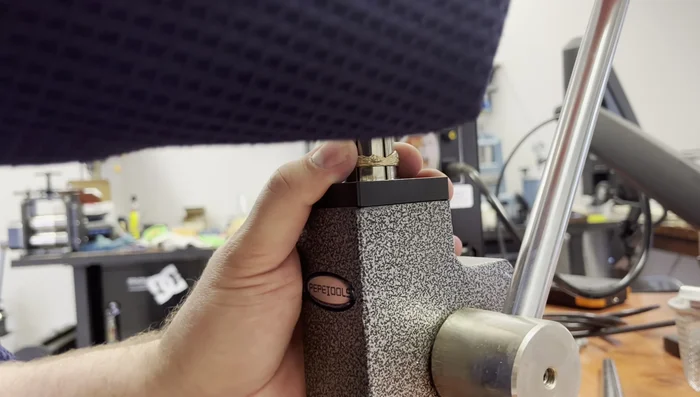
- Cast the outer part (mountains) in 14 karat gold and the shank in sterling silver.
- Use a ring stretcher to adjust the gold ring to the desired size, ensuring a pressure fit onto the sterling silver band.

Casting and Shaping Surface Preparation
- Sandblast the sterling silver with 20 Micron glass beads for a matte finish. High polish the gold shank for luster.
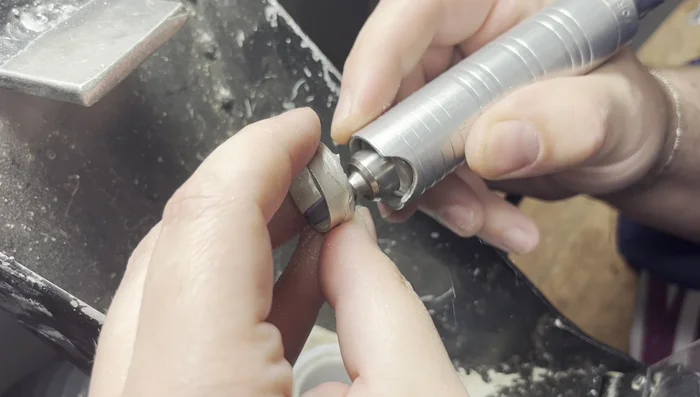
Surface Preparation Joining the Metals
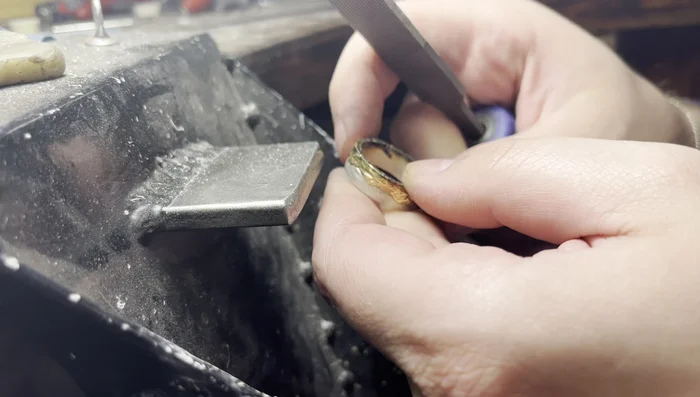
- Use a pulse arc welder with sterling silver filler wire, creating ground bevels for a seamless connection.
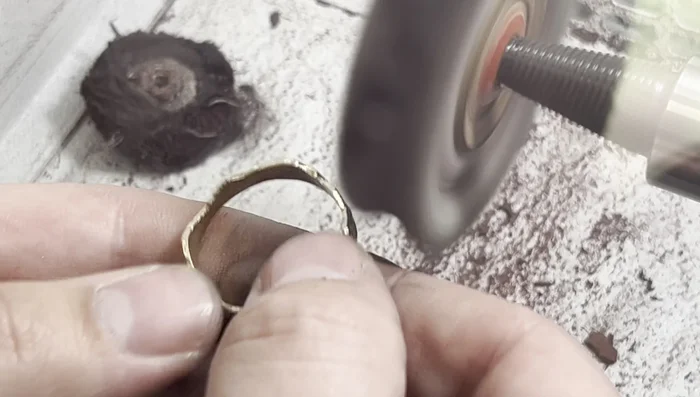
Joining the Metals Refining the Weld
- File and round/flatten weld marks. Grind in a comfort fit on the inside.
- Use a Paracity Killer Burr to burnish in any small imperfections without removing metal.
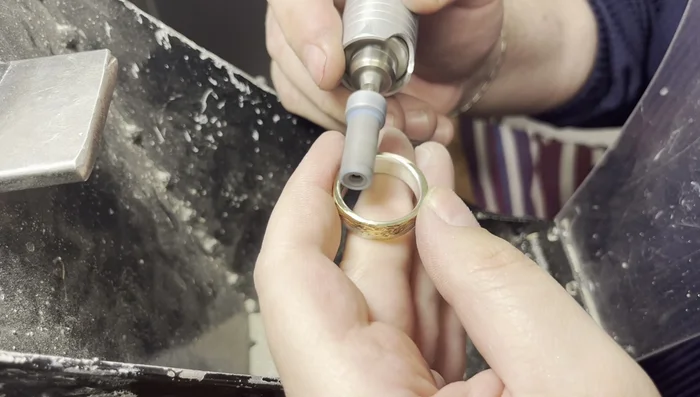
Refining the Weld Final Polishing
- Hand-finish the ring, using a buff for the gold component.
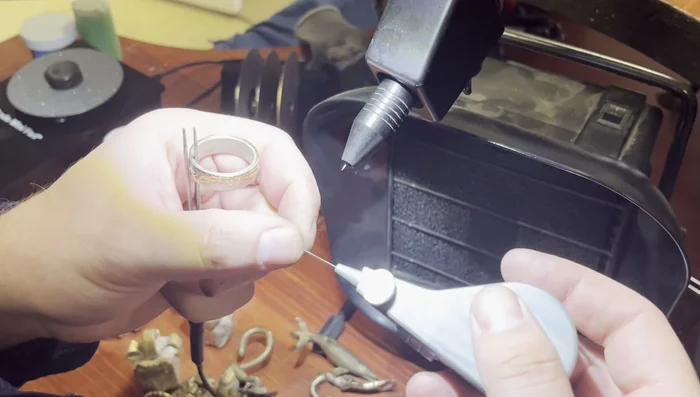
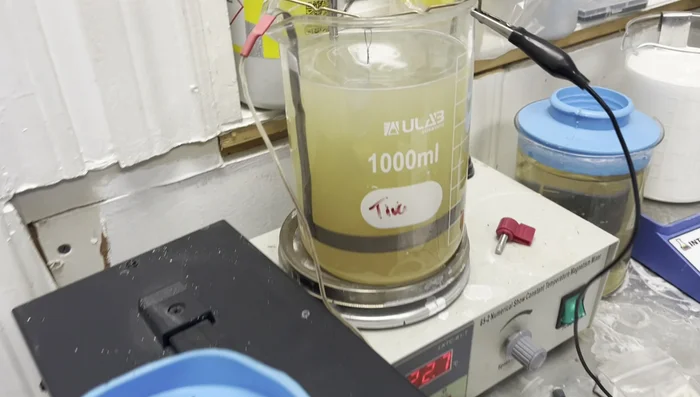
Final Polishing Nanoceramic Coating and Hardening
- Degas the ring, wash in distilled water, neutralize, and dry thoroughly. Apply the nanoceramic coating using a high-voltage plating solution (approximately 50 volts). Bake to harden the coating.
Nanoceramic Coating and Hardening
Read more: DIY Tiered Tassel Earrings: A Quick & Easy Jewelry Tutorial
Tips
- Consider the recipient's lifestyle when choosing materials and finishes. For an outdoorsy individual, a durable coating like nanoceramic is highly recommended.
- Using a Paracity Killer Burr can efficiently address minor surface imperfections after welding without significant metal removal.
- Nanoceramic coating requires specialized equipment and a high voltage (approximately 50 volts).