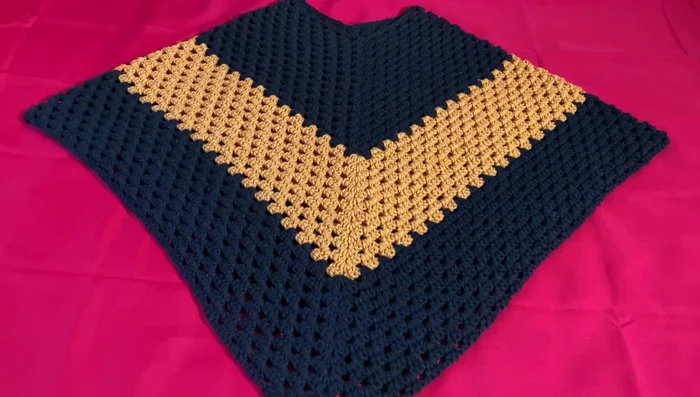
Get ready to conjure up some spooky style this Halloween with this enchanting two-tone crochet pancho! This project utilizes the ever-popular granny stitch, making it surprisingly easy to create even for beginners. Imagine wrapping yourself in a cozy, vibrant cloak featuring a captivating blend of Halloween colors – perfect for trick-or-treating, haunted house parties, or simply adding a touch of autumnal charm to your wardrobe. The simple yet effective granny stitch pattern allows for a beautiful, textured fabric that’s both visually appealing and wonderfully warm.
This pattern offers a fun and festive way to embrace the Halloween season with your crochet hook. The striking two-tone design adds depth and visual interest, making it a truly unique piece. For a detailed, step-by-step guide on how to create your own stunning Halloween pancho, simply follow the instructions below.
Preparation and Safety Guidelines
- Yarn (2 colors)
- 6mm Crochet Hook
- Scissors
- Use sharp scissors to cut yarn to avoid injury. Always keep scissors pointed away from yourself and others.
- Be mindful of the hook size and yarn weight recommended in the pattern. Using different materials can alter the finished size and drape.
- Ensure your work area is well-lit to prevent eye strain and to accurately see your stitches.
Step-by-Step Instructions
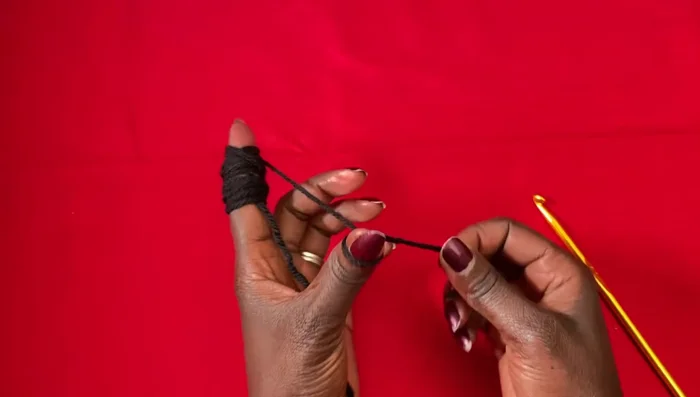
Create Neckline
- Create a foundation chain of 88 stitches. Secure with a slip stitch.
- Single crochet in the back loop of each chain stitch to form the neckline. Ensure the chain remains straight and flat.
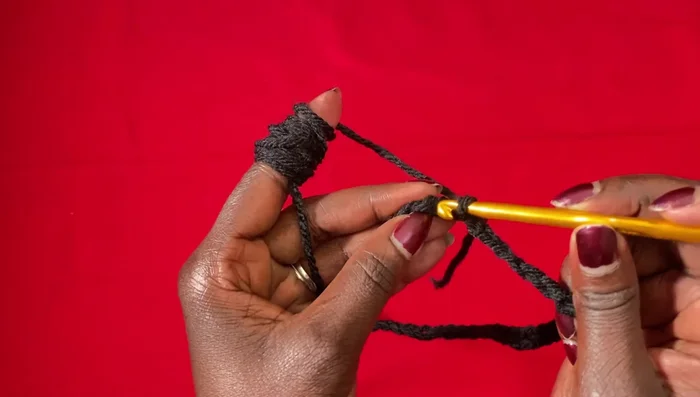
- Join the neckline with a slip stitch. This creates the neck opening of the poncho.

Create Neckline First Granny Stitch Row
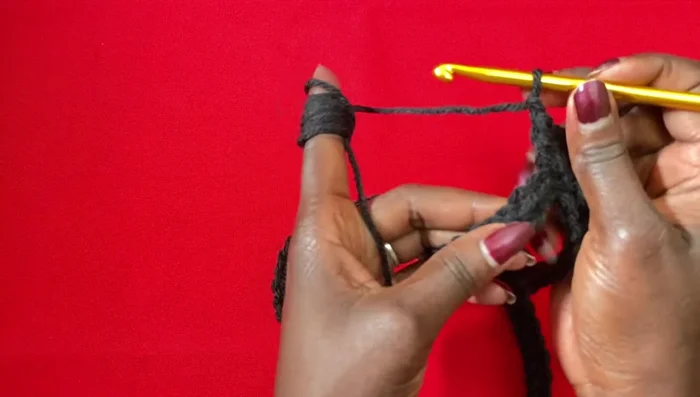
- Chain 2 (counts as a double crochet), then work 2 more double crochets in the same stitch. Chain 1, skip the next 3 stitches. In the fourth stitch, work 3 double crochets. Repeat this pattern across the row.
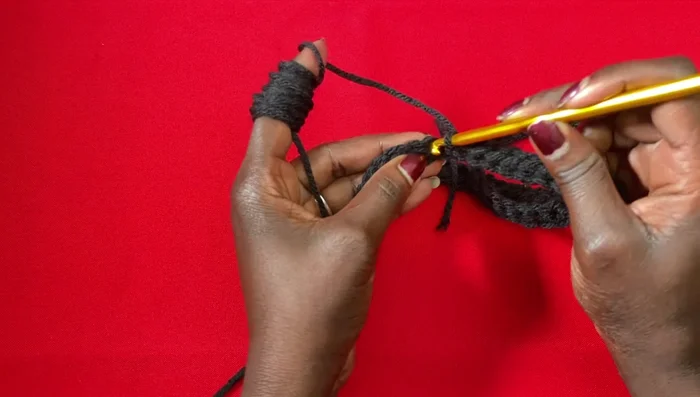
- Complete 10 granny stitch clusters. Create a corner by chaining 1, skipping 3 stitches, and working 3 double crochets in the fourth stitch, followed by a chain 1 and 3 more double crochets in the same space.
- Repeat step 4 and 5 on the other half of the row to create another corner and complete the row.
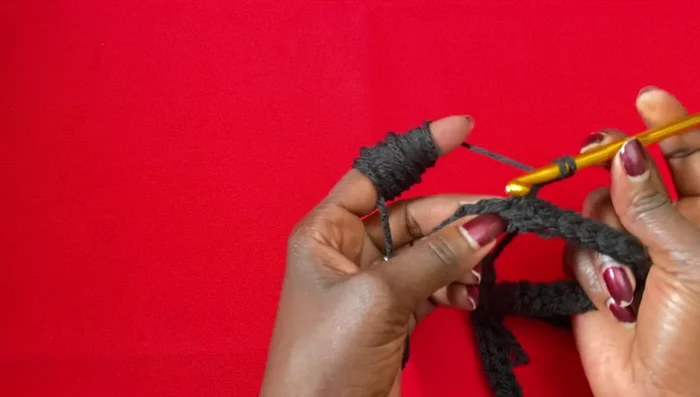
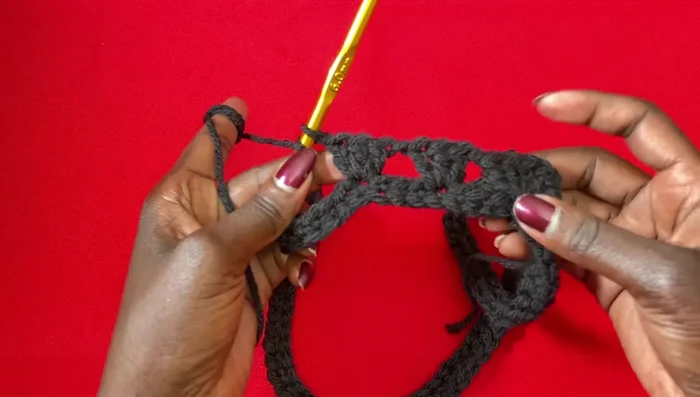
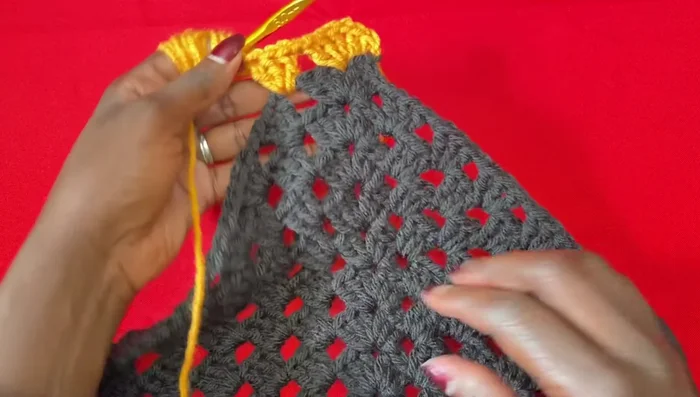
First Granny Stitch Row Repeat Granny Stitch Pattern (Black)
- Repeat step 4-6 for the desired number of rows (15 black rows in this example).
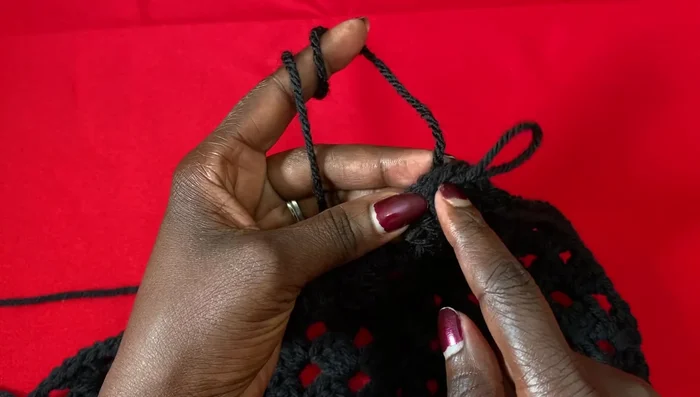
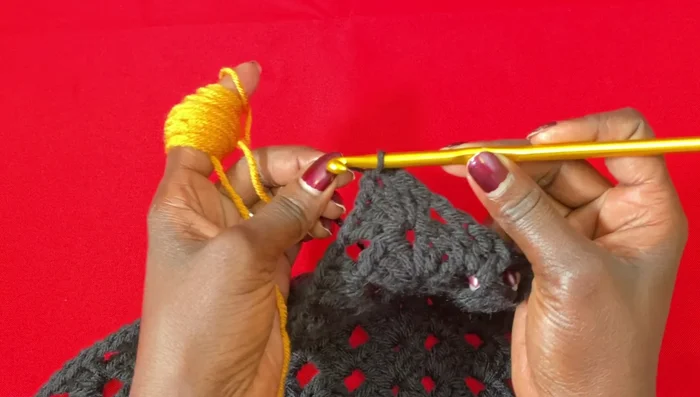
Repeat Granny Stitch Pattern (Black) Change to Orange/Curry Yarn
- Change yarn color by cutting the old yarn and weaving in the end. Begin the new color with a chain 1 and chain 2.
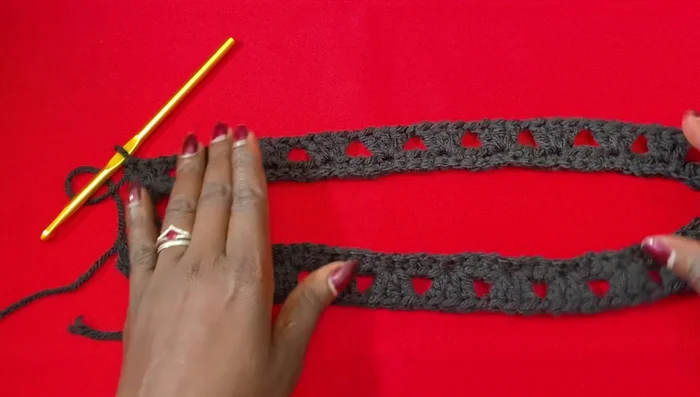
Change to Orange/Curry Yarn Granny Stitch Rows (Orange/Curry)
- Continue working granny stitches with the new color (10 rows of orange/curry in this example).
Granny Stitch Rows (Orange/Curry) Change to Black Yarn
- Change yarn color back to black and repeat step 7 for 10 rows.
Change to Black Yarn Final Granny Stitch Rows (Black)
- Change yarn color back to black and repeat step 7 for 10 rows.
Final Granny Stitch Rows (Black) Weave in Ends
- Finish by weaving in all loose ends.
Weave in Ends
Read more: Easy Color Block Crochet Blanket Tutorial for Beginners
Tips
- Keep your chain straight to prevent twisting.
- Adjust the initial chain length to control the neckline size.
- Maintain consistent tension throughout your work for even stitches.