Ever wanted to craft a cute and colorful bracelet without any complicated techniques? This easy DIY tutorial will show you how to create a charming two-color candy stripe bracelet using simple materials you likely already have at home! Forget expensive jewelry – this project is perfect for beginners, kids, and anyone looking for a fun and satisfying craft to tackle in an afternoon. The vibrant stripes add a playful touch, making it a great accessory for summer or a delightful homemade gift. Think bright pinks and blues, classic reds and whites, or any combination that sparks your creativity.
This adorable bracelet requires minimal supplies and only a few easy-to-follow steps. Get ready to unleash your inner artisan because we're about to dive into the detailed, step-by-step instructions that will have you proudly wearing your handmade candy stripe bracelet in no time! Let’s get started!
Preparation and Safety Guidelines
- DMC embroidery floss (2 colors)
- Tape
- Always supervise young children when using small crafting items like beads or cord to prevent choking hazards.
- Ensure the cord you use is strong enough to hold the weight of the beads and won't easily break or fray. Test a sample before starting your bracelet.
- If experiencing any allergic reaction to materials used, stop immediately and seek medical advice.
Step-by-Step Instructions
Measure and Prepare Floss
- Use a wingspan length (arm across chest to fingertips) for each of your two colors. Make two strands of each color.
- Tie the two ends of the floss of the same color together at one end. Leave some extra length for tying off later.

Measure and Prepare Floss Secure the Floss
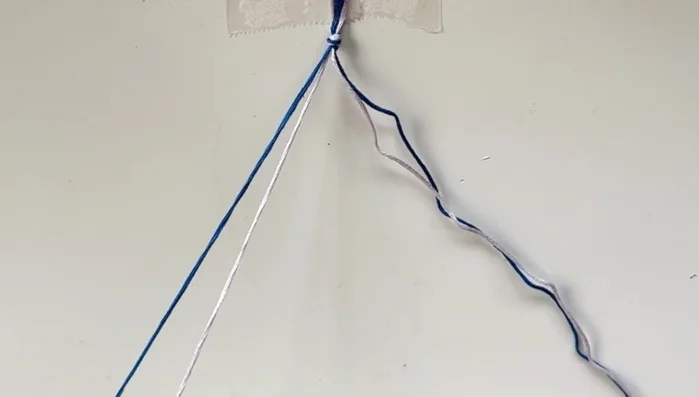
- Secure the knotted ends of the floss with tape.
Secure the Floss Begin Knotting
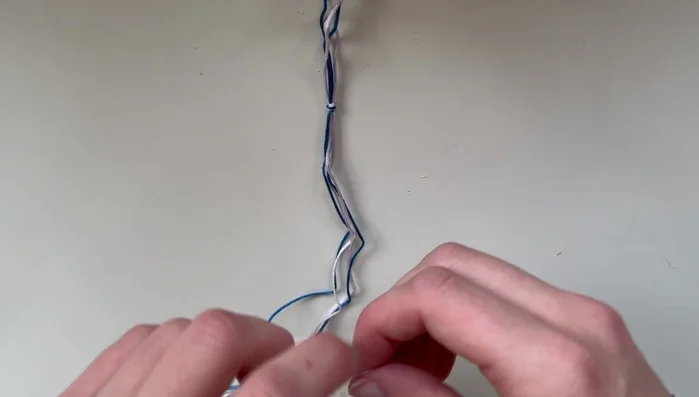
- Begin by using a forward knot (explained in the video) alternating between your two colors. Use one string as the base and the other as the leading string. Always make each knot twice.
Begin Knotting Create Candy Stripe Pattern
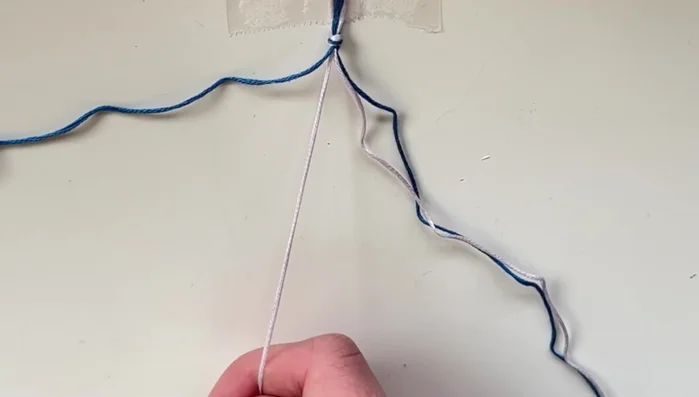
- Repeat the knotting process, alternating colors in a stripe pattern across the bracelet. Each color will become the base string and leading string in a pattern.
- Continue knotting rows, creating the candy stripe pattern. Monitor the length of the bracelet to ensure it fits your wrist.
Create Candy Stripe Pattern Finish and Decorate
- Once the bracelet is the desired length, tie off the end with a knot. (Optional: Add decorative ties.)
Finish and Decorate


Read more: DIY Tiered Tassel Earrings: A Quick & Easy Jewelry Tutorial
Tips
- Watch the basic knots video for a refresher on forward knots.
- Regularly check bracelet length against your wrist.