Elevate your jewelry collection with a touch of handmade elegance using this easy tutorial for a DIY twisted wire bar necklace. Forget expensive designer pieces; you can create a stunning, sophisticated statement necklace right at home with minimal materials and surprisingly simple techniques. This project is perfect for beginners, requiring only basic jewelry-making tools and a little patience, resulting in a piece that's both chic and uniquely yours. The delicate twist adds an unexpected level of artistry, transforming simple wire into a captivating accessory.
This simple yet stylish necklace is surprisingly easy to craft, and you’ll be amazed at how quickly you can create a piece that looks far more complicated than it actually is. Ready to transform plain wire into a beautiful, wearable work of art? Let's dive into the step-by-step process, guiding you through each stage of creating your own elegant twisted wire bar necklace.
Preparation and Safety Guidelines
- Round nose pliers
- Chain nose pliers
- Flush cutters
- Ruler
- Steel bench block
- Jeweler's hammer
- 20 gauge round dead soft wire
- 24 gauge round dead soft wire
- Stone (optional, top-drilled briolette recommended)
- Fine cable chain (2-3mm)
- Jump rings (2.5-3mm inner diameter)
- Clasp (spring ring, lobster clasp, or decorative clasp)
- Always wear safety glasses when working with wire to protect your eyes from flying debris.
- Use caution when working with sharp tools like wire cutters. Cut away from yourself and keep fingers clear.
- If using any metal other than sterling silver or gold-filled wire, be sure it's non-toxic and suitable for jewelry making to avoid skin reactions.
Step-by-Step Instructions
Prepare the Wire
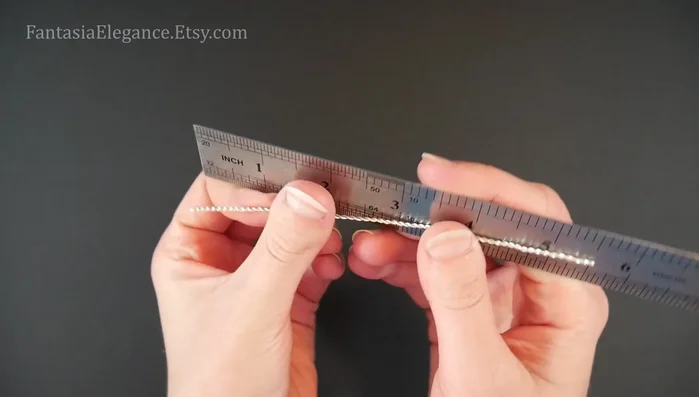
- Cut a 13-inch piece of 20-gauge wire for the twisted center part and two 3.5-inch pieces for the decorative overlays.

Prepare the Wire Twist the Center Wire
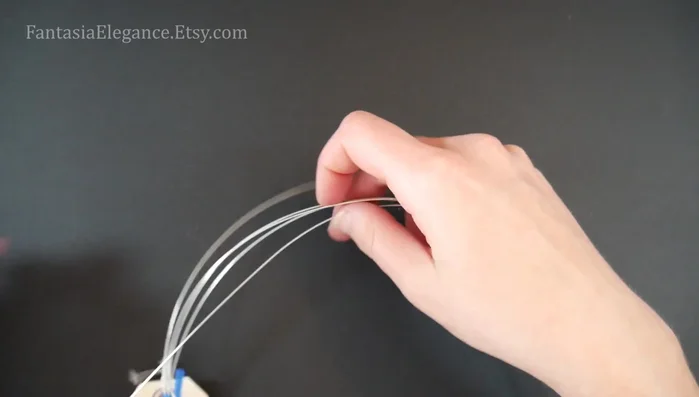
- Bend the 13-inch wire in half, cross the ends, and twist tightly from the center to the ends using chain nose pliers.
Twist the Center Wire Shape the Center Piece
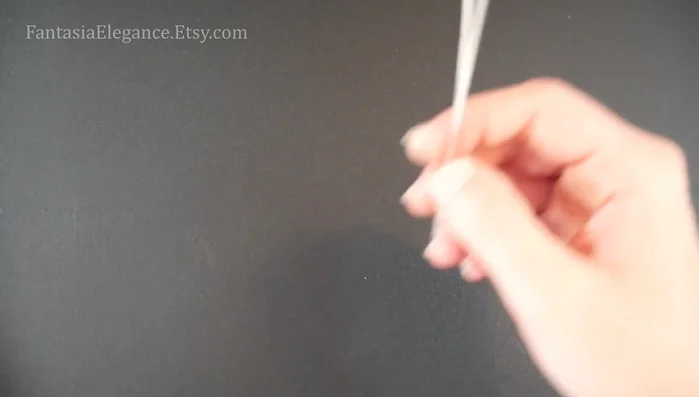
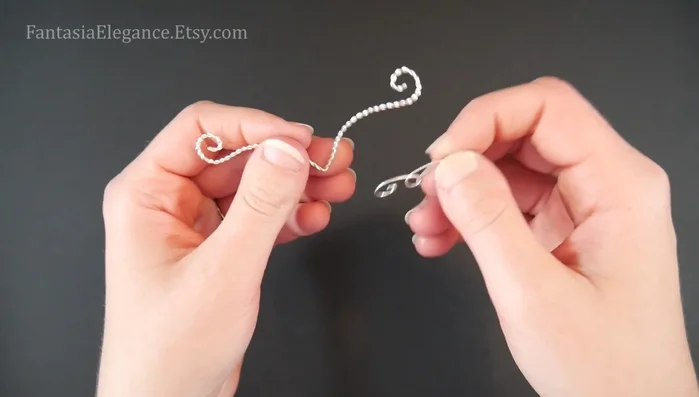
- Bend the twisted wire in half again at the 2.75-inch mark to create a V-shape. Gently shape the wire into a wave-like form, curling the ends into open spirals using round nose pliers.
Shape the Center Piece Create the Overlay Swirls
- Shape the two 3.5-inch pieces of wire into similar open spirals at one end, and then bend them into teardrop shapes with an open spiral on the other end.
Create the Overlay Swirls Hammer the Overlays
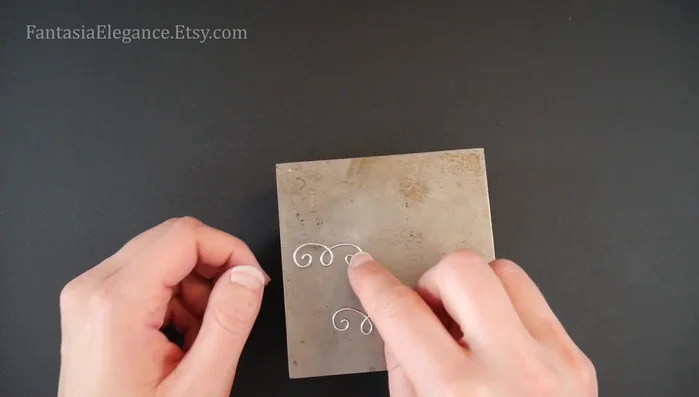
- Gently hammer the swirls of the overlay pieces using a jeweler's hammer and steel bench block to flatten them slightly, reshaping after hammering each piece to maintain symmetry.
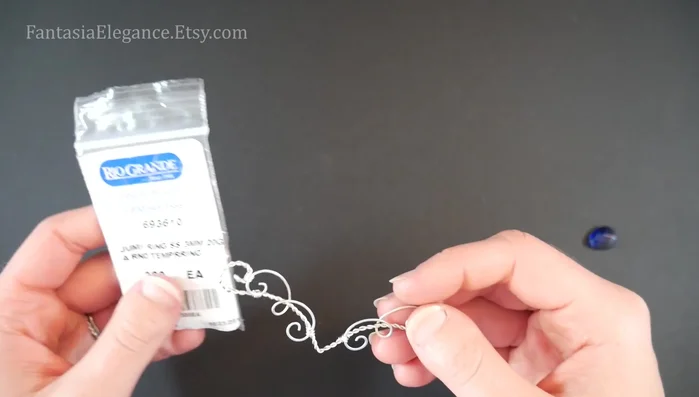
Hammer the Overlays Assemble the Necklace
- Position the overlay pieces on top of the center piece, ensuring proper alignment. Use short lengths of 24-gauge wire to bind the pieces together at the points where they overlap, using 3-5 wraps for each connection point.
Assemble the Necklace Add the Stone (Optional)
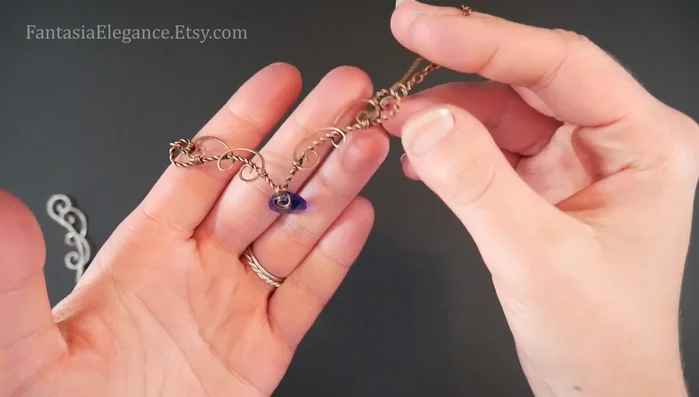
- Attach a top-drilled briolette or your preferred stone to the center.
Add the Stone (Optional) Attach the Chain and Clasp
- Attach a fine cable chain (2-3mm) to each end of the design using jump rings (2.5-3mm inner diameter). Add a clasp of your choice.
Attach the Chain and Clasp

Read more: DIY Tiered Tassel Earrings: A Quick & Easy Jewelry Tutorial
Tips
- Use a drill to speed up the twisting process.
- Solder the ends of the twisted wire for a more secure finish (optional).
- Use your fingers to smooth out kinks in the wire to avoid tool marks.
- Use the first hammered overlay as a template to shape the second one correctly before hammering.
- Take the bottom of the V-shape as the center point when measuring for chain length.