Wrap your little one in the softest, most beautiful blanket imaginable with this easy-to-follow Wildflower Baby Blanket tutorial! Using a simple yet stunning Trinity stitch, this project is perfect for crocheters of all skill levels, from beginners seeking a rewarding first project to experienced crafters looking for a quick and charming gift. The vibrant, wildflower-inspired color palette adds a touch of whimsical charm, making it a treasured keepsake for years to come. Imagine the joy of cuddling your baby against this handcrafted creation, knowing you poured your love and skill into every stitch.
This delightful blanket is crocheted using a repeating Trinity stitch pattern, creating a textured and visually appealing fabric. Prepare to be amazed by how quickly this pattern works up – and get ready to dive into the detailed, step-by-step instructions that will guide you through each stage of creating your very own Wildflower Baby Blanket. Let's begin!
Preparation and Safety Guidelines
- Bernat Softy Cotton yarn (Golden color)
- 5.5 mm (I) crochet hook
- 5 mm crochet hook (optional, for starting chain)
- Always supervise young children around blankets and yarn to prevent choking hazards from small parts.
- Use only washable, non-toxic yarn suitable for baby items. Check yarn labels for certifications like Oeko-Tex Standard 100.
- Ensure the finished blanket is large enough to prevent the baby from becoming entangled. Avoid loose or long yarn ends.
Step-by-Step Instructions
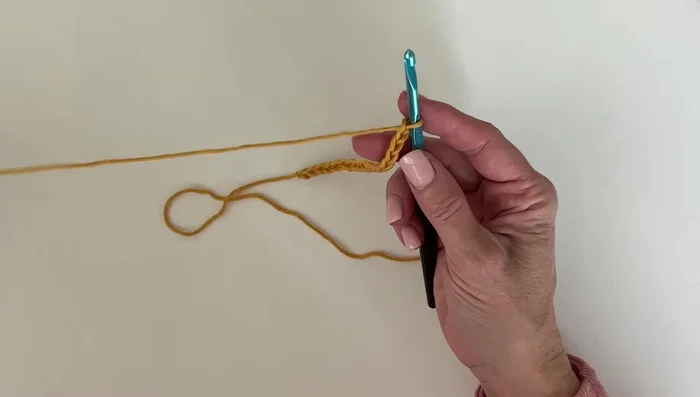
Foundation Chain
- Start with an even number of chains. For the sample, 20 chains are used with a 5 mm hook, but 110 chains were used for the actual blanket.

Foundation Chain First Row: Trinity Stitch
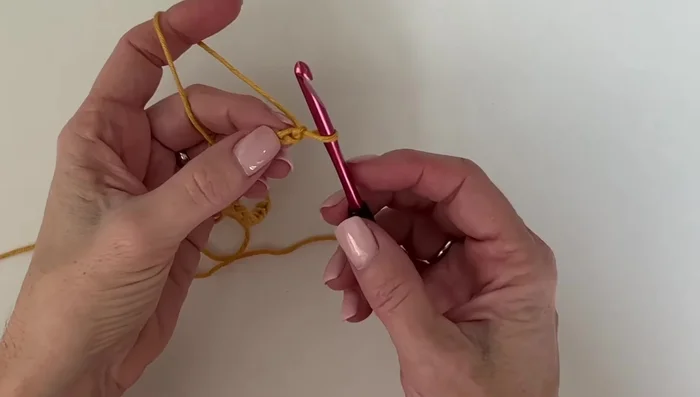
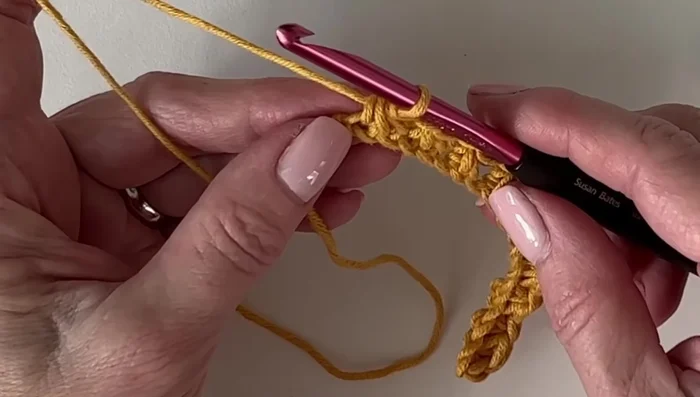
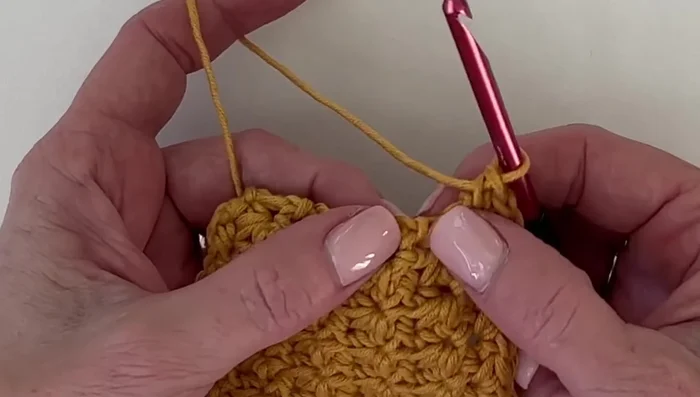
- Begin in the second chain from the hook with a single crochet.
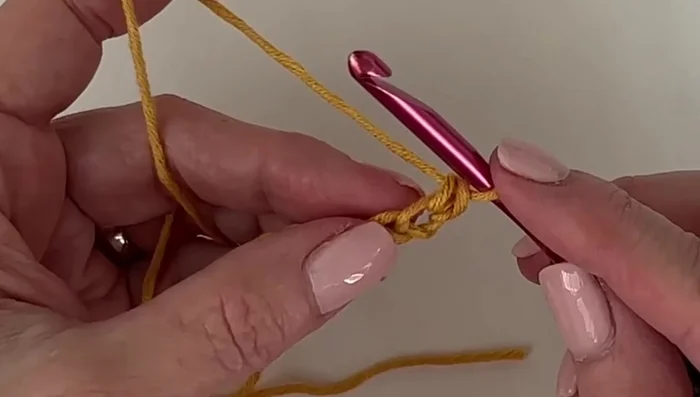
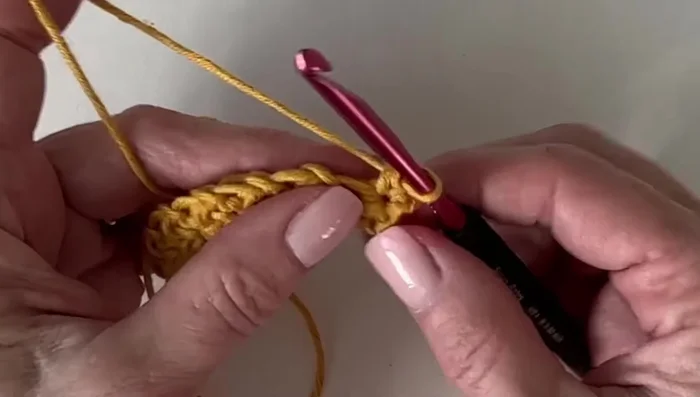
- insert hook into the base of the stitch, pull up a loop, then work into the second and third stitches. Yarn over and pull through all four loops.
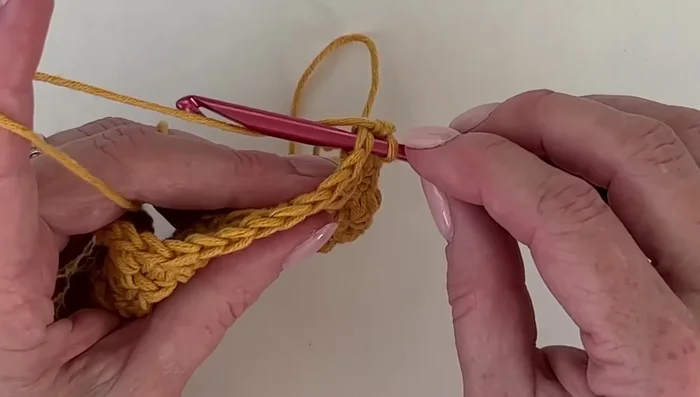
- Chain one. Repeat step 3, always beginning in the last stitch you just completed.
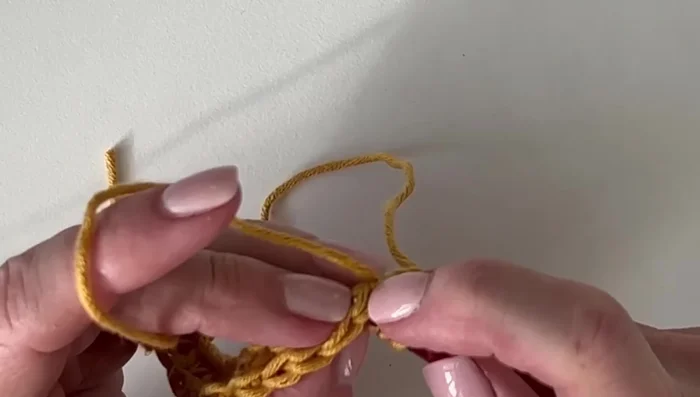
- On the last stitch of the row, do NOT chain one; instead, single crochet directly into it. Chain one and turn.
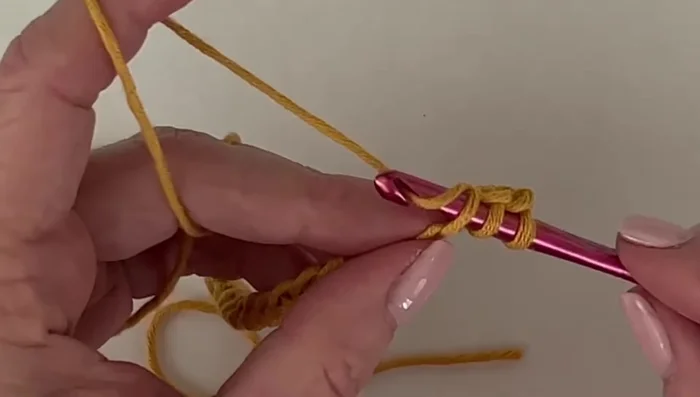
First Row: Trinity Stitch - Repeat steps 3-5 across the row. Remember to keep the chains loose.
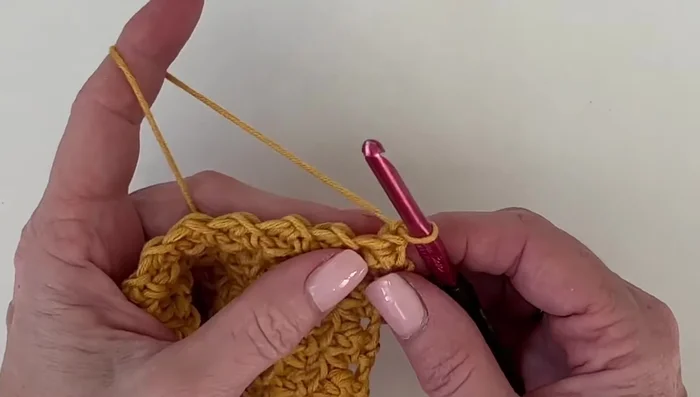
First Row: Trinity Stitch Subsequent Rows: Trinity Stitch
- Continue working rows until the desired length is reached. The blanket in the tutorial was worked to approximately 34 inches.
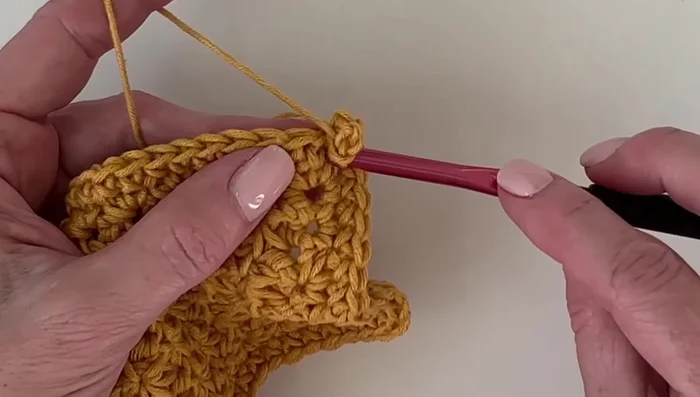
Subsequent Rows: Trinity Stitch First Border Round: Single Crochet
- Chain one and turn. Work one round of single crochet. Work two single crochets into the next stitch (skipping the chain from the previous round) and continue this pattern around. On the last stitch, work only one single crochet.
- For the corners, work three single crochets into the corner stitch.
First Border Round: Single Crochet Second Border Round: Cross Stitch
- Instead of yarn over and pulling through, hook over the yarn to create a cross-stitch effect. This creates a slightly puffy and textured border.
Second Border Round: Cross Stitch Pico Border
- Chain three, single crochet into the base of the chain to create a small loop (Repeat for desired spacing around the blanket).
Pico Border
Read more: Easy Color Block Crochet Blanket Tutorial for Beginners
Tips
- Practice swatching to determine the best hook size for your yarn and desired tension. A larger hook size might be needed for the Trinity stitch to prevent tightness.
- Keep chains loose throughout the process to make working into them easier.
- Remember the crucial chain one after the Trinity stitch, but omit the chain one at the end of each row before turning.
- A method for securing the ends is to work them into the final border stitches instead of weaving them in.
- Adjust the spacing of the Pico border to your preference; closer together creates a denser look.