Triangular pockets. They sound simple enough, yet adding this seemingly small detail to a cardigan can elevate the entire garment, transforming a basic design into a stylish and personalized piece. These pockets, with their subtly angled shape, offer a unique aesthetic appeal that flat, square pockets simply can't match. Whether you're a seasoned knitter looking for a new challenge or a beginner ready to tackle a more intricate project, mastering the art of knitting triangular cardigan pockets will significantly enhance your knitting repertoire and allow you to craft truly bespoke pieces.
This guide provides a comprehensive, step-by-step approach to knitting these elegant pockets, perfect for adding a touch of sophistication to your next cardigan project. From casting on and shaping the triangle to seamlessly integrating it into your main fabric, we'll cover every stage with clear instructions and helpful illustrations, so get ready to discover the satisfying process of knitting your own unique triangular cardigan pockets.
Preparation and Safety Guidelines
- Knitting needles
- Yarn
- Use sharp scissors to avoid snagging your yarn. Carefully cut your yarn ends to prevent them from unraveling and becoming loose ends in your finished pocket.
- Ensure your gauge matches the pattern to avoid size discrepancies. Inaccurate gauge can result in pockets that are too small or too large for your cardigan.
- Weave in all ends securely to prevent them from pulling loose. Leaving loose ends can compromise the structural integrity of your pocket and the cardigan.
Step-by-Step Instructions
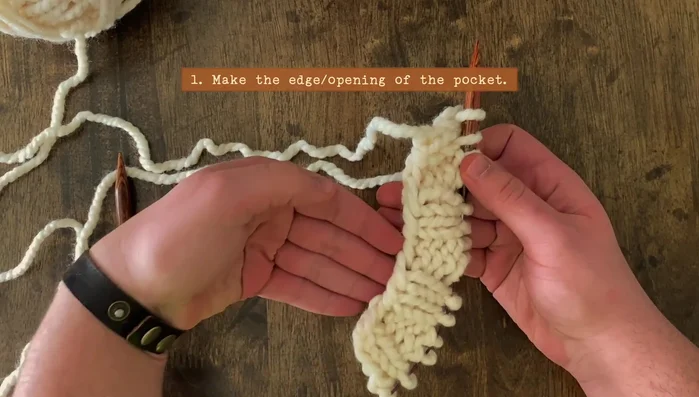
Create the Pocket Opening
- Create the pocket opening ribbing.

Create the Pocket Opening Pick Up Initial Stitches
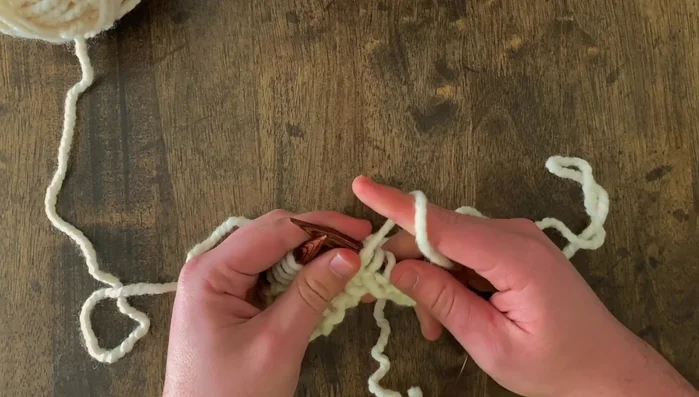
- Pick up stitches along the edge of the ribbing (3 stitches recommended).
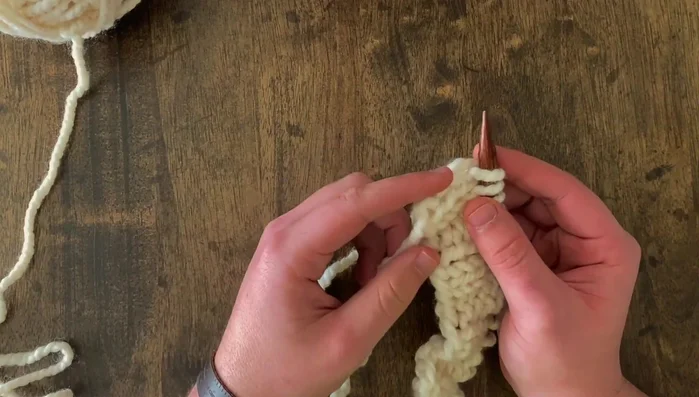
Pick Up Initial Stitches Create Pocket Top
- Cast on stitches for the top of the pocket (3 stitches recommended using the backward loop cast on).
Create Pocket Top Determine Pocket Orientation
- Determine if you are creating a left or right pocket based on the placement of the picked-up and cast-on stitches (purl the picked-up and cast-on stitches on the first row for a left pocket).
Determine Pocket Orientation Shape the Pocket Body with Short Rows
- Work short rows to shape the pocket body. Use double stitches at the turning points for clean shaping.
Shape the Pocket Body with Short Rows Pick Up Final Stitches
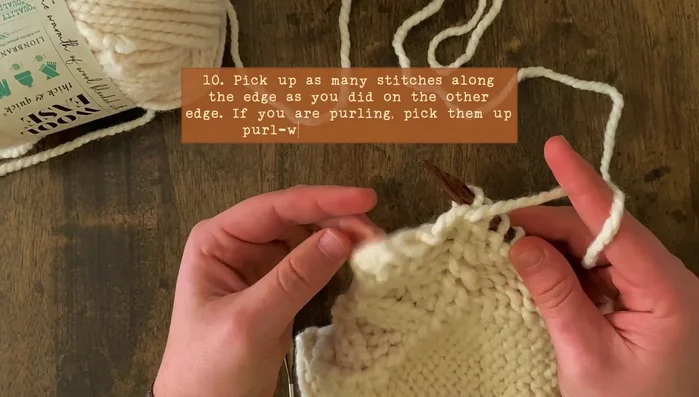
- Pick up stitches along the opposite edge of the ribbing (3 stitches recommended).
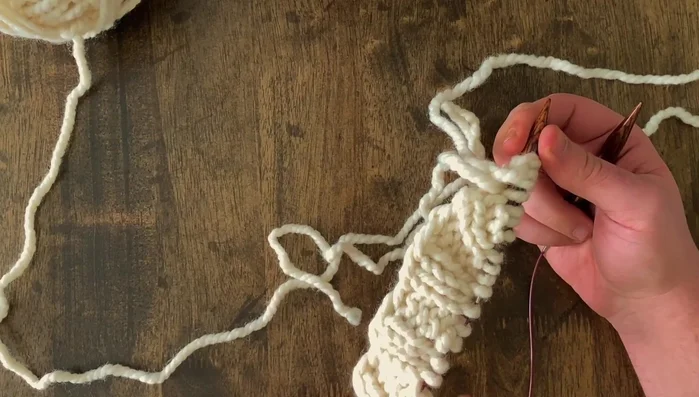
Pick Up Final Stitches Knit to Desired Height
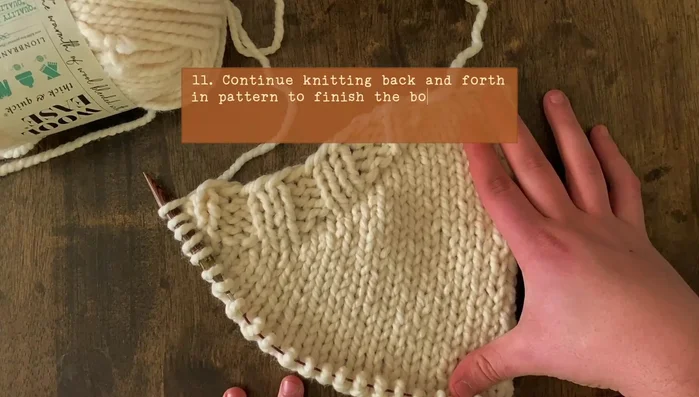
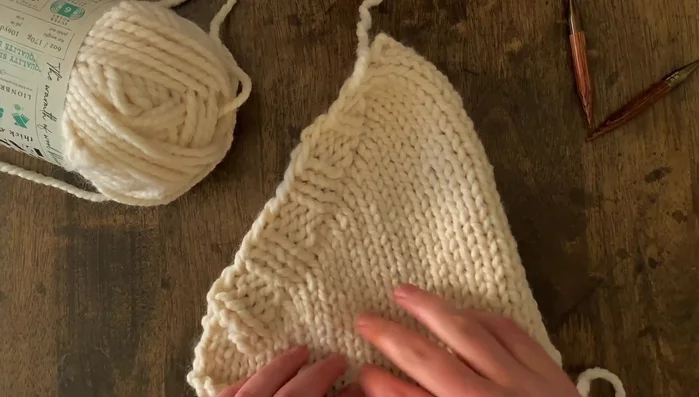
- Knit back and forth until the pocket is the desired height.
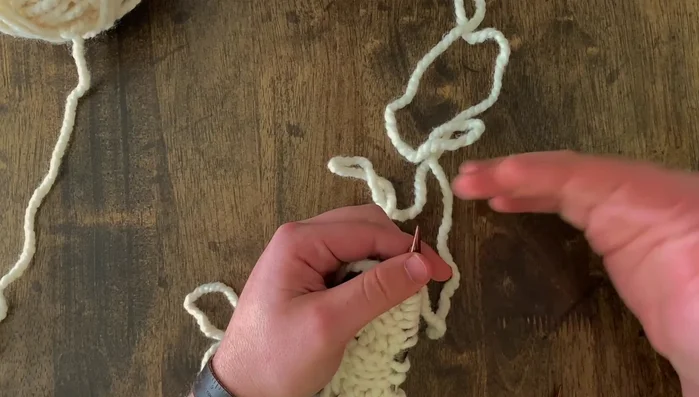
Knit to Desired Height Bind Off and Prepare for Seaming
- Bind off all stitches. Leave long tails for seaming.
Bind Off and Prepare for Seaming Sew the Pocket to the Cardigan
- Sew the pocket onto the garment, ensuring the cast-on edge and bottom edge are horizontal.
Sew the Pocket to the Cardigan
Read more: Knitting a Reversible Basketweave Blanket: A Customizable Guide
Tips
- The first row after picking up and casting on stitches determines if it's a left or right pocket. Purl for a left, knit for a right.
- Leave long tails (3-4 feet) for easy sewing.