Knitting a raglan sweater top-down is a rewarding experience, offering unparalleled customization and a satisfying sense of accomplishment. This classic construction method allows for perfect fit adjustments as you go, eliminating the guesswork and frustration often associated with traditional sweater knitting. The seamless nature of top-down raglan construction means fewer seams to sew, resulting in a beautifully finished garment with clean lines and a professional look. Forget wrestling with complicated shaping techniques; this method simplifies the process, making it accessible to knitters of all skill levels, from confident beginners to seasoned experts.
This ultimate guide will walk you through every step, from casting on and creating the raglan increases to shaping the neckline and finishing the sleeves. Prepare to discover the joy of crafting a perfectly fitting, stylish sweater tailored precisely to your preferences, and let's begin with a detailed, step-by-step process to knitting your dream raglan sweater.
Preparation and Safety Guidelines
- Yarn
- Needles
- Use stitch markers diligently to track raglan increases and differentiate pattern sections. Misplaced markers can lead to significant shaping errors.
- Gauge swatching is essential before beginning. Raglan sweaters rely on precise increases and decreases; incorrect gauge will drastically alter the fit and final dimensions.
- Work slowly and thoughtfully, especially during increase rounds. Rushing can cause mistakes that are difficult to correct later in the project.
Step-by-Step Instructions
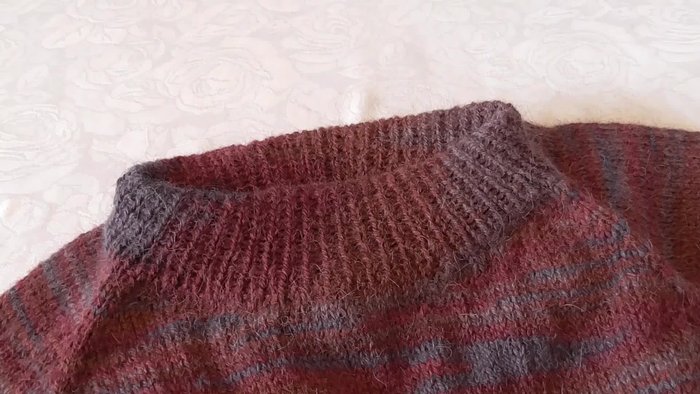
Prepare the Neckband
- Cast on stitches and knit ribbing (K1, P1) for the neck.
- Change to larger needles and knit one round in stockinette stitch. Add increases evenly around.
- Place markers to separate sleeve stitches from the back and front pieces. Place a marker to indicate the front.

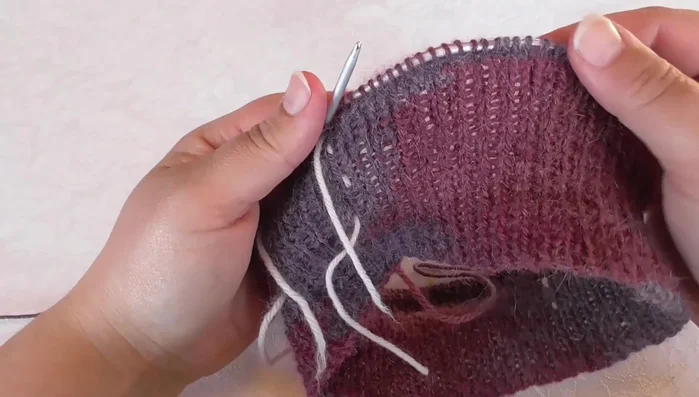
Prepare the Neckband Shape the Neck and Begin Raglan Increases
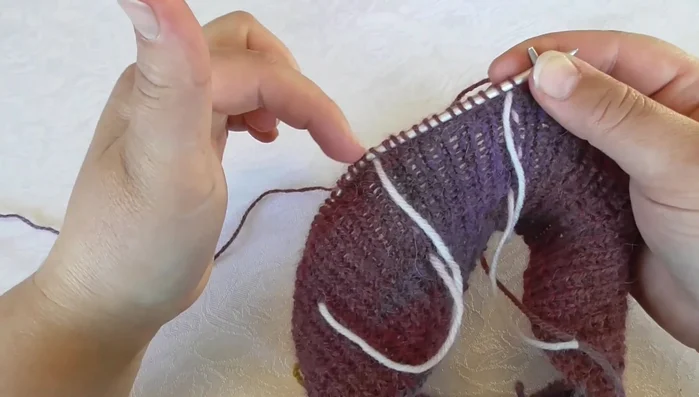
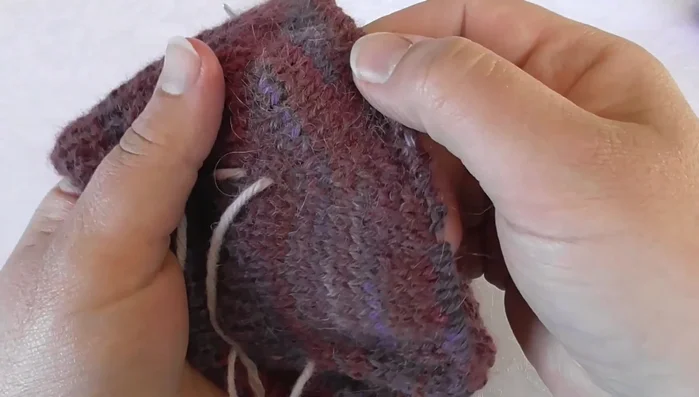
- Shape the neck opening using short rows, primarily over the sleeve and back stitches. Knit short rows back and forth to create a higher back and a lower, rounder front.
- Knit four stitches of the front piece, then turn the work. (The exact number of front stitches will depend on your pattern.)
- Slip one stitch, move yarn to the back, slip stitch back onto the left needle, turn. Purl back across sleeve and back stitches. Then, purl the last two stitches and continue to the next section.
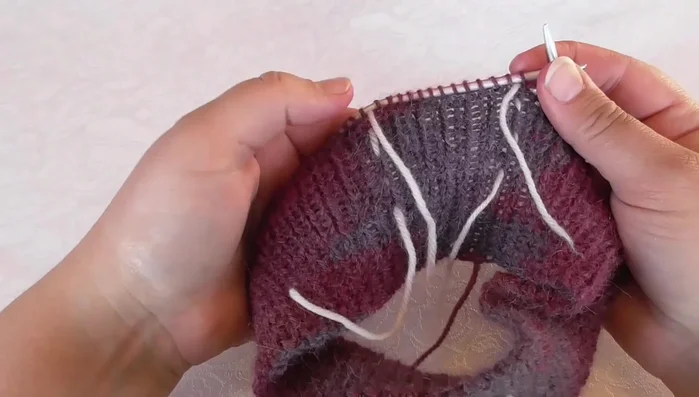
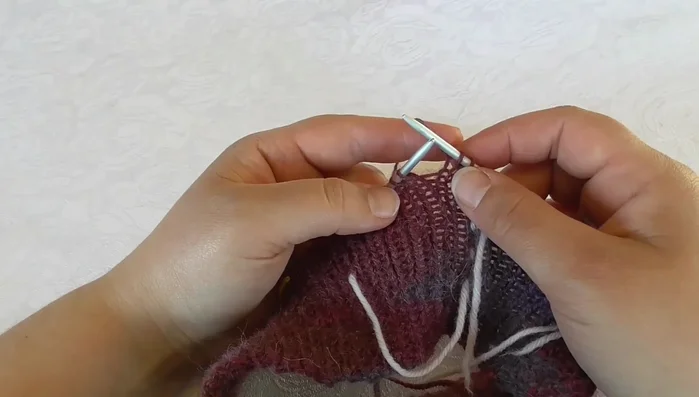
Shape the Neck and Begin Raglan Increases Short Rows and Raglan Increases (First Half)
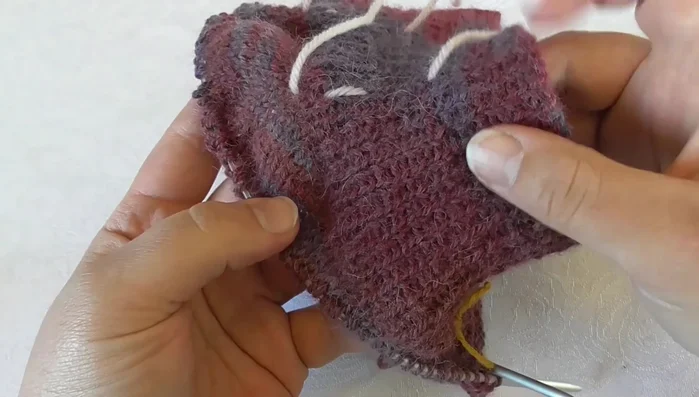
- Perform raglan increases on every second round from the right side. Increase on each side of the middle stitches by picking up the yarn between stitches and knitting it. Secure loose yarn with your finger to make it easier to pick up.
- Continue knitting back and forth with short rows and raglan increases until the desired neck shaping is complete. Increase the number of knitted stitches after the short row turns to adjust the neck shape.
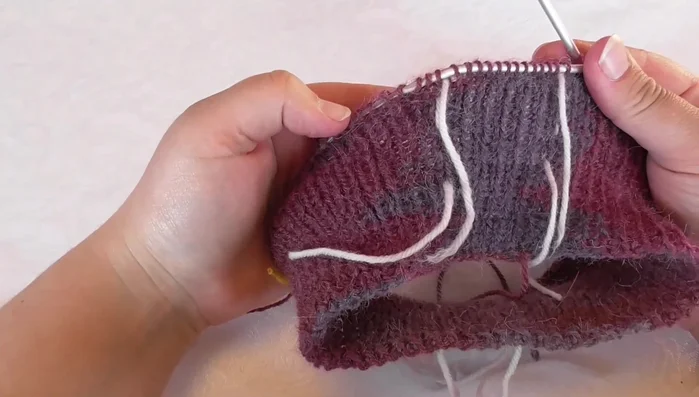
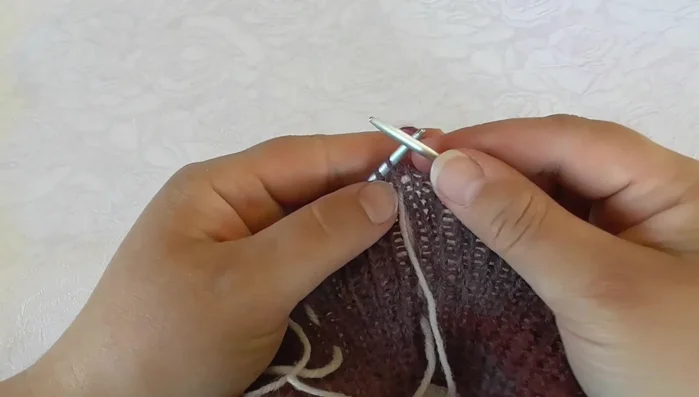
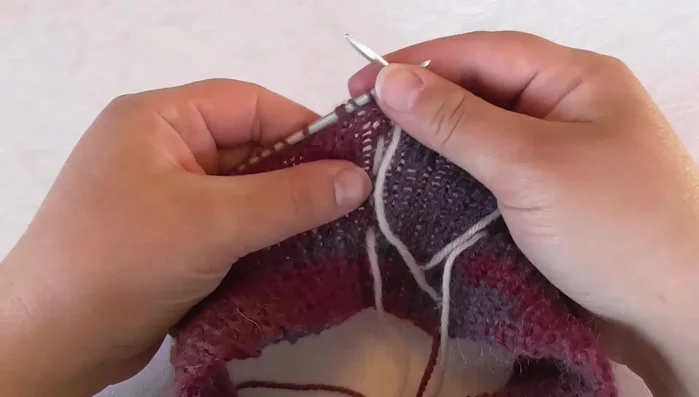
Short Rows and Raglan Increases (First Half) Knitting in the Round and Raglan Increases
- Knit in the round, continuing with raglan increases until the desired number of increases have been made.
Knitting in the Round and Raglan Increases Finishing and Subsequent Steps
- Make sleeve openings and divide the stitches into sleeves and body. (This is covered in a subsequent video.)
Finishing and Subsequent Steps
Read more: Knitting a Reversible Basketweave Blanket: A Customizable Guide
Tips
- Refer to your chosen pattern for specific needle sizes, increase locations, and stitch counts.
- Feel free to use your preferred short-row method.
- The method of knitting short rows shown in this video involves slipping the first stitch, moving the yarn, slipping the stitch back, and then turning the work. On the wrong side, pick up the first stitch, slip it off, and go behind the yarn before continuing to purl.