The allure of a luxurious sable-colored sweater, soft against the skin and warm against the chill, is undeniable. Achieving this coveted piece needn’t be daunting; with the right technique, even a beginner knitter can create a stunning garment. The top-down raglan method offers a particularly rewarding approach, allowing for custom fitting and easy adjustments along the way. Its inherent flexibility makes it ideal for working with luxurious yarns like the one you'd use for a sable-inspired sweater.
This article will guide you through a comprehensive, step-by-step process of knitting a sable sweater using the top-down raglan method. We’ll cover everything from casting on and shaping the raglan increases to working the body and sleeves, culminating in a beautifully finished garment you'll be proud to wear. Prepare to embark on a knitting journey that combines classic technique with modern elegance.
Preparation and Safety Guidelines
- Yarn (Drops Design Wish yarn or equivalent)
- Size 10 and 12 mm needles
- Stitch markers
- Scissors
- Tapestry needle (optional)
- Use appropriate needle size and yarn weight specified in your pattern. Incorrect gauge will significantly affect the fit and overall look of your sweater.
- Try on the sweater frequently, especially around the armholes and body, to ensure a proper fit as you knit. Adjust as needed.
- Pay close attention to increases and decreases during the raglan shaping to avoid errors that could affect the fit and symmetry of the finished garment.
Step-by-Step Instructions
Gauge and Yarn Calculation
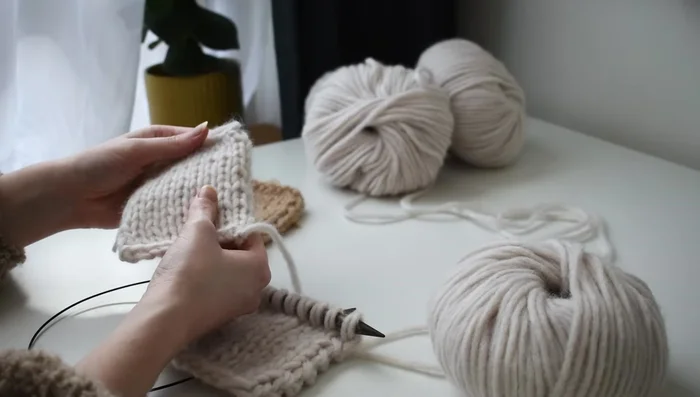
- Knit a swatch to determine yarn quantity and gauge.

Gauge and Yarn Calculation Initial Cast On
- Cast on the required number of stitches using the unravelled swatch yarn.
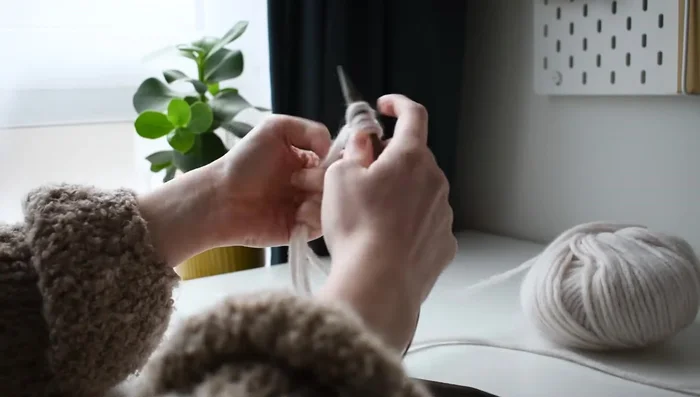
Initial Cast On Joining in the Round
- Join in the round using the basic method described in the video. (Looping together a scrap piece of yarn in a different color to mark the round.)
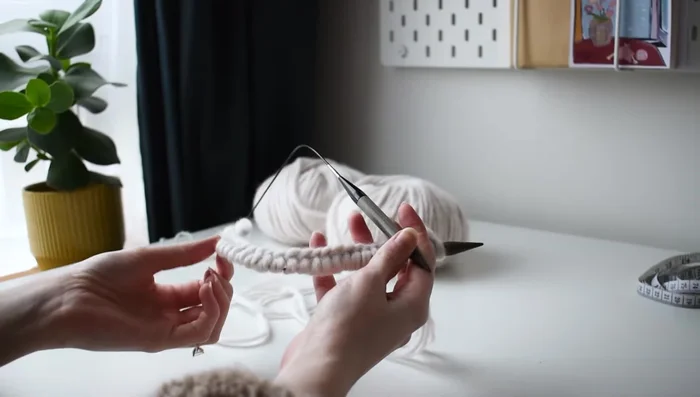
Joining in the Round Preparing for Raglan Increases
- Prepare for increases by placing stitch markers to divide the back, front, and sleeves. (See diagram and explanation)
Preparing for Raglan Increases Knitting the Collar
- Knit the collar to the desired length.
Needle Size Change
- Switch to size 12 mm needles.
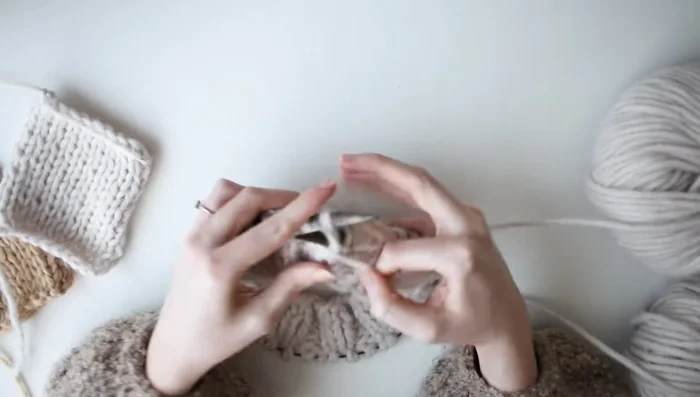
Raglan Increases and Yoke
- Work increases before and after each marker, creating raglan increases. (Video demonstrates 'make one right' and 'make one left' increases).
- Continue knitting, making increases as specified, until the desired yoke length is reached. Ensure raglan stitches remain consistent.
Raglan Increases and Yoke Separating Sleeves
- Separate the sleeves from the body (This step is detailed in part 2 of the video series).
Separating Sleeves

Read more: Knitting a Reversible Basketweave Blanket: A Customizable Guide
Tips
- Always knit a swatch before starting a project with a new yarn to check gauge and fiber characteristics.
- Use stitch markers to easily identify your round and increase points.
- Knitting from the top down allows for continuous adjustments to the garment's length and fit.
- When switching interchangeable needles, change one needle at a time to easily transfer stitches.
- Pay attention to the 'little twist' or two stitches on the needle to know when an increase is needed.