Winter's chill doesn't stand a chance against a pair of cozy, handcrafted mittens. And what better way to ward off the cold than with a pair you've created yourself? This tutorial will guide you through the charming "Tabby Star" mitten pattern, a design that beautifully blends simplicity with a touch of delightful whimsy. Perfect for beginners and experienced crocheters alike, the Tabby Star pattern offers a satisfying project that results in wonderfully warm and uniquely stylish mittens. Imagine the compliments you'll receive when you proudly sport these handcrafted gems!
This tutorial provides a clear, concise, and detailed explanation of the Tabby Star mitten pattern, perfect for crafting your own pair. We'll walk you through each step, from casting on to the final finishing touches, ensuring even a novice crocheter can achieve fantastic results. Get ready to unleash your creativity and dive into the wonderfully satisfying world of crochet with this fun and rewarding project. Ready to get started? Let's begin the step-by-step process!
Safety Guidelines
- Use sharp scissors to avoid accidental cuts. Keep them away from your work when not in use.
- Be mindful of your hook size. Using a hook too small can cause tight stitches and hand strain. Too large may result in loose, ill-fitting mittens.
- Always ensure your yarn is securely fastened to avoid dropped stitches and unraveling. Employ a secure knot to begin and end each piece.
Methods: Top-Down Crochet Mittens with Detachable Thumb Flap
Tools Needed
- Yarn (Lion Brand Heartland Tweed or similar)
- Crochet hook (size appropriate for yarn)
- Measuring tape
- Stitch markers
- Button (optional)
Step-by-Step Instructions
Initial Chain and First Round
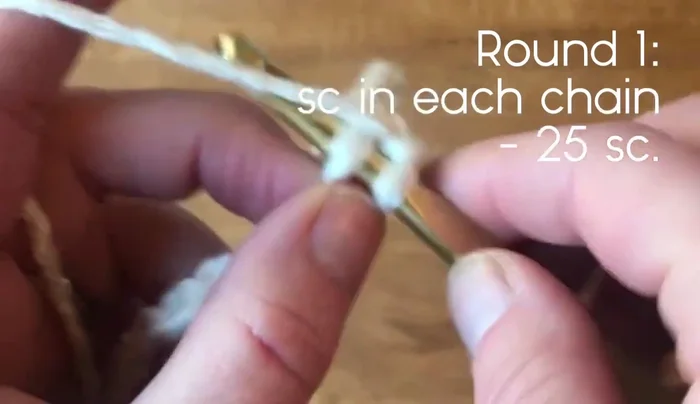
- Measure your hand and determine the desired opening size at the top of the mitten. Chain the appropriate number of stitches (25 for a 7-inch hand).
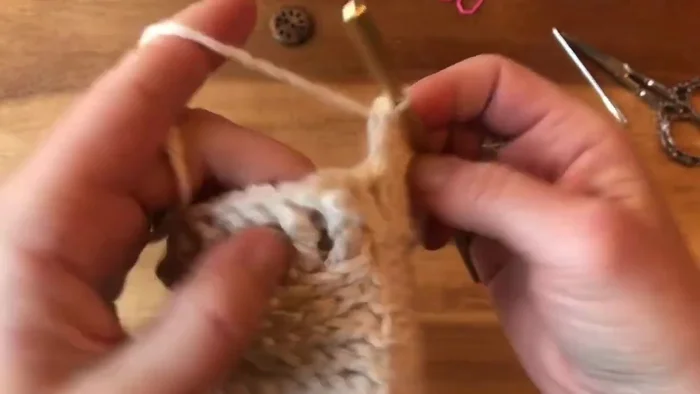
- Single crochet around the chain. Join with a slip stitch in the first chain.

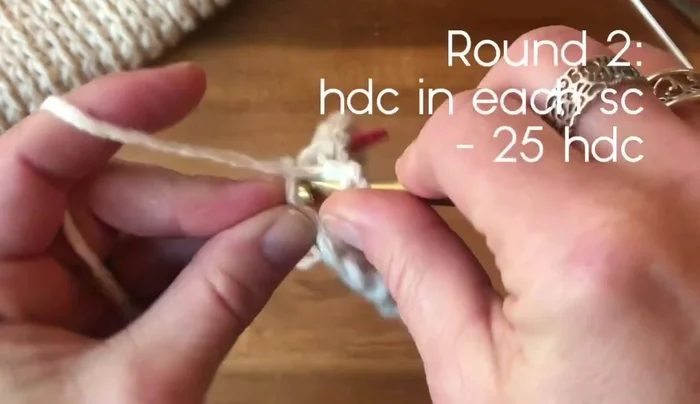
Initial Chain and First Round Body of Mitten
- Half double crochet in each stitch around.
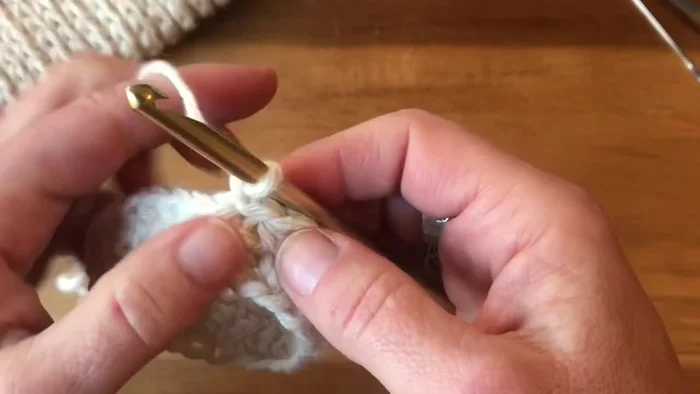
- Repeat round 2 (half double crochet in the third loop of each stitch). Add more rounds for longer mittens.
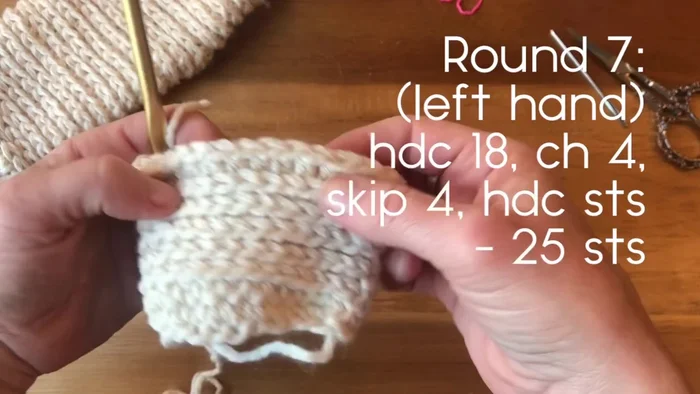
Body of Mitten Create Thumb Hole
- Work 18 half double crochets. Chain 4, skip 4 stitches, and work 3 half double crochets on the other side. (Adjust chain and skipped stitches as needed for your hand size.)
Create Thumb Hole Complete Thumb Section
- Continue working half double crochets in the third loop of each stitch around. Adjust number of rounds for desired length.
Complete Thumb Section Round 24: Double Crochet Border
- Chain 2, double crochet in the third loop of each half double crochet from the previous round.
Round 24: Double Crochet Border Round 25: Front Post Double Crochet Border
- Chain 2, front post double crochet in each double crochet from the previous round.
Round 25: Front Post Double Crochet Border Round 26: Finishing Border
- Chain 2, work two front post double crochets together until only two stitches remain. Join with a slip stitch.
Round 26: Finishing Border Finishing
- Fasten off and weave in ends.
Finishing
Tips
- Use a stitch marker to mark the beginning/end of each round when working in the round.
- A pencil grip can make working half double crochets easier.
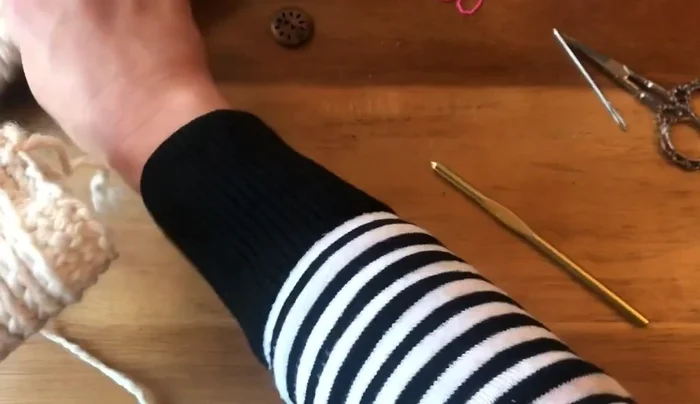
- Test the mitten frequently to ensure proper fit.
Read more: Crochet Messy Bun Ponytail Beanie: Easy Pattern for All Yarn Weights