The satisfying click of needles, the rhythmic flow of yarn, the gradual emergence of a beautiful garment – knitting offers a unique blend of creativity and relaxation. For those yearning to create a timeless piece, a striped jumper is an excellent project, blending classic style with customizable color combinations. Whether you're a seasoned knitter looking for a new challenge or a beginner ready to tackle a more ambitious undertaking, this guide will provide you with all the tools and knowledge you need to successfully knit your very own striped masterpiece.
This step-by-step guide will take you through every stage of the process, from choosing your yarn and casting on to weaving in those final ends, ensuring a professional finish. From understanding gauge and creating a simple pattern to mastering the art of seamlessly transitioning between colors, we'll cover everything you need to know to confidently knit a stylish and perfectly fitting striped jumper. Let's get started!
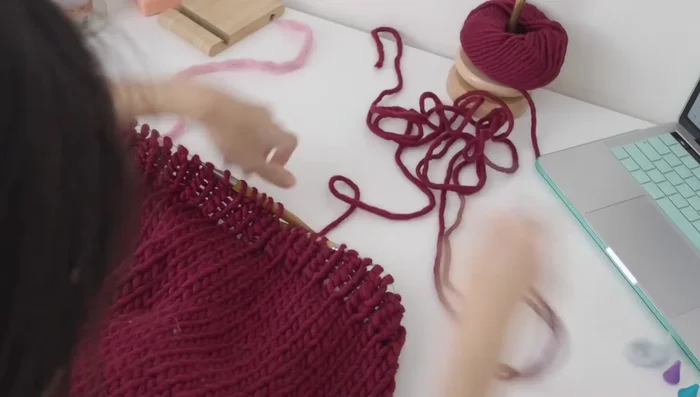
Preparation and Safety Guidelines
- Yarn
- Needles
- Stitch markers (optional, but recommended)
- Use sharp scissors to cut yarn. Blunt scissors can cause snags and fraying.
- Always check your gauge before starting the project. An incorrect gauge will result in a jumper that is too big or too small.
- Be mindful of your needle size. Using needles too small can make the knitting tight and difficult, while needles too large can result in a loose, ill-fitting garment.
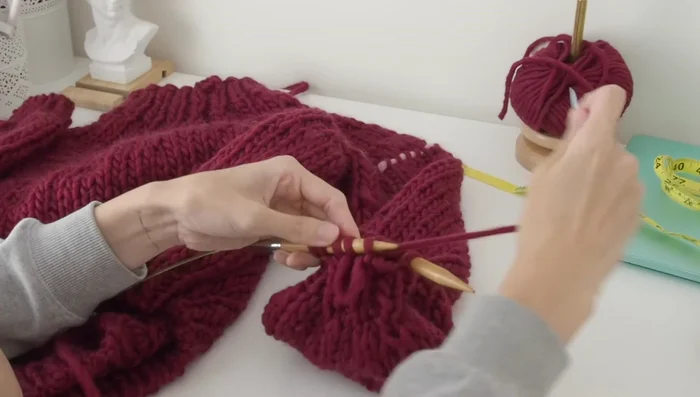
Step-by-Step Instructions
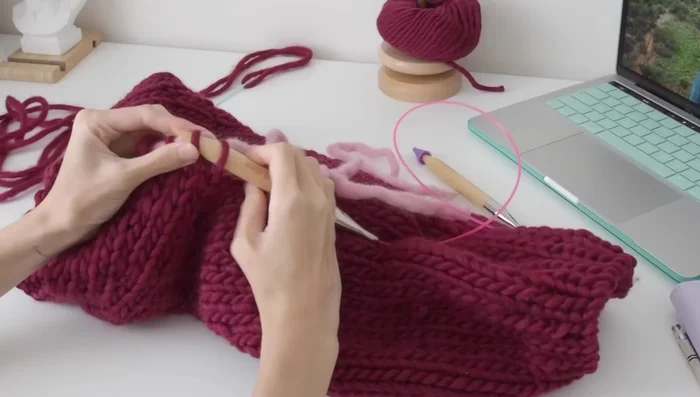
Casting On and Initial Ribbing
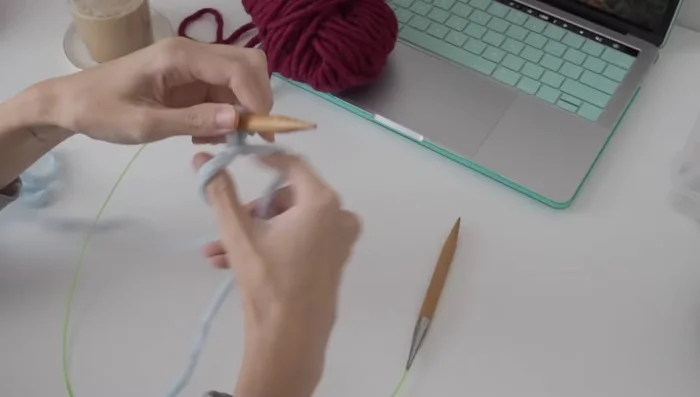
- Cast on using the long tail cast on method.
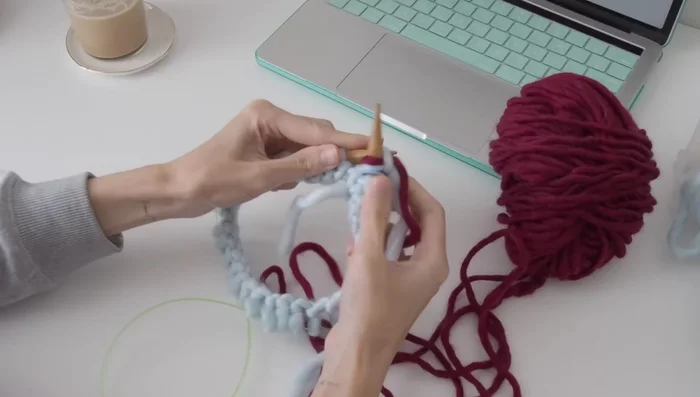
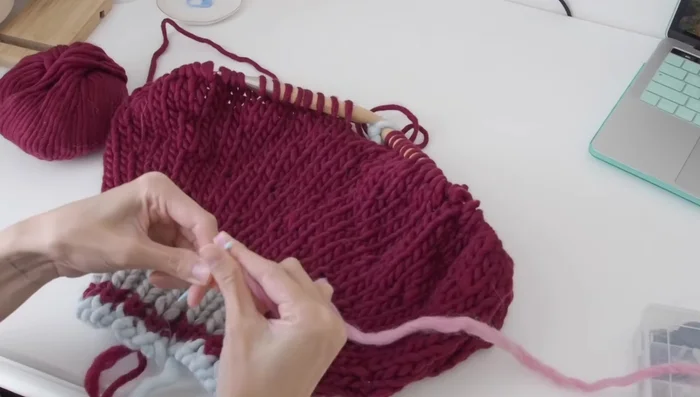
- Work one by one rib in the round.

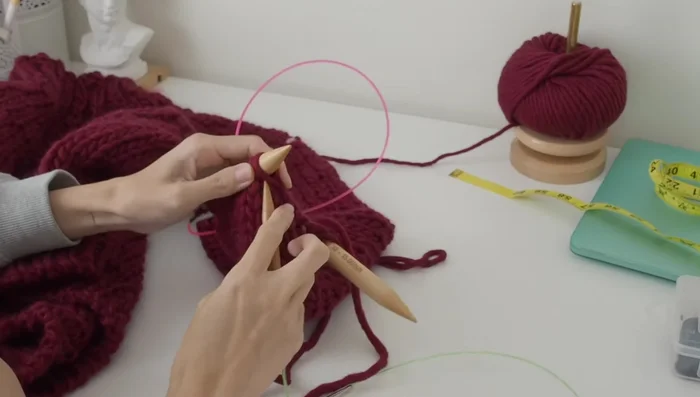
Casting On and Initial Ribbing Yoke Formation
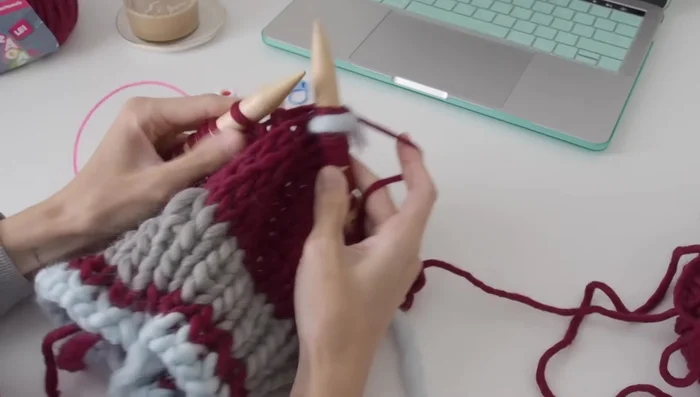
- Work the first round of the yoke with increases (make one right increase).
- Work German short rows.
- Work increase rows (make one right increase).
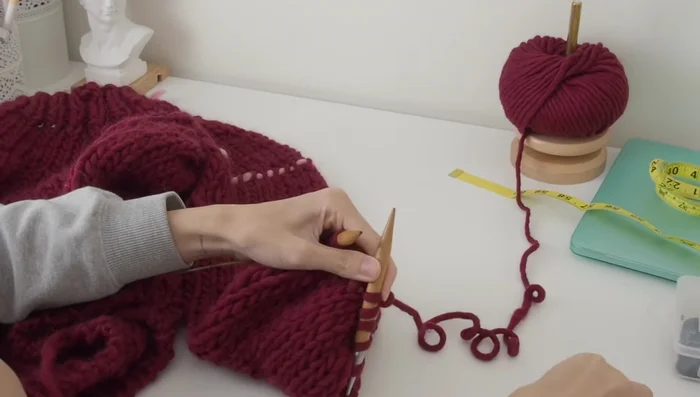
Yoke Formation Sleeve Separation and Body Work
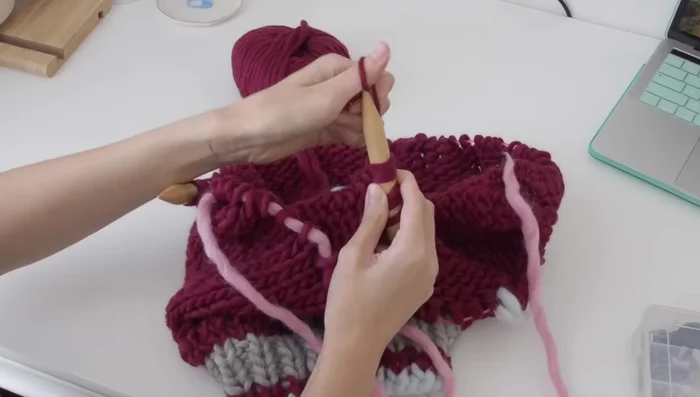
- Separate for sleeves; transfer stitches onto waste yarn.
- Join the two body stitches together; cast on stitches for the underarm.
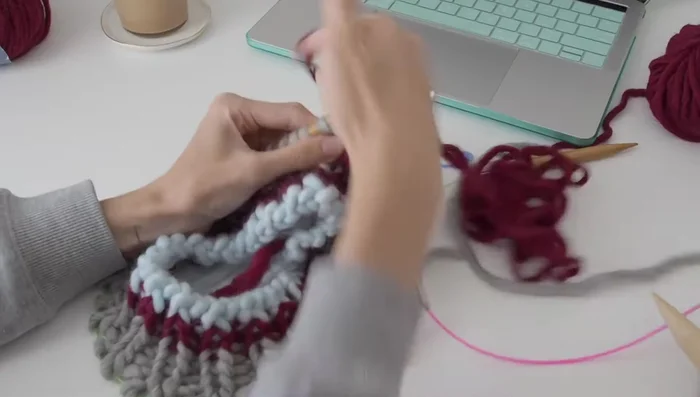
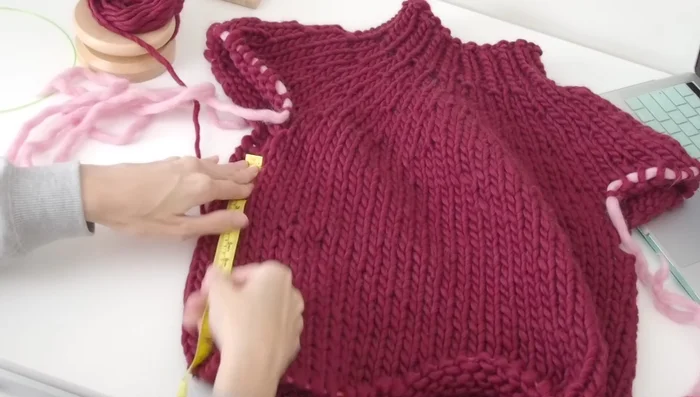
- Work the body down to the desired length.
Sleeve Separation and Body Work Body Hemming
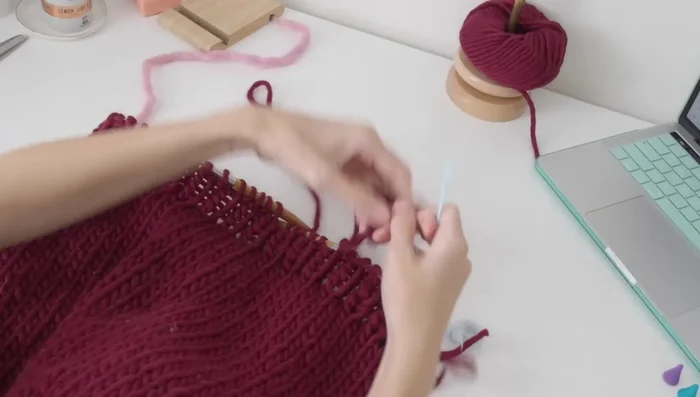
- Work the hem (one by one rib).
- Bind off the hem using the tubular bind off method.
Body Hemming Sleeve Construction
- Pick up stitches for sleeves and underarms.
- Work the sleeves; decrease at the cuff (knit two together).
- Work the cuff ribbing (one by one rib).
- Bind off the cuff using the tubular bind off method.
Sleeve Construction

Read more: Knitting a Reversible Basketweave Blanket: A Customizable Guide
Tips
- Use stitch markers to help keep track of your stitches and rows.
- Try the piece on as you go to adjust the length to your preference.
- Pick up extra stitches along the sides when joining the sleeves to prevent holes.