Are you ready to craft a unique and stylish accessory that's both eye-catching and surprisingly comfortable? Then prepare to dive into the fascinating world of DIY jewelry making with this comprehensive tutorial on creating a stretchy helmet chainmail bracelet! This ancient technique, traditionally used for armor, lends itself beautifully to modern jewelry design, resulting in a piece that's both durable and remarkably flexible. Forget flimsy bangles – this bracelet boasts a sturdy, interwoven structure that can withstand daily wear without losing its shape or sparkle. The satisfying process of connecting each tiny ring is incredibly meditative, and the final result is a truly rewarding accomplishment.
This tutorial will guide you through each step, from gathering the necessary materials to creating the secure, stretchy closure. We'll cover everything from choosing the right gauge of jump rings to mastering the basic chainmail weaving techniques needed to build your bracelet, ensuring even beginners can achieve a professional-looking finish. Let's get started and unlock the secrets to making your very own stunning, stretchy helmet chainmail bracelet!
Preparation and Safety Guidelines
- Rubber O-rings (12mm, 30 total)
- 6mm 20 gauge jump rings
- 10mm 18 gauge jump rings
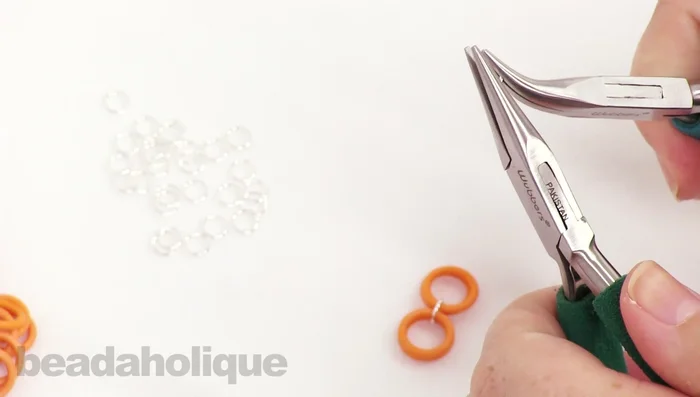
- Chain nose pliers
- Bent chain nose pliers
- Always use blunt-ended jump rings to avoid injury. Sharp ends can easily snag skin and cause cuts.
- Be mindful of the bracelet's tightness. Ensure it's snug but not so tight it restricts blood flow. Remove it immediately if you experience discomfort.
- Supervise children carefully if they are assisting with this project, particularly when using tools like pliers.
Step-by-Step Instructions
Create the First Unit
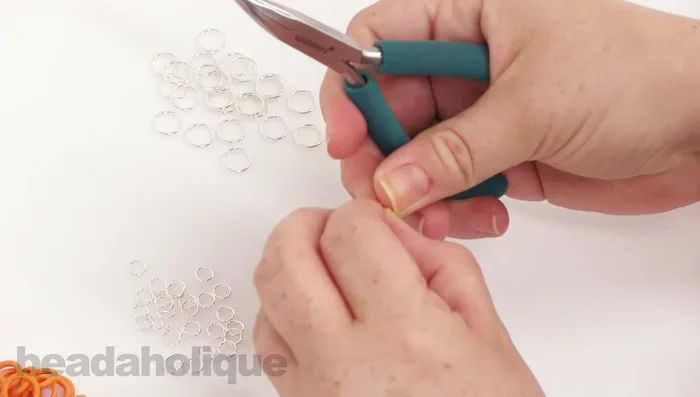
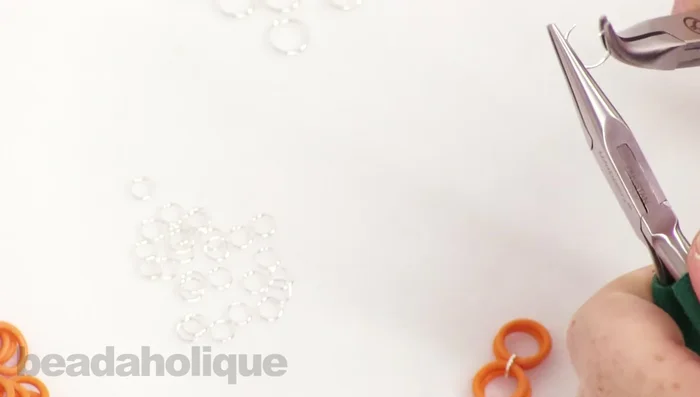
- Open a 6mm jump ring using bent nose pliers.
- Attach four rubber O-rings to the open jump ring.
- Close the jump ring tightly.

Create the First Unit Add a Second Unit
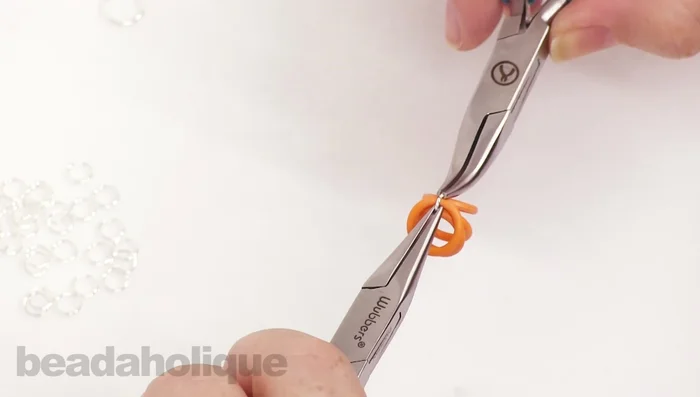
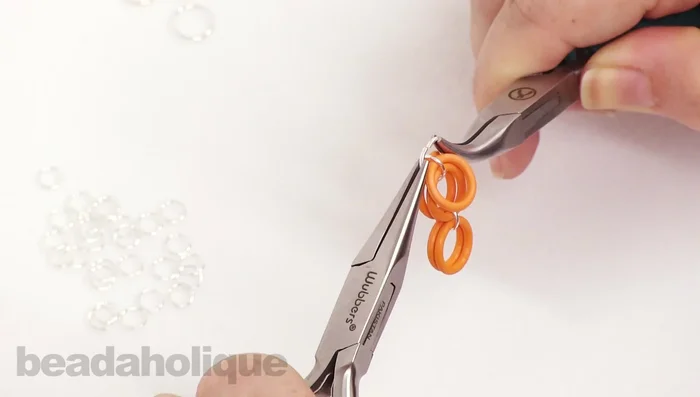
- Open another 6mm jump ring and attach it to one end of the first unit.
- Add two more rubber O-rings to this jump ring.
- Close the second jump ring.
Add a Second Unit Connect the First Two Units
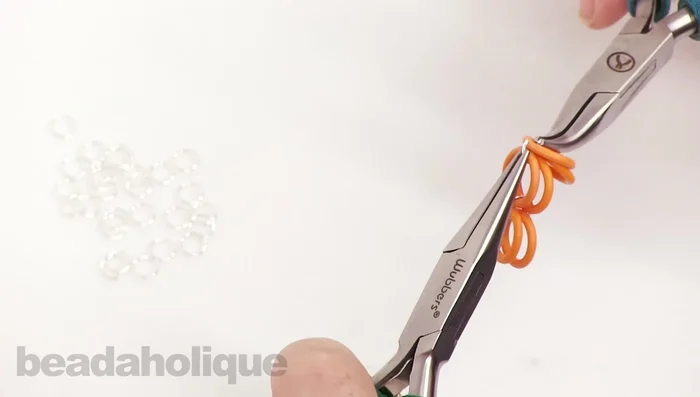
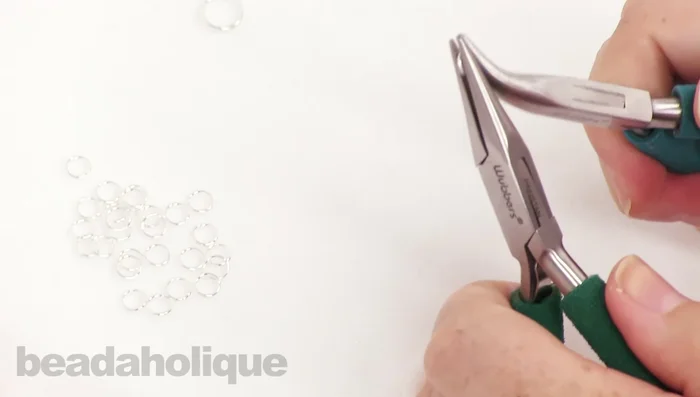
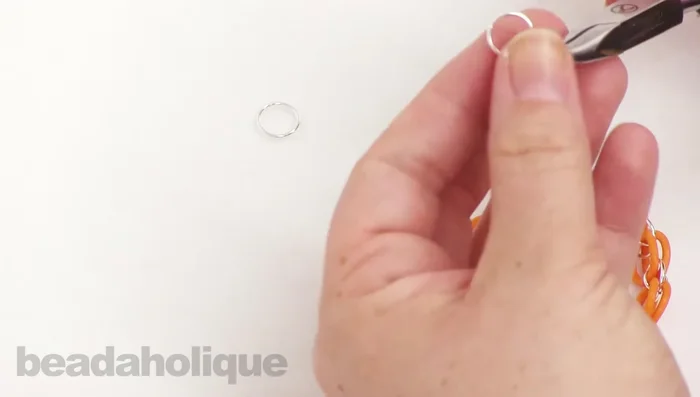
- Open a 10mm jump ring and connect it to the two units created so far.
- Close the 10mm jump ring, ensuring it's flush and secure.
Connect the First Two Units Repeat to Achieve Desired Length
- Repeat steps 4-8 to add more links, until desired bracelet length is reached.
Repeat to Achieve Desired Length Close the Bracelet Circle
- For the final link, attach a 6mm jump ring to the last unit and connect the other end to complete the circle.
Close the Bracelet Circle Secure Inner Loops
- Use two 10mm jump rings to close the two remaining inner loops by sliding them through the sandwich area.
- Close the 10mm jump rings, completing the bracelet.
Secure Inner Loops


Read more: DIY Tiered Tassel Earrings: A Quick & Easy Jewelry Tutorial
Tips
- Use a bent chain nose plier for easier manipulation of jump rings, especially when working with multiple rubber o-rings.
- Three packs of rubber o-rings (30 total) create a bracelet approximately 6.5-7 inches in circumference. Adjust the number of packs for desired size.
- The rubber o-rings can be a bit tight initially, but they will loosen once the jump rings are closed.