Knitting offers a world of creative possibilities, allowing you to transform simple yarn into unique and beautiful textures. One of the most rewarding aspects of this craft is exploring the vast array of stitch patterns available, each lending a distinct character to your projects. From delicate lace to chunky cables, the choices are seemingly endless, and mastering even a few can significantly elevate your knitting skills and the overall aesthetic of your finished work. This can lead to a deeper appreciation for the intricate details that make handmade items so special.
This guide focuses on a particularly delightful and versatile stitch pattern, perfect for both beginners looking to expand their repertoire and experienced knitters seeking a new favorite. We'll walk you through each step, providing clear instructions and helpful tips to ensure you achieve a beautiful and even fabric. Let's embark on this knitting journey together, beginning with a detailed, step-by-step process that will help bring this lovely stitch pattern to life.
Preparation and Safety Guidelines
- Knitting needles
- Yarn
- Use sharp scissors to cut yarn; dull scissors can cause frayed ends and dropped stitches.
- Always check your gauge (stitches and rows per inch) before starting the project to ensure the finished item is the correct size.
- Take breaks to avoid fatigue and strain. Knitting for extended periods can lead to repetitive strain injuries.
Step-by-Step Instructions
Casting On
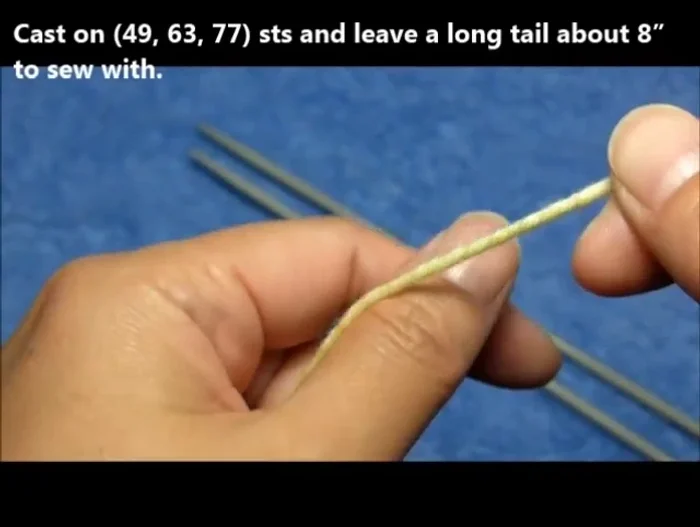
- Cast on 77 stitches and leave a long tail for later.

Casting On Initial Ribbing
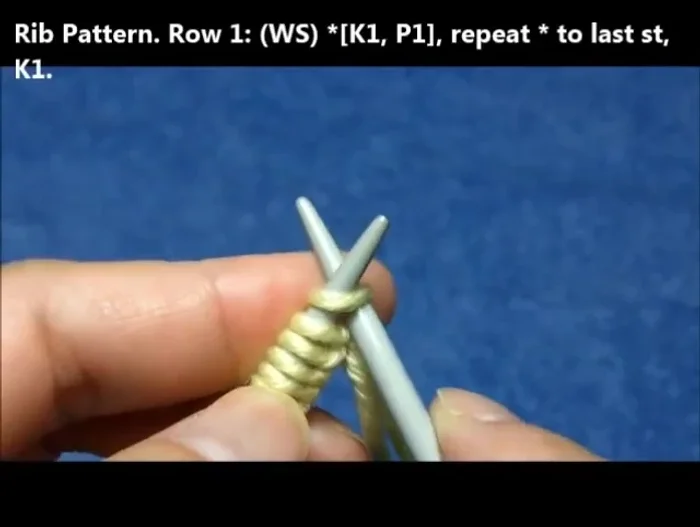
- Knit one, purl one, repeat across.
- Knit one, purl one, repeat across.
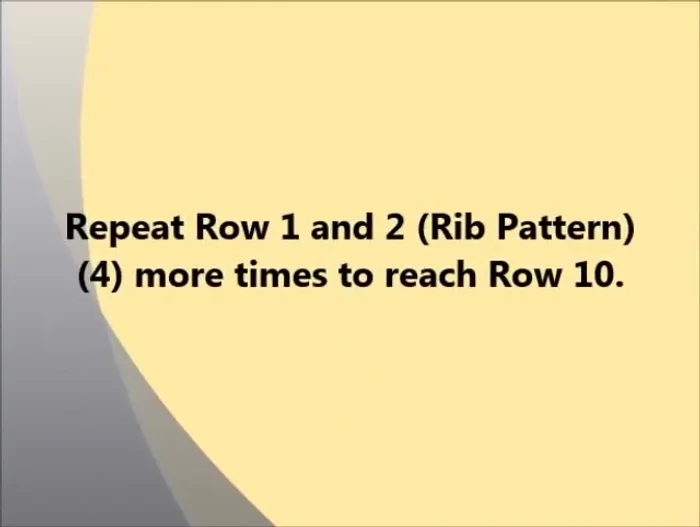
- Repeat Rows 1 and 2 four more times to reach Row 10.
Initial Ribbing Pattern Establishment
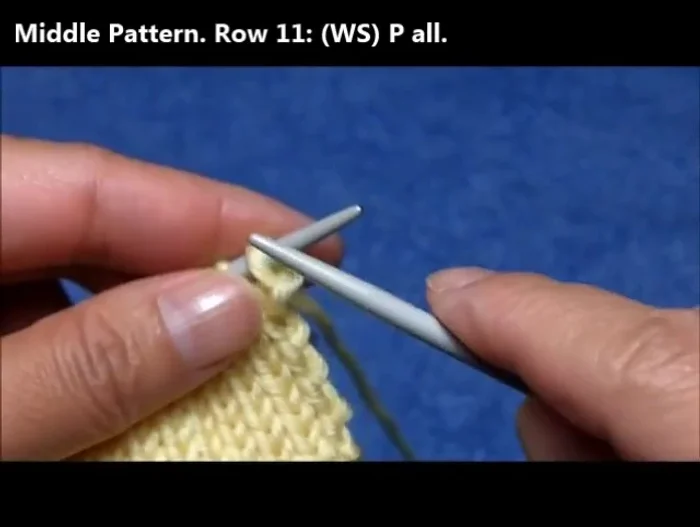
- Purl across.
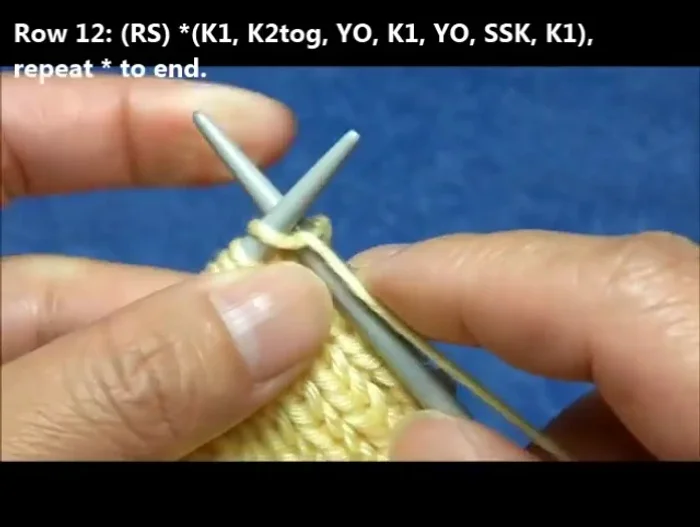
- Knit two together, yarn over, knit one, yarn over, slip slip knit (SSK), repeat these seven stitches to the end.
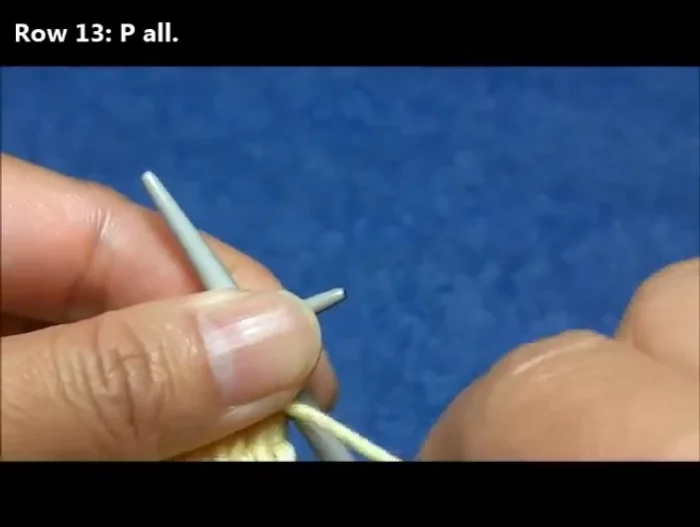
- Purl across.
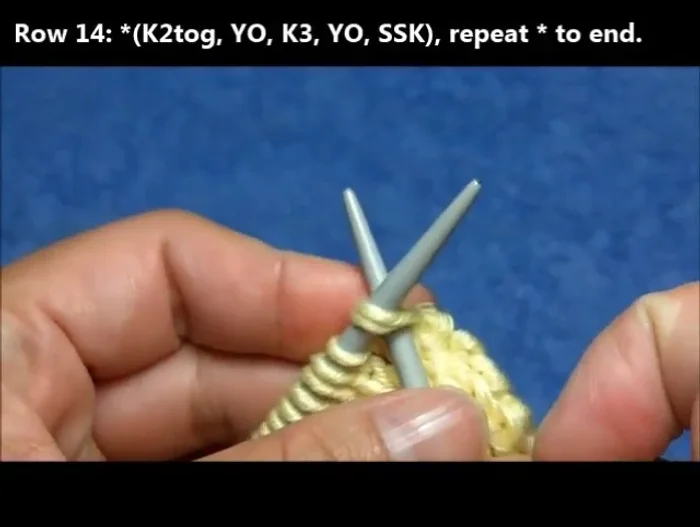
- Knit two together, yarn over, knit three, yarn over, SSK, repeat these seven stitches to the end.
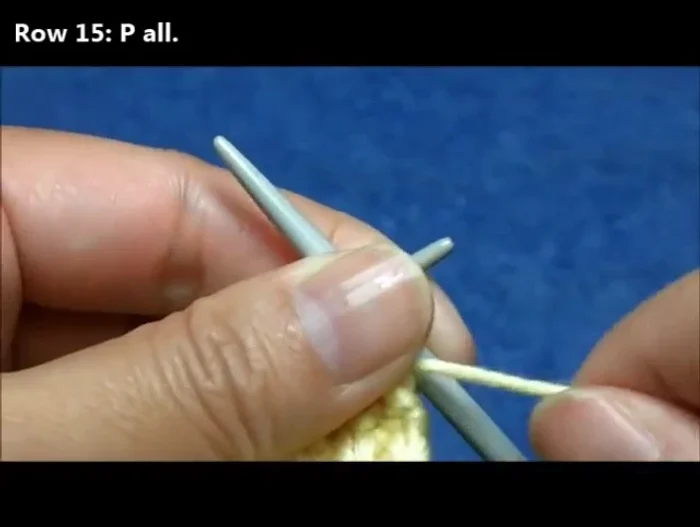
Pattern Establishment - Purl across.
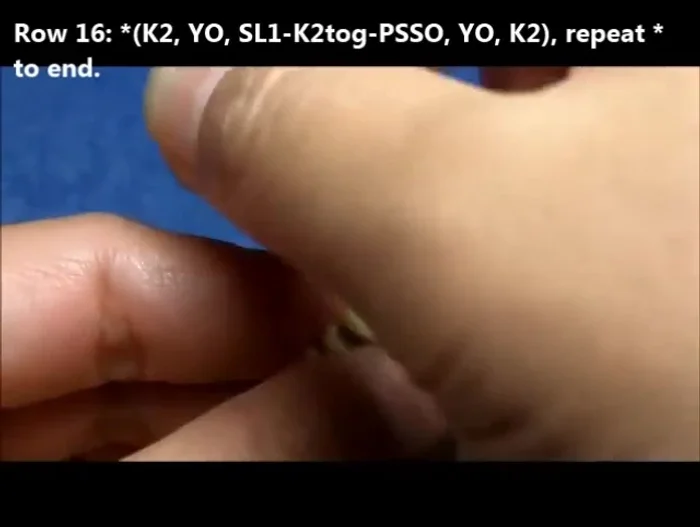
- Knit two together, yarn over, slip one, knit two together, pass slipped stitch over, yarn over, knit two, repeat these seven stitches to the end.
Pattern Establishment Pattern Repetition
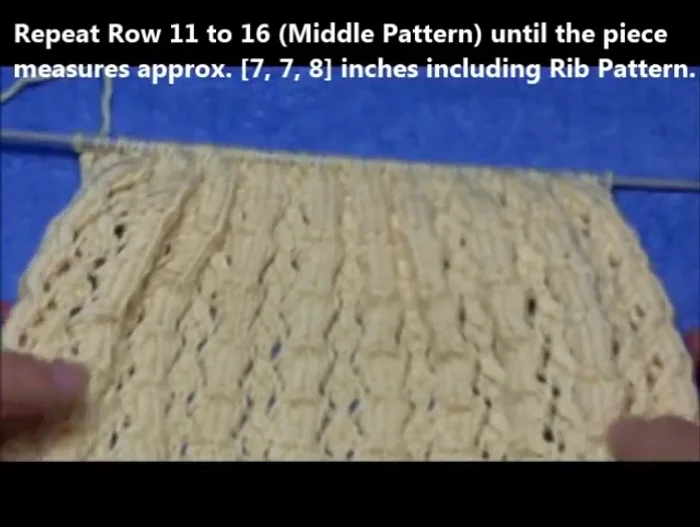
- Repeat Rows 11-16 until piece measures approximately 8 inches including the rib pattern.
Pattern Repetition Final Ribbing
- Repeat Rows 1 & 2 5 times (total 10 rows).
Picking Up Stitches
- Pick up and knit stitches, working in pattern loosely.
Picking Up Stitches Finishing
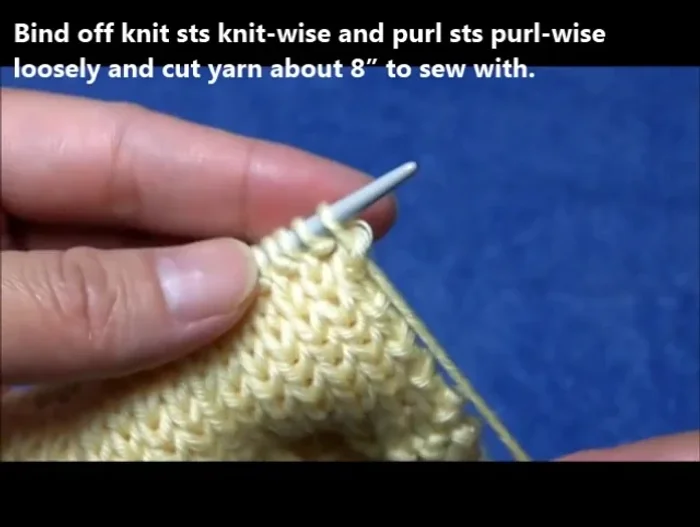
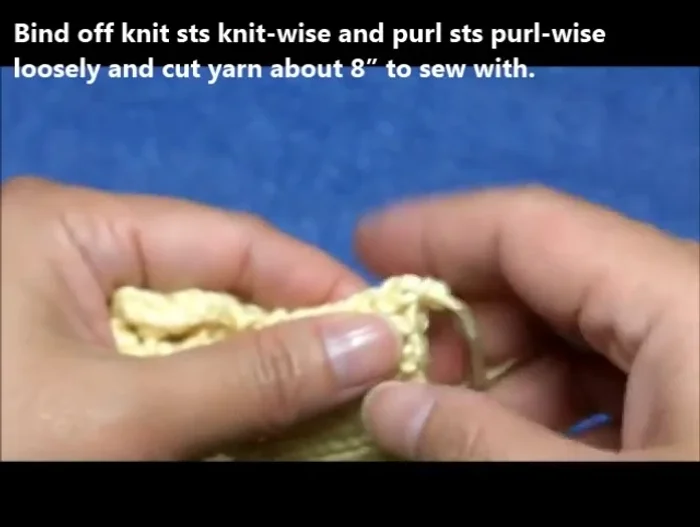
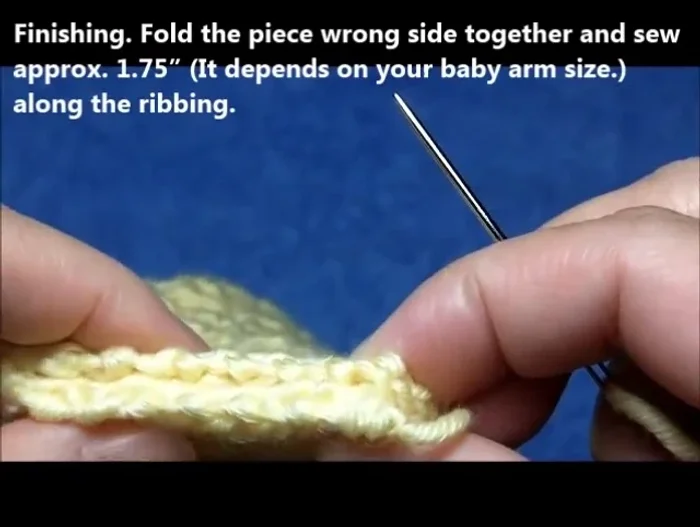
- Cut yarn about 8 inches to sew with.
- Sew the piece together and sew approximately 1.75 inches along the ribbon.
Finishing

Read more: Knitting a Reversible Basketweave Blanket: A Customizable Guide
Tips
- N/A