The thrill of the hunt is often heightened by the anticipation and preparation leading up to it. One crucial element often overlooked is the clear and effective communication of boundaries and warnings. A poorly executed "Gone Hunting" sign can be easily missed or misinterpreted, potentially leading to dangerous misunderstandings. This is where a professionally crafted stencil comes in, offering a superior alternative to hastily scribbled signs or flimsy printed notices. A well-made stencil ensures your message is bold, clear, and long-lasting, safeguarding both your hunting grounds and the safety of others.
This article will guide you through a comprehensive step-by-step process for creating the ultimate "Gone Hunting" stencil, from selecting the right materials to mastering the application techniques. We'll explore various stencil materials, design options, and painting methods to achieve a sign that’s not only functional but also visually impactful and durable enough to withstand the elements. Learn how to create a lasting impression and ensure your message is heard loud and clear.
Preparation and Safety Guidelines
- Stencil
- Double stick tape
- Router with profile bit (1/8 inch), carving bit (3/16 inch), 60° bit (3/16 inch), 90° bit (3/16 inch)
- Pocket knife
- Bandsaw
- Freestanding belt sander
- 45° chamfer bit
- Spray paint
- Disc sander (80 grit), Random orbital sander (120 grit)
- Clear coat
- Always obtain necessary hunting permits and licenses before engaging in any hunting activity. Failure to do so can result in significant fines and legal repercussions.
- Never point a firearm at anything you do not intend to shoot. Treat every firearm as if it were loaded, even if you believe it to be unloaded.
- Be aware of your surroundings and potential hazards. Identify safe shooting lanes and ensure there is no risk of harming yourself or others.
Step-by-Step Instructions
Stencil Preparation and Initial Carving
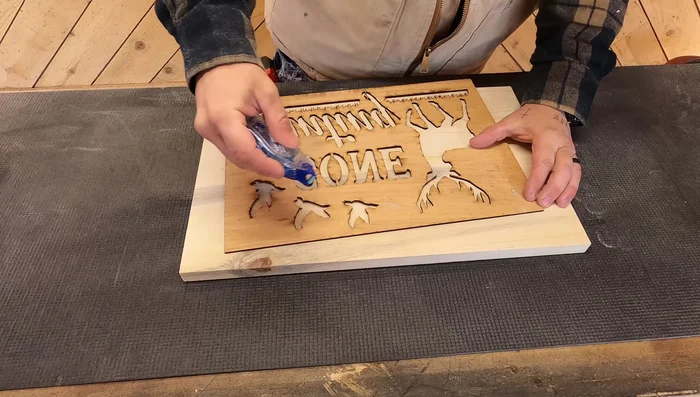
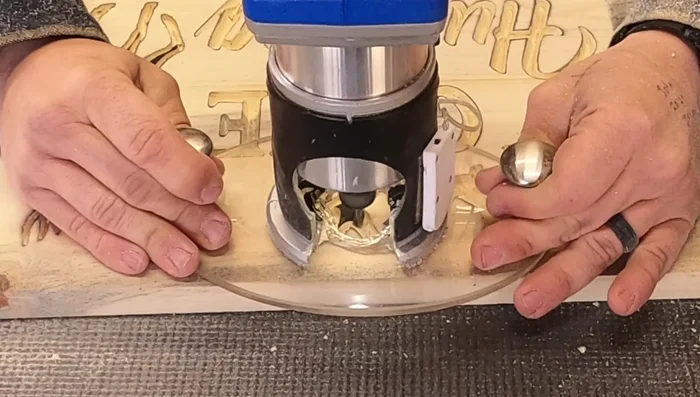
- Secure the stencil to the wood using double-stick tape.
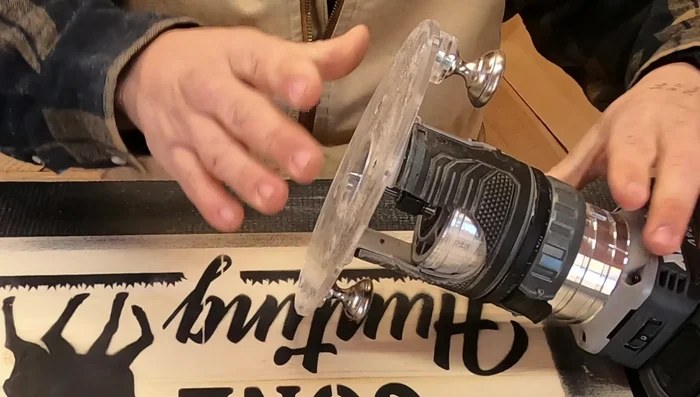
- Use a profile bit (1/8 inch) to carve the outline of the design.
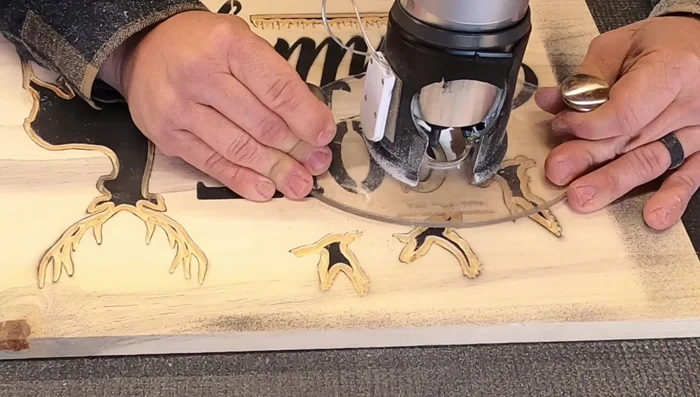
- For detailed areas like duck wings and deer antlers, lift the router bit or use the tip to create sharp points.
- Reduce router bit depth to 3/16 inch for deer antlers and other areas needing more depth.

Stencil Preparation and Initial Carving Background and Detail Removal
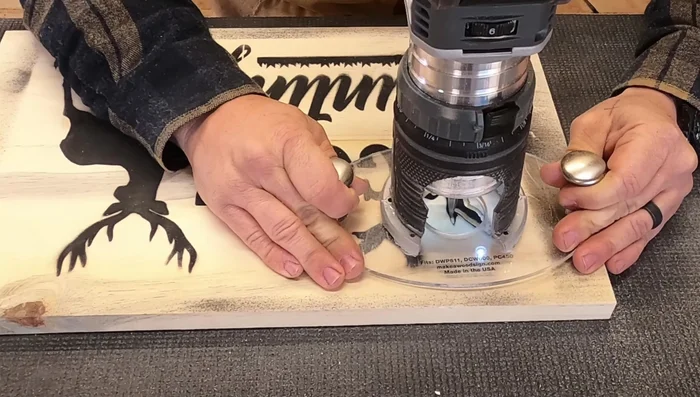
- Use a 90° bit (3/16 inch) to remove the background wood.
- For lettering, use a 60° bit (3/16 inch). Adjust router bit control to achieve varying line thicknesses.
- Use a 90° bit (3/16 inch) to remove remaining wood in images and details.
Background and Detail Removal Shaping and Smoothing
- Shape the sign using a bandsaw for a rustic look.
- Smooth the edges using a freestanding belt sander.
- Use a 45° chamfer bit to soften sharp edges.
Finishing
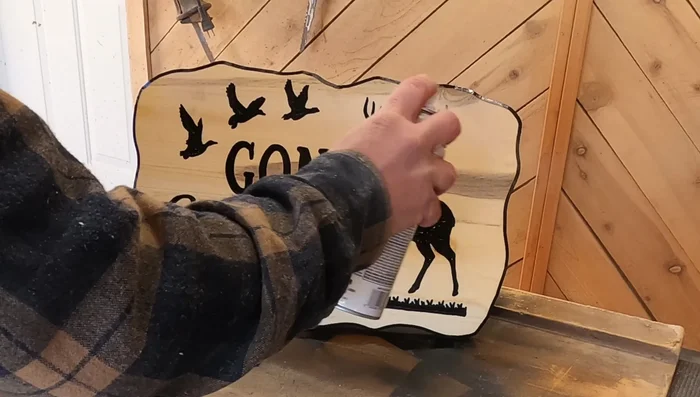
- Spray paint the sign, maintaining a distance of 10-12 inches to avoid overspray.
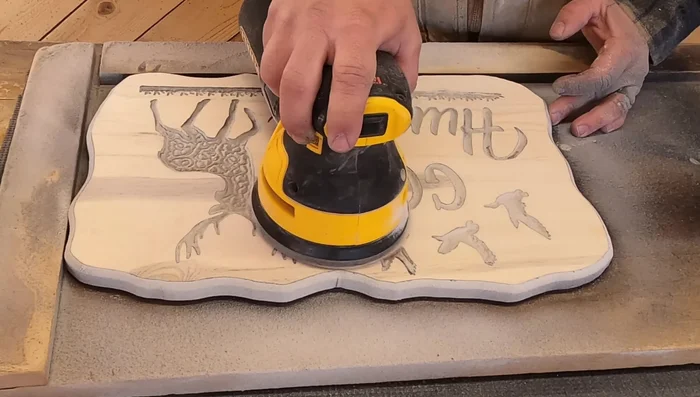
- Sand the sign using a disc sander (80 grit) and random orbital sander (120 grit).
- Apply a clear coat to enhance the wood grain.
Finishing
Read more: Build a Stunning Black Walnut Coaster Set: The Ultimate Furniture Protector
Tips
- Use double-stick tape to keep your stencil flat and easily removable.
- Minimize bit changes by strategically using the same bit for multiple areas.
- Maintain good control by keeping your hands on the board or table for precise routing.
- Don't strive for perfect detail in every small point; focus on the basic shapes.
- Spray paint at a distance of 10-12 inches to avoid overspray.